Ray tracing is a technique to render images using ray casting methods to simulate light transport. Historically, this was not suitable for real-time computer graphics or gaming, and was mostly used by CGI in movies.
Vulkan includes a new set of extensions for ray intersection tests, designed to facilitate ray tracing.
The API allows applications to define a ray; setting an origin and a direction, and then testing this ray against the scene geometry. By default, the API returns the closest hit that the ray intercepts in the scene.
Vulkan’s ray tracing API is very flexible and enables creative use, such as collision detection in physics simulations. The the main use case for ray tracing, however, is rendering. This is because ray tracing allows applications to simulate the behavior of light in a way that resembles physical reality.
In the real world, a light source emits light rays in all directions. These rays interact with multiple objects. When a ray intersects an object, the object absorbs and reflects certain amounts of light.
Traditionally, developers render games using rasterization. Rasterization works by transforming the geometry into triangle primitives and projecting them onto the screen. GPUs then use a depth buffer to resolve the visibility and decide which pixels are covered by each triangle.
With ray tracing, you can instead use path tracing. A path tracer does not need to use rasterization, instead it can launch rays from the camera. These rays bounce around the scene until they produce a final image, resolving visibility using the closest hit. In the real world, rays travel from a light until they reach the camera, but this is extremely inefficient as most rays do not reach our eyes. This is why in rendering you can launch rays in the reverse order, starting from the camera.
Path tracing is extremely costly as it requires thousands of rays per pixel to be launched to produce a non-noisy image. Rendering a frame in real time using path tracing is just not feasible, even on desktop high-end GPUs. The common solution therefore is to have a hybrid renderer, with a traditional rasterization pass to resolve visibility and compute the G-buffer, and then implement each ray tracing effect as a separate post-process.
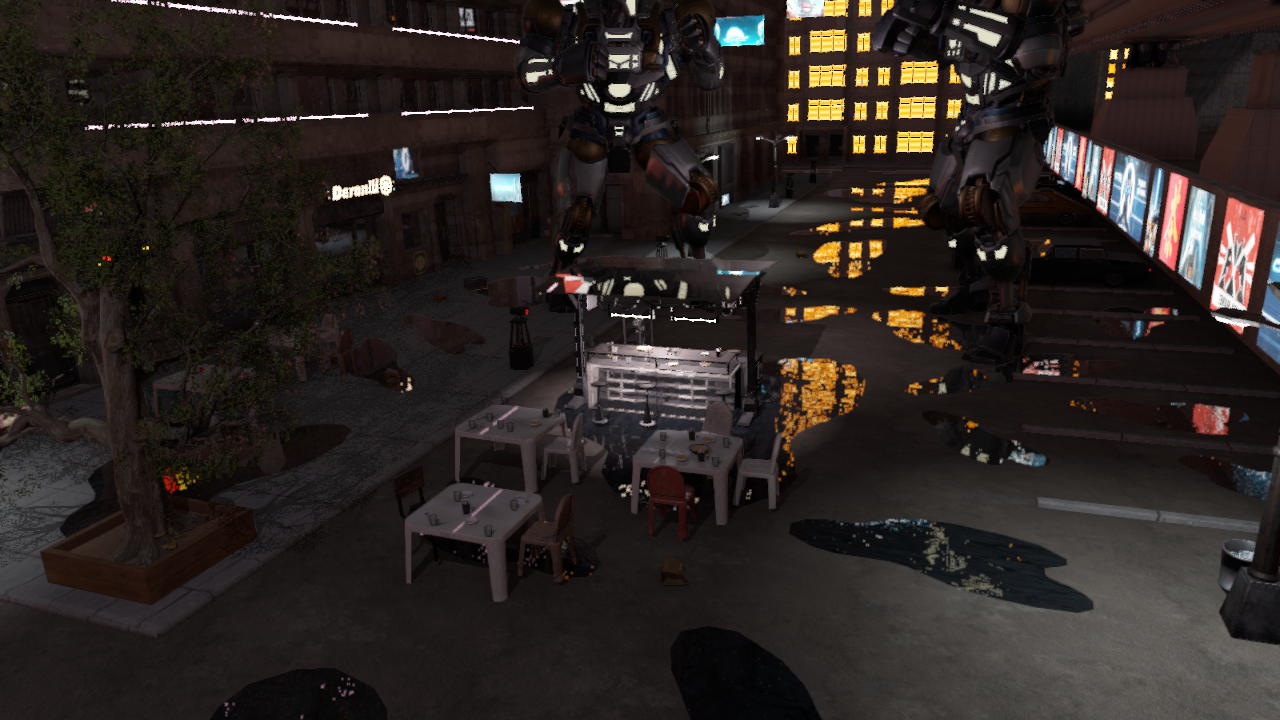 Example 1: Ray tracing ON
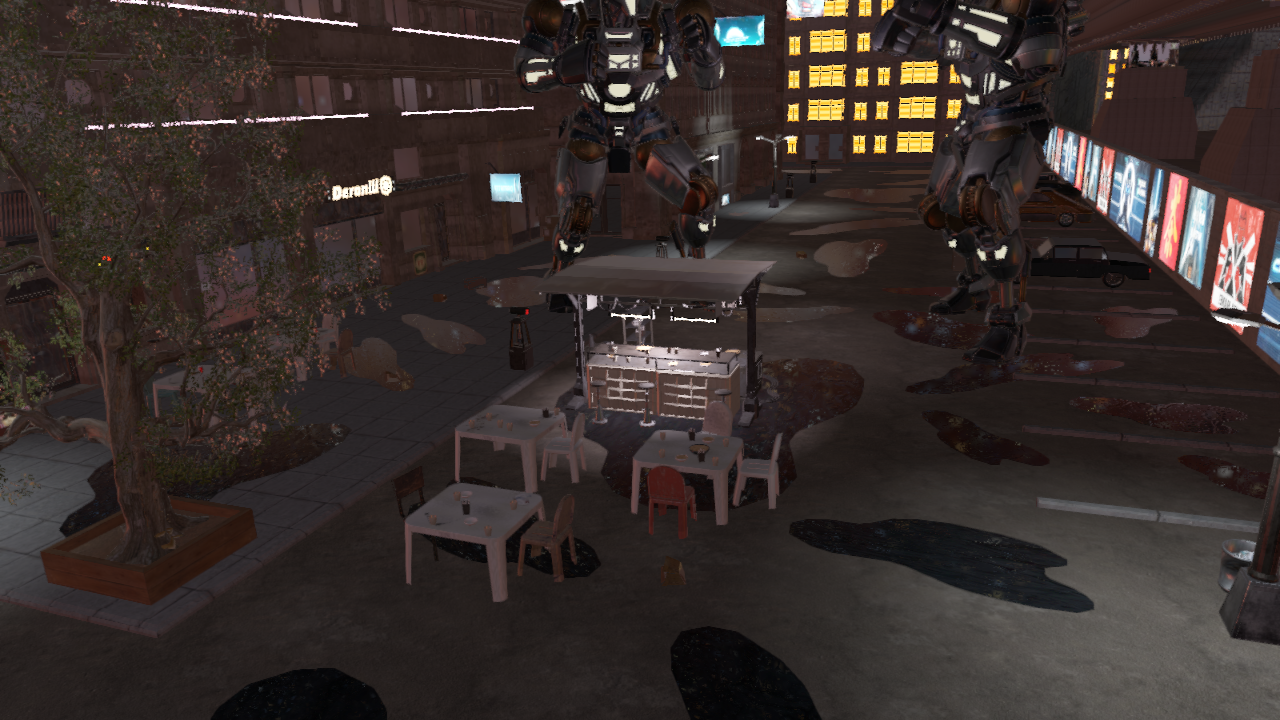 Example 1: Ray tracing OFF
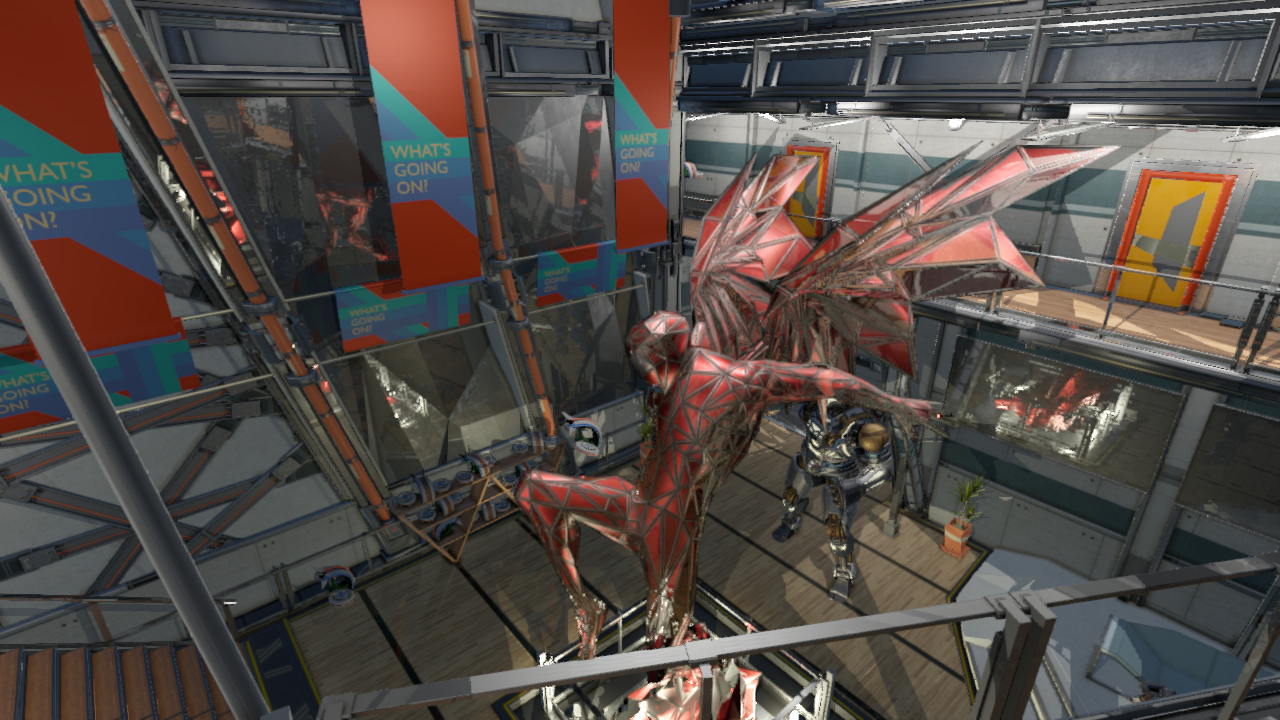 Example 2: Ray tracing ON
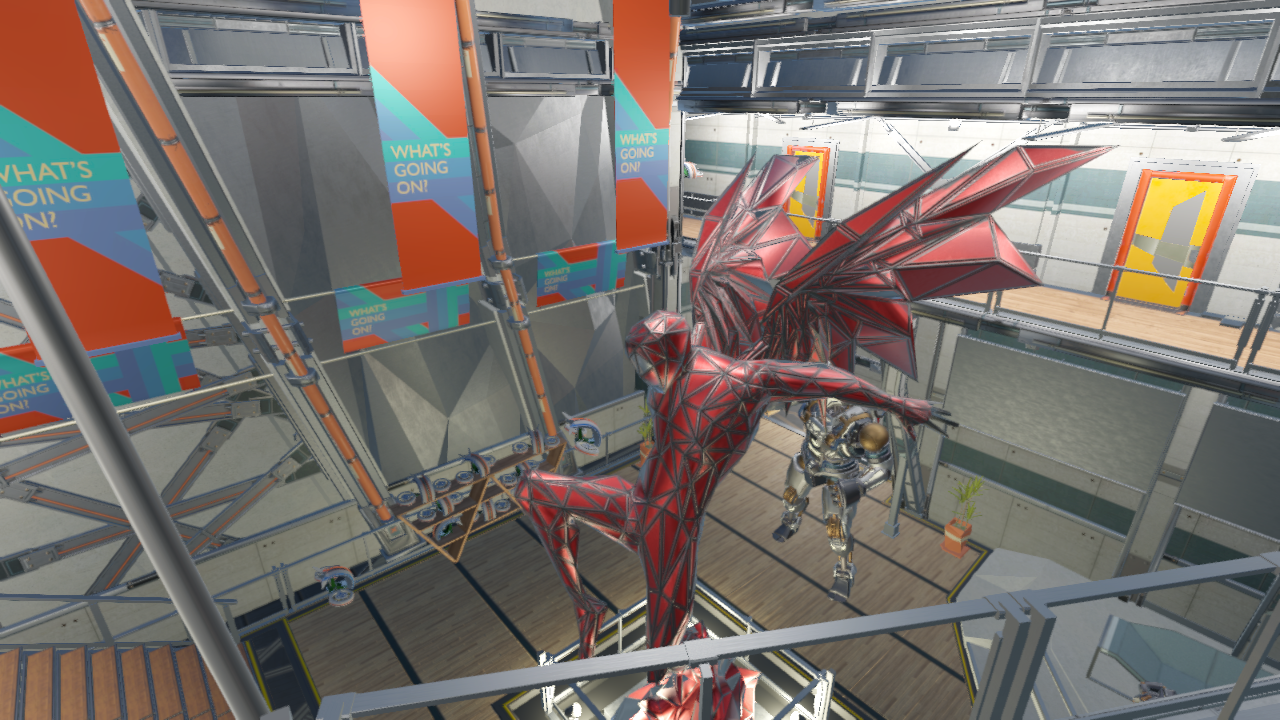 Example 2: Ray tracing OFF
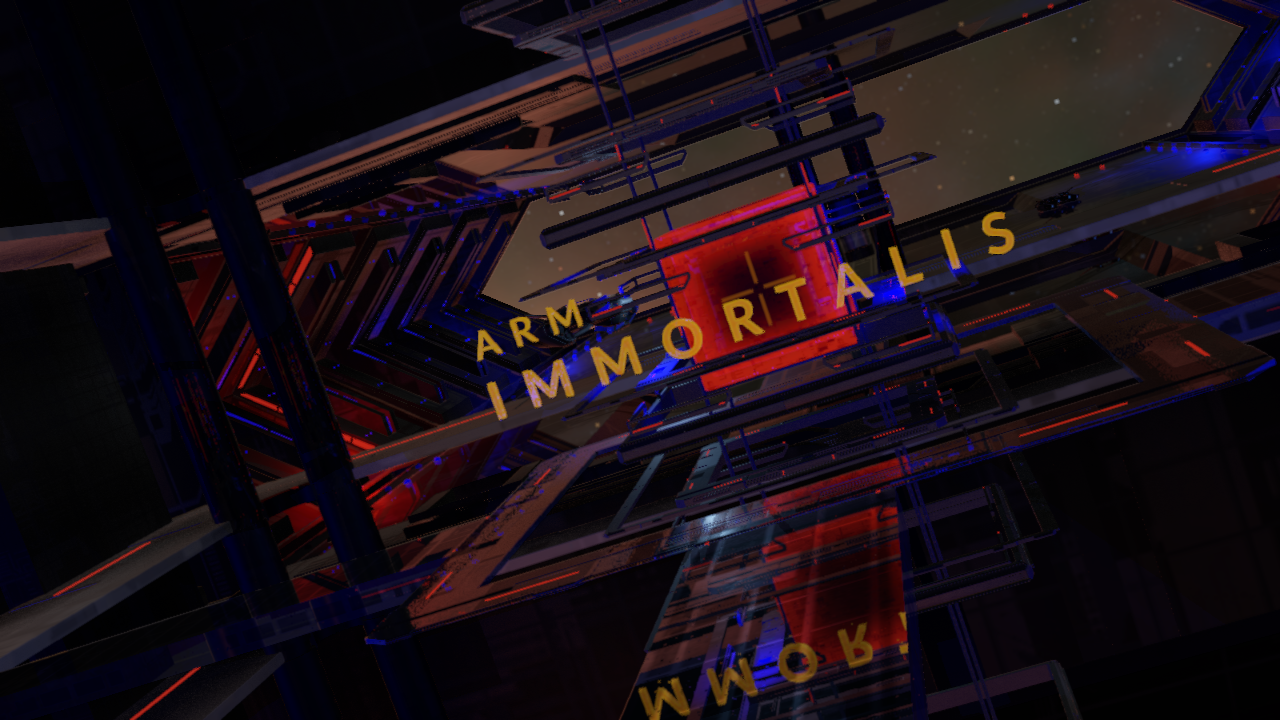 Example 3: Ray tracing ON
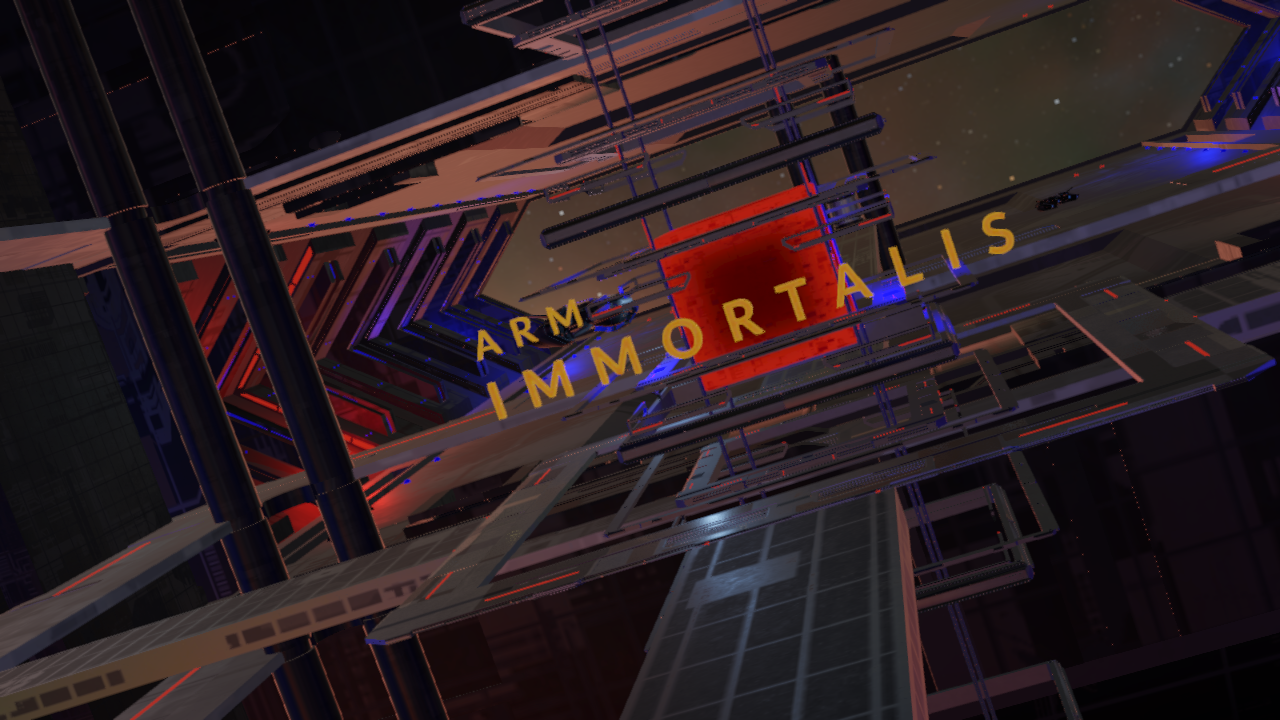 Example 3: Ray tracing OFF