Scan multi-architecture containers with Trivy on Azure Cobalt 100
Introduction
Learn Azure Cobalt 100 Arm64 and Use Trivy for Security Scanning
Create an Azure Cobalt 100 Arm64 virtual machine
Build and scan multi-architecture container images with Trivy
Next Steps
Scan multi-architecture containers with Trivy on Azure Cobalt 100
Prerequisites and setup
There are several common ways to create an Arm-based Cobalt 100 virtual machine, and you can choose the method that best fits your workflow or requirements:
- The Azure Portal
- The Azure CLI
- An infrastructure as code (IaC) tool
In this section, you will launch the Azure Portal to create a virtual machine with the Arm-based Azure Cobalt 100 processor.
This Learning Path focuses on general-purpose virtual machines in the Dpsv6 series. For more information, see the Microsoft Azure guide for the Dpsv6 size series .
While the steps to create this instance are included here for convenience, you can also refer to the Deploy a Cobalt 100 virtual machine on Azure Learning Path .
Create an Arm-based Azure virtual machine
Creating a virtual machine based on Azure Cobalt 100 is no different to creating any other virtual machine in Azure. To create an Azure virtual machine:
- Launch the Azure portal and navigate to Virtual Machines.
- Select Create, and select Virtual Machine from the drop-down list.
- Inside the Basic tab, fill in the instance details such as Virtual machine name and Region.
- Select the image for your virtual machine (for example, Ubuntu Pro 24.04 LTS) and select Arm64 as the VM architecture.
- In the Size field, select See all sizes and select the D-Series v6 family of virtual machines.
- Select D4ps_v6 from the list as shown in the diagram below:
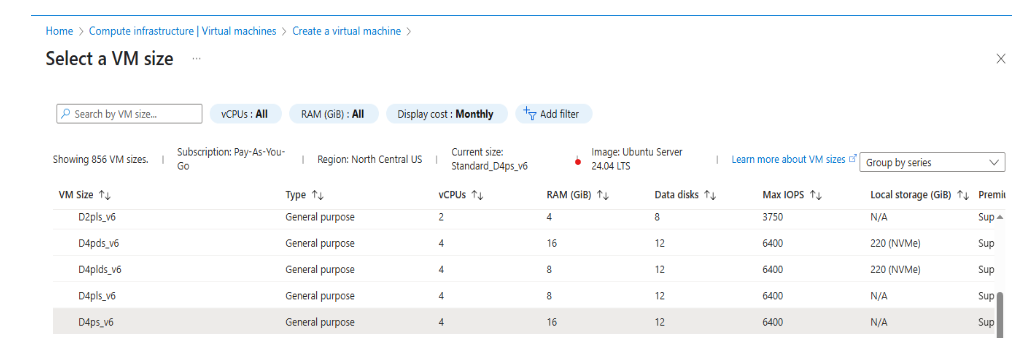 Select D4ps_v6 from the D-Series v6 family
- For Authentication type, select SSH public key.
Azure generates an SSH key pair for you and lets you save it for future use. This method is fast, secure, and easy for connecting to your virtual machine.
- Fill in the Administrator username for your VM.
- Select Generate new key pair, and select RSA SSH Format as the SSH Key Type.
RSA offers better security with keys longer than 3072 bits.
- Give your SSH key a key pair name.
- In the Inbound port rules, select HTTP (80) and SSH (22) as the inbound ports, as shown below:
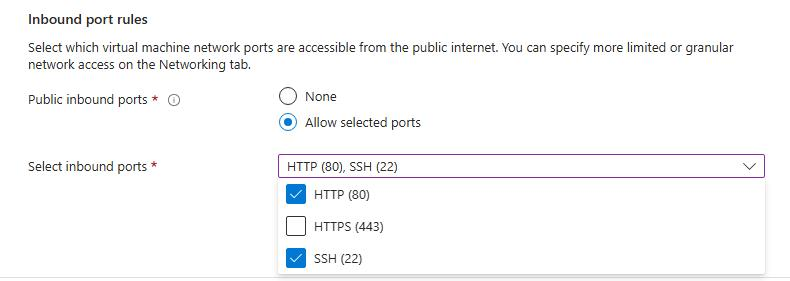 Configure inbound port rules for HTTP and SSH access
- Now select the Review + Create tab and review the configuration for your virtual machine. It should look like the following:
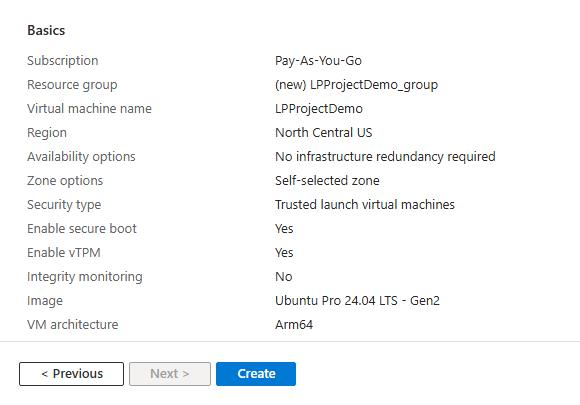 Review VM configuration before creation
- When you are happy with your selection, select the Create button and then Download Private key and Create Resource button.
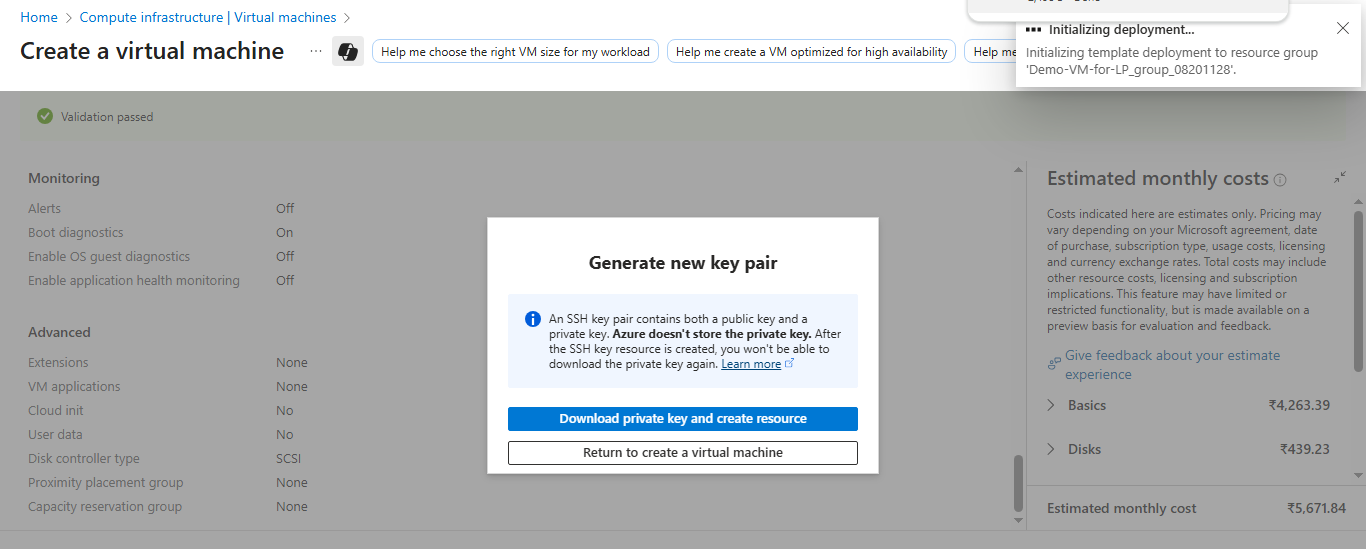 Download SSH key and create the virtual machine
Your virtual machine should be ready and running in a few minutes. You can SSH into the virtual machine using the private key, along with the public IP details.
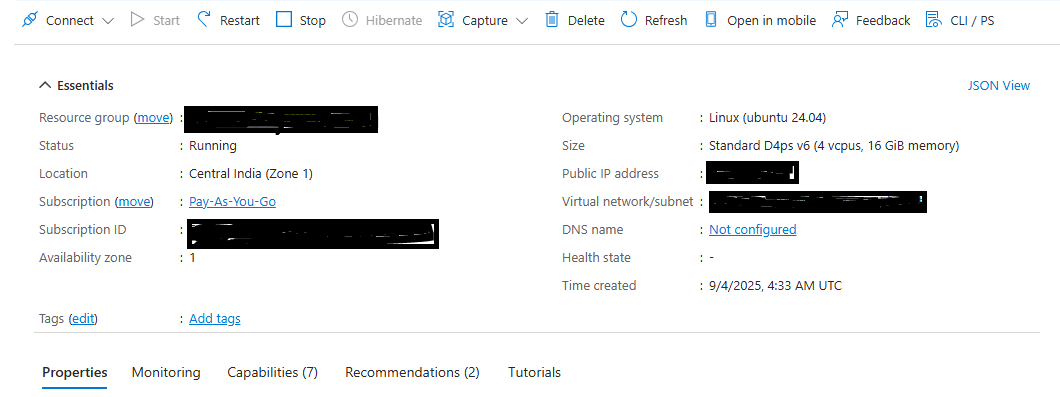 Successful VM deployment confirmation
To learn more about Arm-based virtual machine in Azure, see “Getting Started with Microsoft Azure” in Get started with Arm-based cloud instances .
What you’ve accomplished and what’s next
You’ve successfully:
- Created an Azure Cobalt 100 Arm-based virtual machine using the D-Series v6 (Dpsv6) family
- Selected Ubuntu Pro 24.04 LTS as the operating system
- Configured SSH authentication for secure access
Your Azure Cobalt 100 Arm64 virtual machine is now ready. Next, you’ll build and scan multi-architecture container images using Docker and Trivy.