Get started with the Neoverse Reference Design software stack
Introduction
Environment Setup
Build the software stack
Test With FVP
Next Steps
Get started with the Neoverse Reference Design software stack
FVP
The firmware build can be executed on the Neoverse N2 Reference Design FVP that you can download from Arm Ecosystem FVPs .
Set up the FVP
Download the FVP from the previous page, or directly with:
wget https://developer.arm.com/-/cdn-downloads/permalink/FVPs-Neoverse-Infrastructure/RD-N2/FVP_RD_N2_11.25_23_Linux64.tgz
Unpack the tarball and run the install script:
tar -xf FVP_RD_N2_11.25_23_Linux64.tgz
./FVP_RD_N2.sh --i-agree-to-the-contained-eula --no-interactive
Export the path to the FVP_RD_N2 model binary as the MODEL environment variable.
export MODEL=/home/ubuntu/FVP_RD_N2/models/Linux64_GCC-9.3/FVP_RD_N2
Screen configuration for UARTs
The model will output UARTs to local ports 5000..5010. If you were running the model on a local machine, or had X11 forwarding set up, the model opens a number of xterm terminals with the UART output piped to them, one per port.
If you do not have X11 forwarding and you are executing on a remote server, you can use screen to spawn persistent terminals that listen on the ports and obtain the information that way.
Open a new terminal where you start a screen session and connect to it.
To install screen use:
sudo apt-get install screen
Use a text editor to create the configuration file below, which will set up screen windows for each UART.
Create screen-uart.cfg
Create a config file so that when you start a session, there are ten windows and each periodically tries to connect to one of the local ports where a UART is running. You can change the titles of the windows so that you can identify each terminal. The resulting screen-uart.cfg file looks like this:
# Split horizontally into two
split -v

# Start the SCP UART telnet
screen -t  "SCP UART" run-one-constantly telnet localhost 5000

# Split screen and start MCP UART
split
focus
screen -t "MCP term" run-one-constantly telnet localhost 5001

# Split screen and start AP-NS UART
split
focus
screen -t "AP-NS term" run-one-constantly telnet localhost 5002

# Split screen and start AP-S UART
split
focus
screen -t "AP-S term" run-one-constantly telnet localhost 5003

# Focus on the second vertical pane
focus

# Start a second set of terminals
screen -t "IO-1" run-one-constantly telnet localhost 5004

# Split
split
focus
screen -t "IO-2" run-one-constantly telnet localhost 5005

# Split
split
focus
screen -t "S-0" run-one-constantly telnet localhost 5006

# Split
split
focus
screen -t "S-1" run-one-constantly telnet localhost 5007

# Split
split
focus
screen -t "MCP-extern" run-one-constantly telnet localhost 5008

# Split
split
focus
screen -t "term-0" run-one-constantly telnet localhost 5009

# Split
split
focus
screen -t "term-1" run-one-constantly telnet localhost 5010

# Focus back on the AP-NS UART
focus
focus
focus
Start the screen session with this configuration file:
screen -c screen-uart.cfg
The result should be similar to:
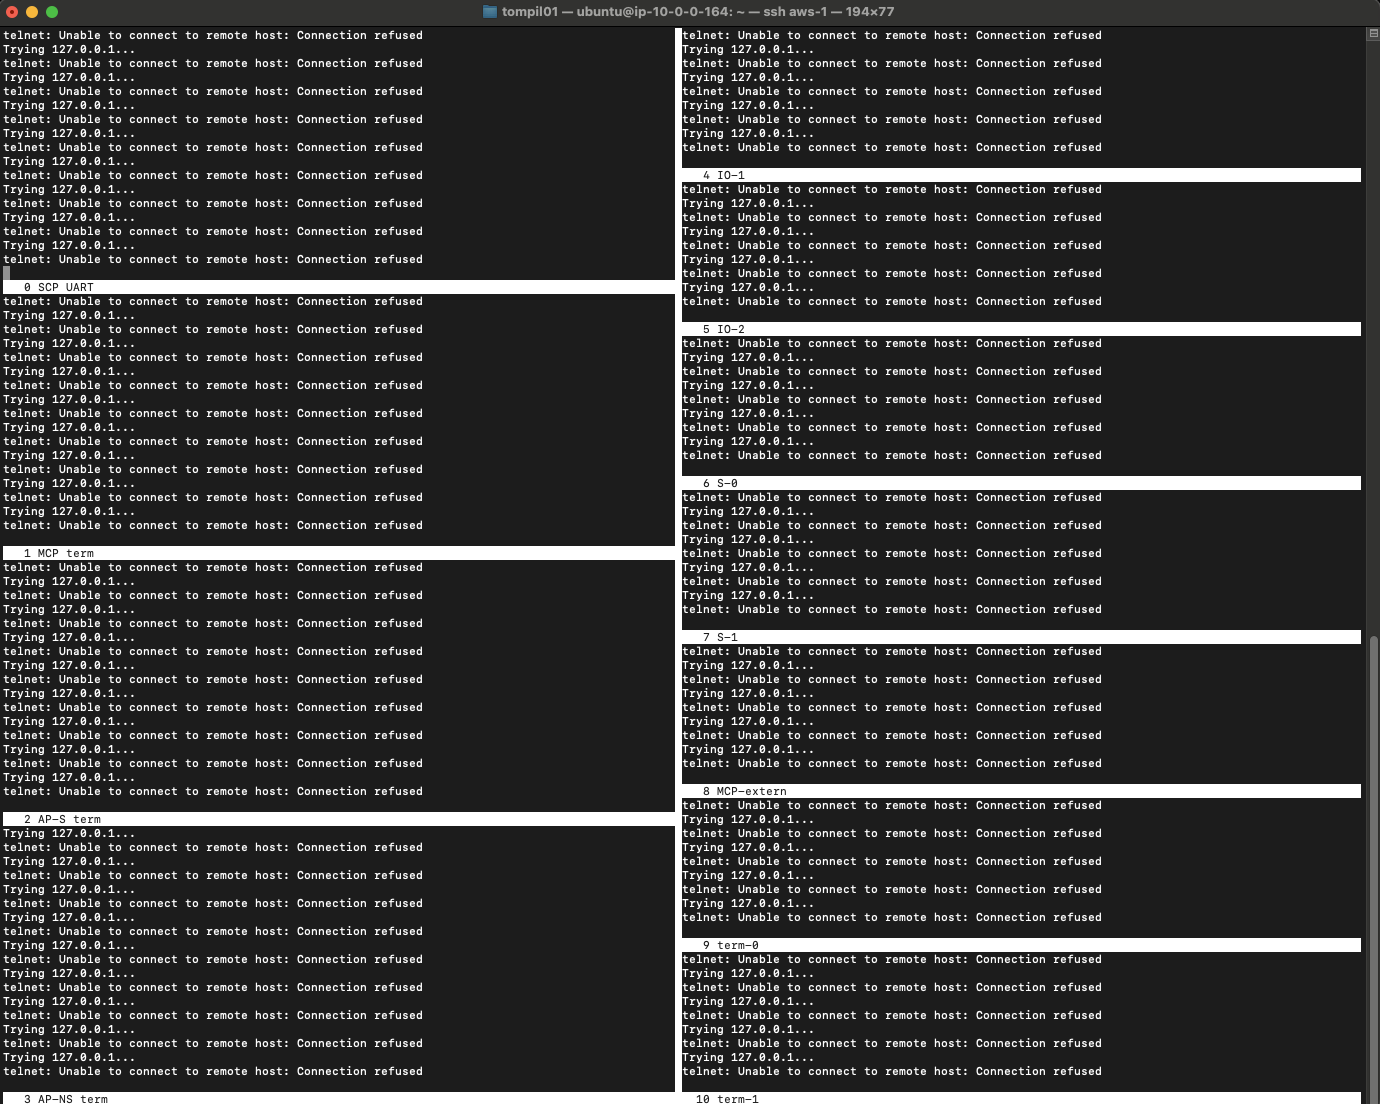
These errors are expected as there is nothing talking to the ports. You can quit from within the screen by the getting a prompt using Ctrl+A: key combination, followed by the quit command. Alternatively, Ctrl+A D will detach the screen session and send it to background.
Running the FVP
In your original terminal, launch the FVP using the supplied script:
./uefi.sh -p rdn2
Observe the platform is running successfully:
 Figure 2. FVP Terminals
You can also boot into busy-box, using the command:
./boot.sh -p rdn2
 Figure 3. Docker Terminal
You have successfully booted the reference software stack you built in the previous step onto the FVP.