Simulate OpenBMC and UEFI pre-silicon on Neoverse RD-V3
Introduction
What are OpenBMC and UEFI?
Set up the development environment for OpenBMC and UEFI
Run OpenBMC and host UEFI simulation on RD-V3 FVP
Monitor and control the host CPU using OpenBMC SOL and web UI
Customize IPMI commands in OpenBMC
Next Steps
Simulate OpenBMC and UEFI pre-silicon on Neoverse RD-V3
Prepare pre-silicon OpenBMC simulation
With your environment ready, you can simulate the full pre-silicon firmware boot flow using the Arm Neoverse RD-V3 r1 reference design. You’ll build the OpenBMC image, launch the Arm Fixed Virtual Platform (FVP), and observe the boot of both the BMC and host UEFI firmware.
This simulation launches multiple UART consoles, each in a separate terminal window for different subsystems (for example, Neoverse V3, Cortex-M55, Cortex-M7, and the Cortex-A BMC). These graphical terminals require a desktop session. If you’re connecting over SSH only, they won’t render.
Install a remote desktop environment with XRDP:
sudo apt update
sudo apt install -y xrdp xorg xfce4 xfce4-goodies xterm pv sshpass socat
echo xfce4-session > ~/.xsession
sudo adduser xrdp ssl-cert
sudo systemctl enable --now xrdp
If you use GNOME on the server, you may need the networking and GDM tweaks in Step 2 of the RD-V3 Learning Path .
Once connected through Remote Desktop, open a terminal and launch the RD-V3 FVP simulation.
Execute pre-silicon OpenBMC simulation
Download the helper script from Arm’s GitLab:
cd ~
wget https://gitlab.arm.com/server_management/PoCs/fvp-poc/-/raw/2a79ae93560969a3b802dfb3d7d89f9fd9dee5a6/run.sh
Before running the simulation, open the run.sh script and locate the line that defines FVP_KEYWORD.
This variable determines when the host FVP should be launched by monitoring OpenBMC’s console output.
If not set correctly, the script might hang or fail to start the host simulation. Update the line to:
FVP_KEYWORD="terminal2: Listening for serial connection on port"
Then, execute the script:
chmod +x ./run.sh
./run.sh -m ~/FVP_RD_V3_R1/models/Linux64_GCC-9.3/FVP_RD_V3_R1
The script will:
- Launch the OpenBMC FVP and wait for BMC boot
- Start the host FVP for RD-V3 r1 (UEFI)
- Bridge UART consoles between BMC and host using virtual pipes
- Create MCTP and IPMI tunnels between the OpenBMC FVP and the host FVP
- Stop both FVPs when you press Ctrl+C
When running, the OpenBMC FVP console stops at a Linux login prompt:
        [  OK  ] Started phosphor systemd target monitor.
[  OK  ] Started Sensor Monitor.
         Starting Hostname Service...
         Starting Phosphor Software Manager...
         Starting Phosphor BMC State Manager...
         Starting Phosphor Time Manager daemon...
[  OK  ] Finished SSH Key Generation.
[  OK  ] Finished Wait for /xyz/openbmc_project/state/chassis0.
[   27.454083] mctpserial0: invalid tx state 0
[FAILED] Failed to start OpenBMC ipKVM daemon.
Phosphor OpenBMC (Phosphor OpenBMC Project Reference Distro) nodistro.0 fvp ttyAMA0
         Starting Time & Date Service...
fvp login:
Log in with user root and password 0penBmc.
The first character of the password is the number 0 (zero), not a capital O.
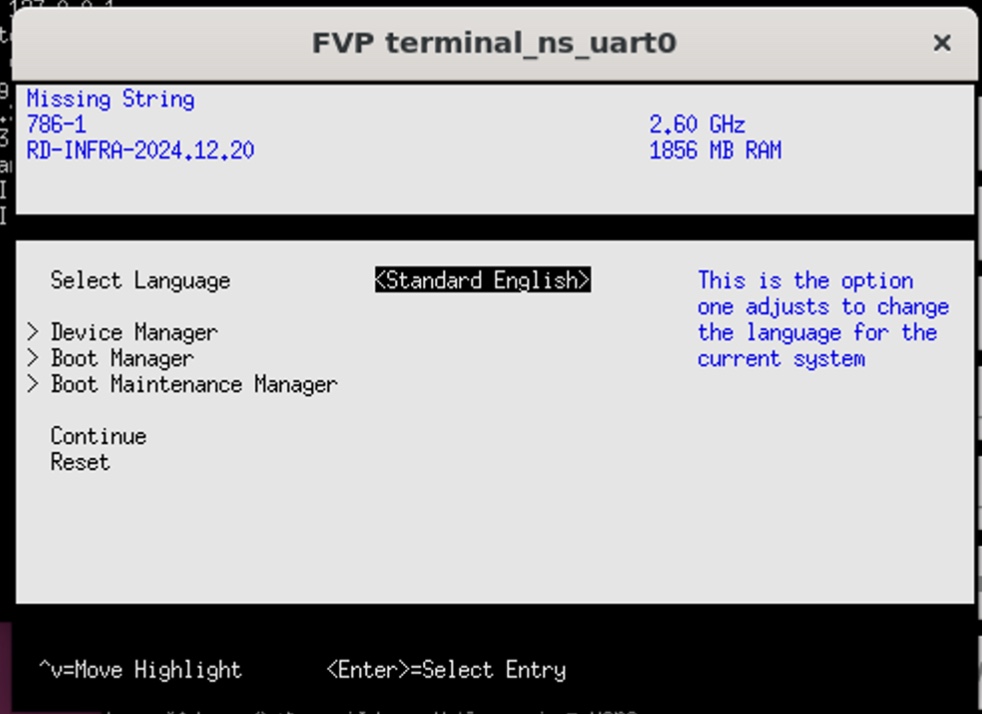
The host-side UEFI appears in the FVP terminal_ns_uart0 window. You might briefly see the UEFI firmware setup.
Select Continue to proceed, then GRUB appears and Linux boots:
 UEFI firmware setup menu before GRUB boots
The simulation proceeds to the CSSv3 r1 GRUB menu. Press Enter to boot.
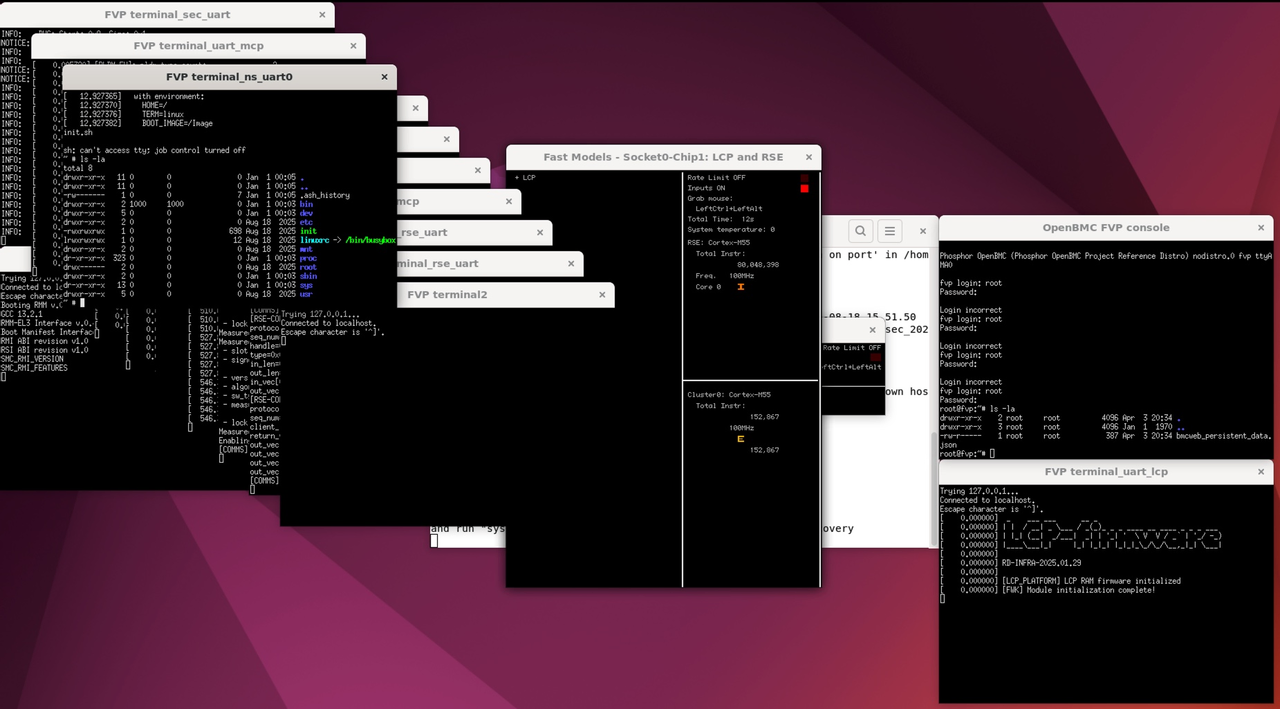
A successful run shows login prompts on both BMC and host consoles. You can also confirm final state in the Web UI or using UART output.
 Simulation success with BMC and host consoles
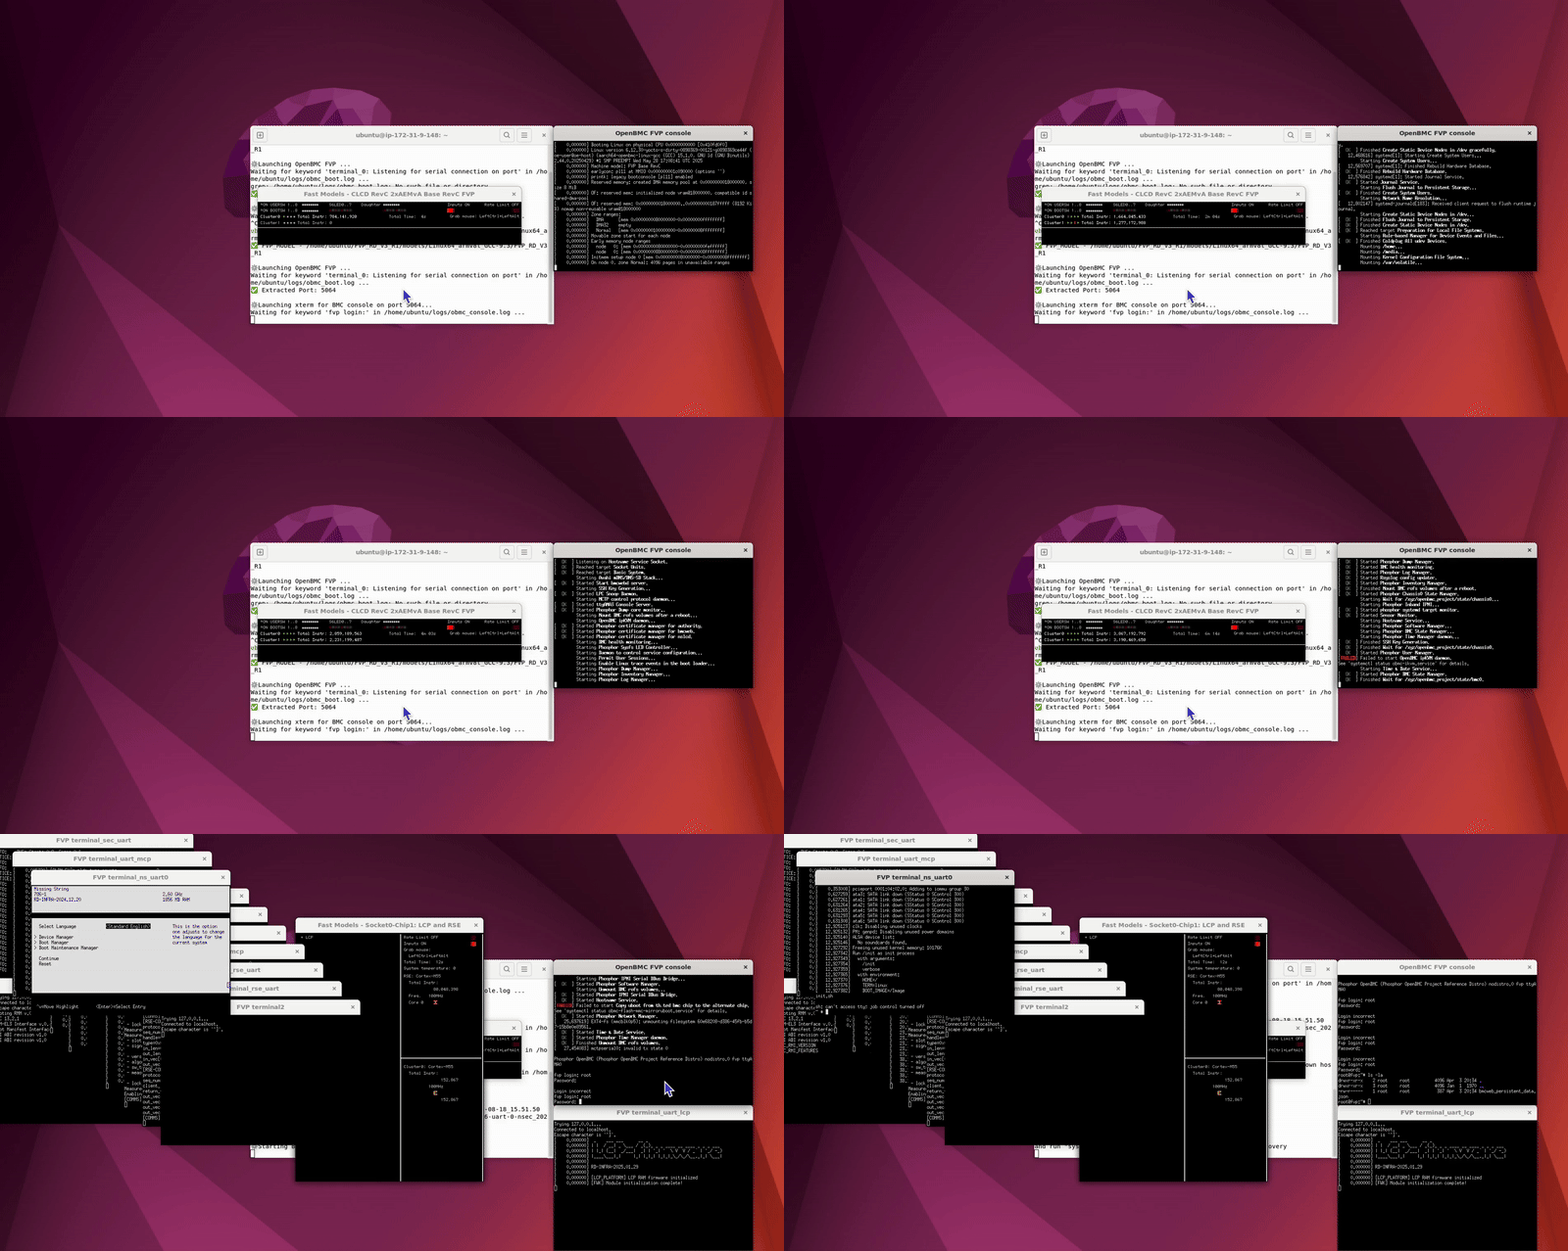
Shown here is a short recording that illustrates OpenBMC and UEFI interaction during pre-silicon execution.
 OpenBMC and UEFI consoles interacting during pre-silicon execution
After the simulation, logs for both BMC and host are stored in ~/logs:
obmc_boot.logBMC boot outputobmc_console.logBMC serial outputfvp_boot.logHost UEFI boot output
Tail them to verify behavior or troubleshoot:
tail -n +1 ~/logs/* | less -R
With the simulation running successfully, you’re ready to exercise host↔BMC flows. You’ll now move on to interact with the BMC using UART and IPMI from the host to validate pre-silicon communication paths.