Run a .NET Aspire application on Arm-based VMs on AWS and GCP
Introduction
.NET Aspire
Create a project and then an application
Run the application
Modify the Project
Deploy to AWS EC2
Deploy to GCP
Next Steps
Run a .NET Aspire application on Arm-based VMs on AWS and GCP
Objective
In this section, you will learn how to deploy the .NET Aspire application you created onto an Arm-based instance running on Google Cloud Platform (GCP). You will start by creating an instance of an Arm64 virtual machine on GCP. You will then connect to it, install the required software, and run the application.
Create an Arm64 virtual machine
To create an Arm64 VM, follow these steps:
Create a Google Cloud Account. If you don’t already have an account, sign up for Google Cloud.
Open the Google Cloud Console .
Navigate to Compute Engine. In the Google Cloud Console, open the Navigation menu, and go to Compute Engine > VM Instances. Enable any relevant APIs if prompted.
Click Create Instance.
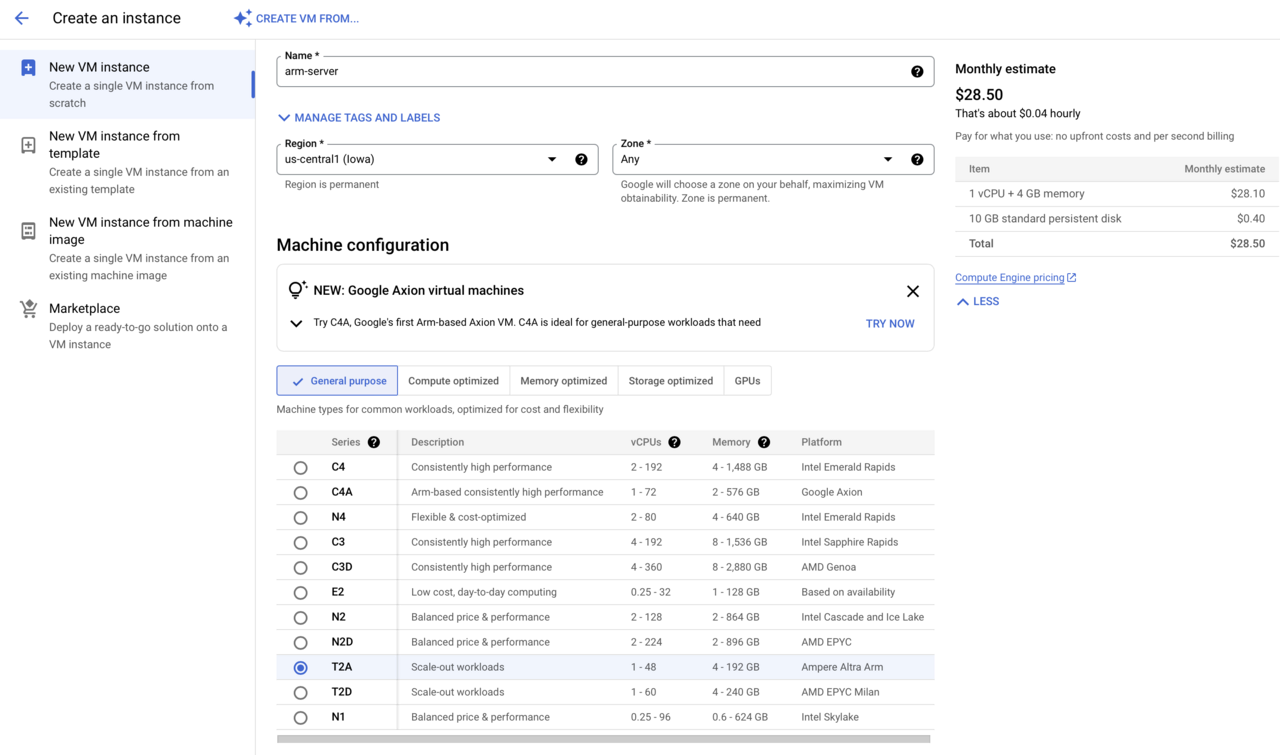
Configure the VM Instance as follows:
- Name: arm-server.
- Region/Zone: choose a region and zone where Arm64 processors are available, for example, us-central1.
- Machine Family: select General-purpose.
- Series: T2A.
- Machine Type: select t2a-standard-1.
The configuration setup should resemble the following:
Configure the Remaining Settings:
- Availability Policies: Standard.
- Boot Disk: Click Change, then select Ubuntu as the operating system.
- Identity and API Access: keep the default settings.
- Firewall Settings: Check Allow HTTP traffic and Allow HTTPS traffic.
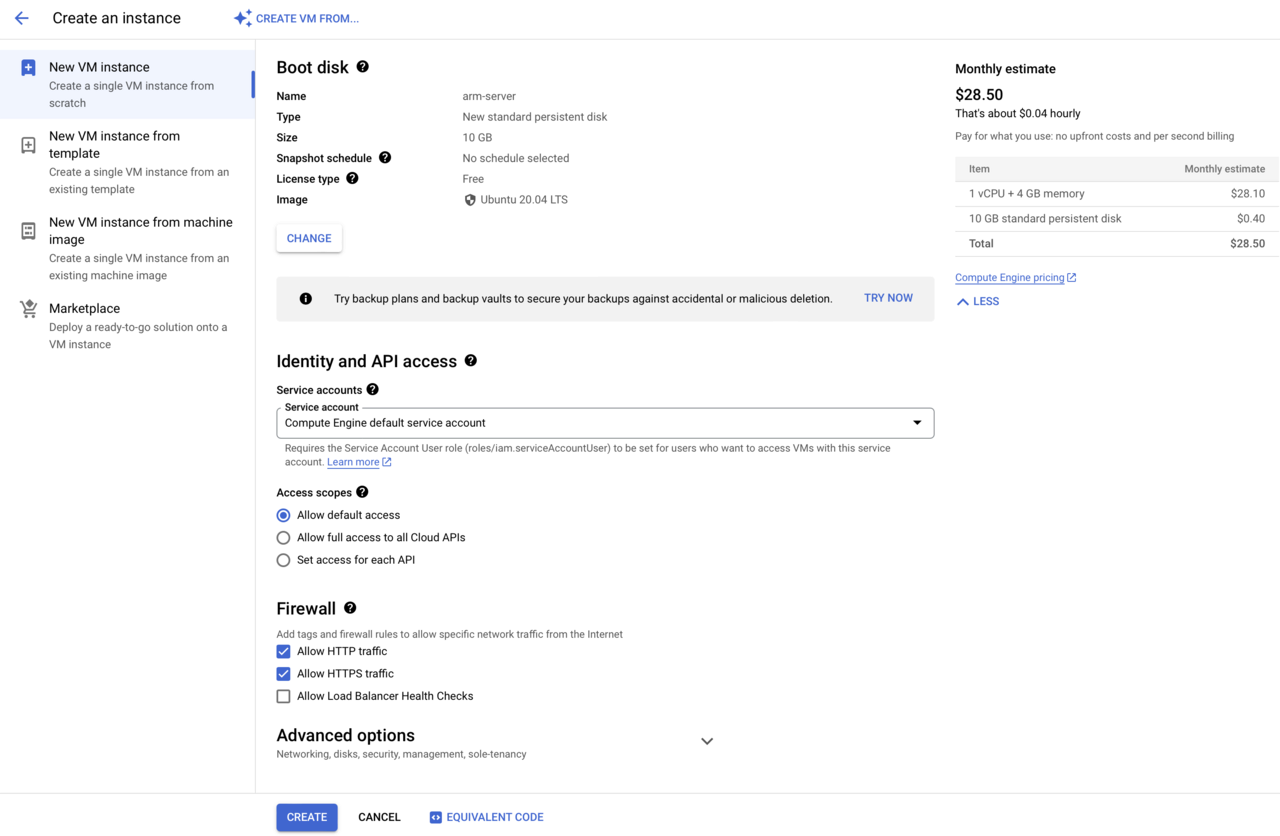
- Click the Create Button and wait for the VM to be created.
Connecting to VM
After creating the VM, connect to it as follows:
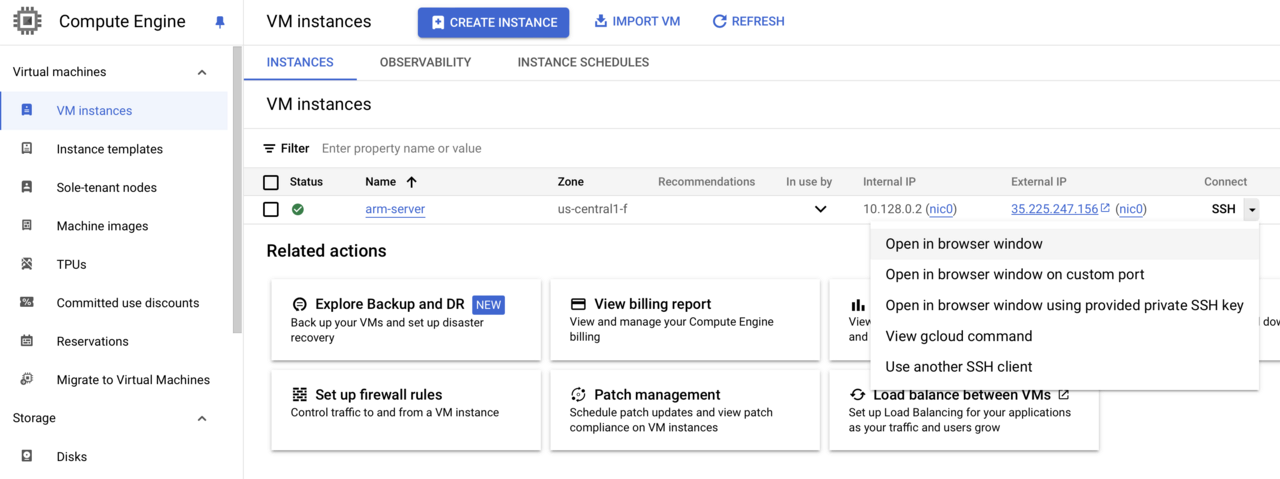
- In Compute Engine, click the SSH drop-down menu next to your VM, and select Open in browser window:
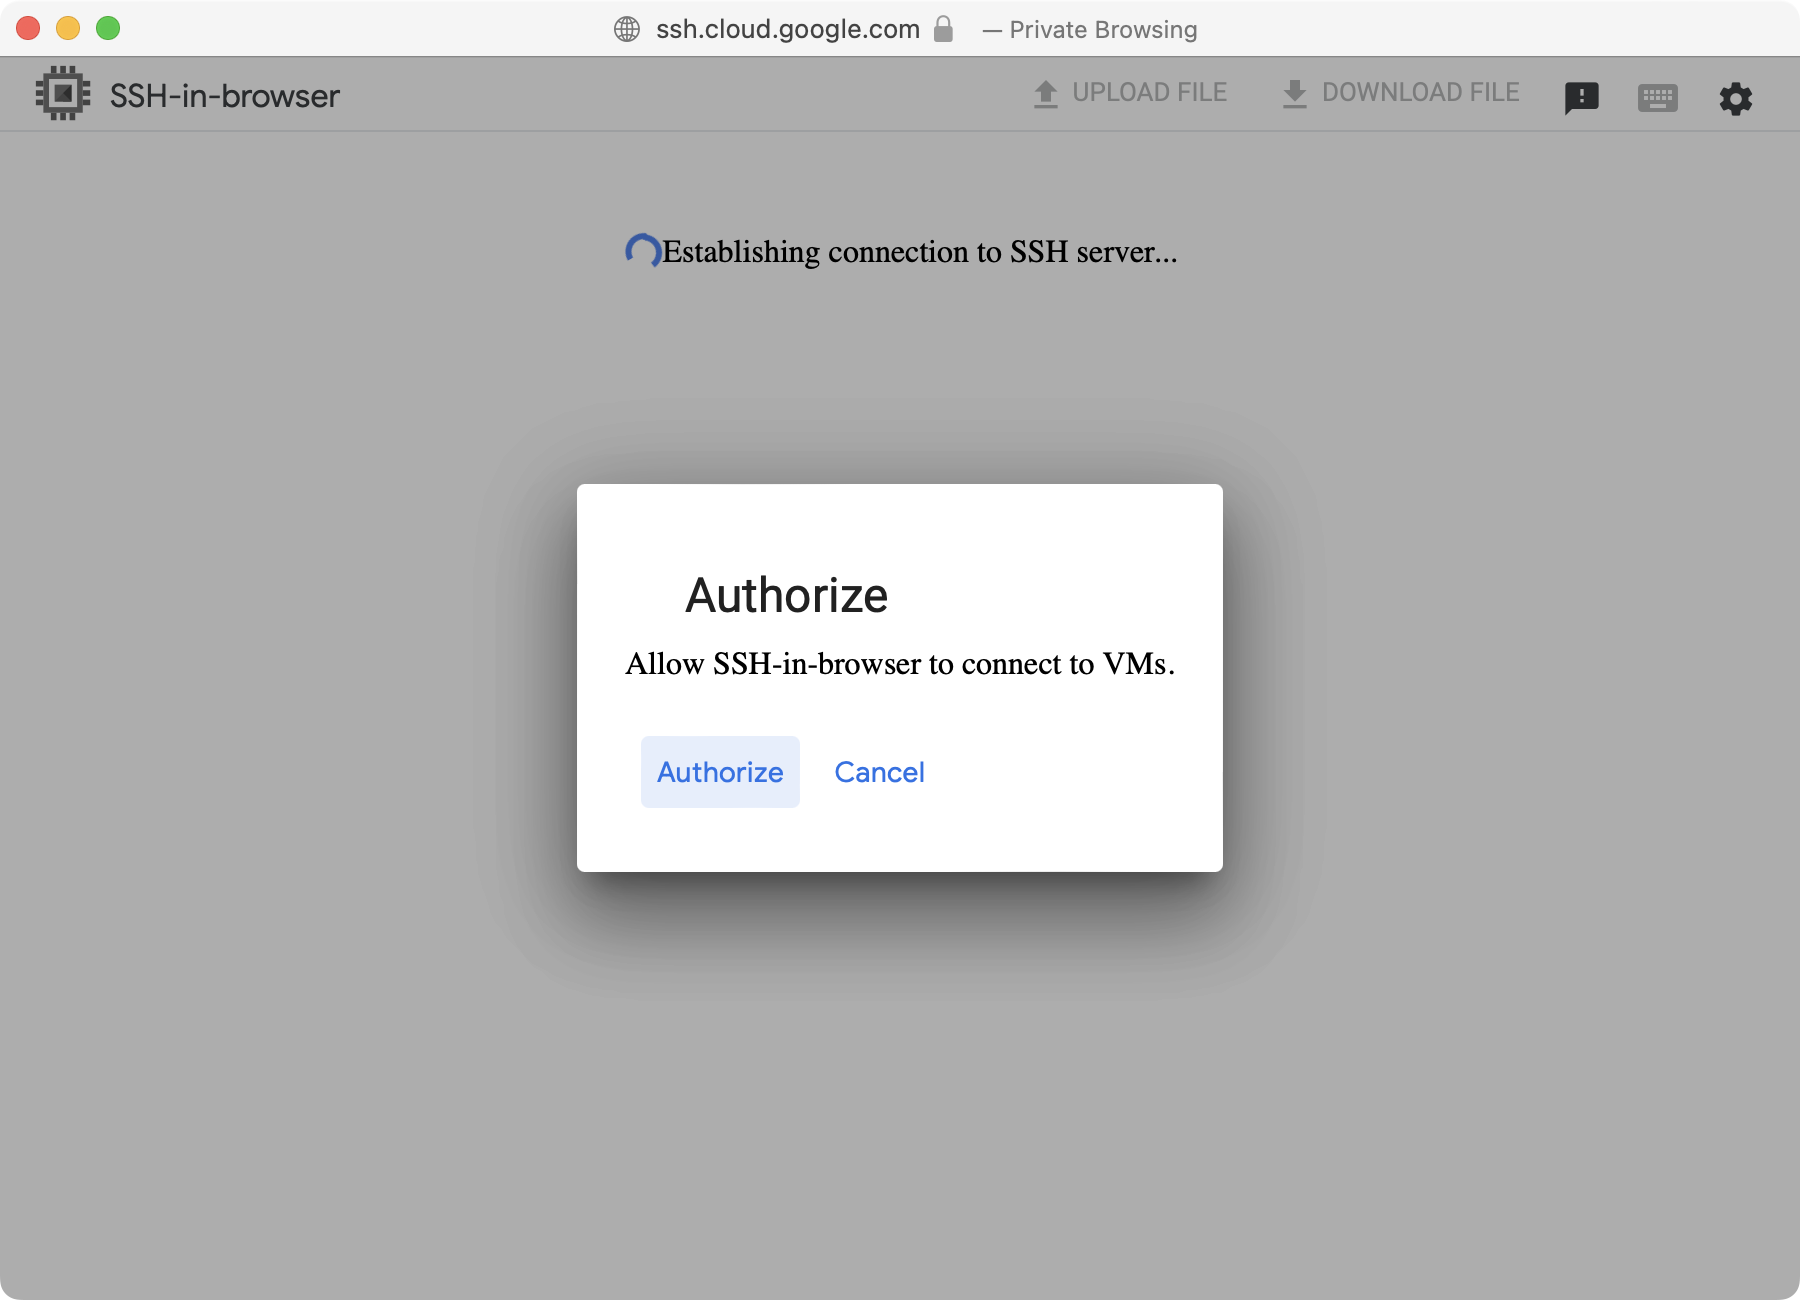
- This opens a browser window. First, click the Authorize button:
- You will then see the terminal of your VM:
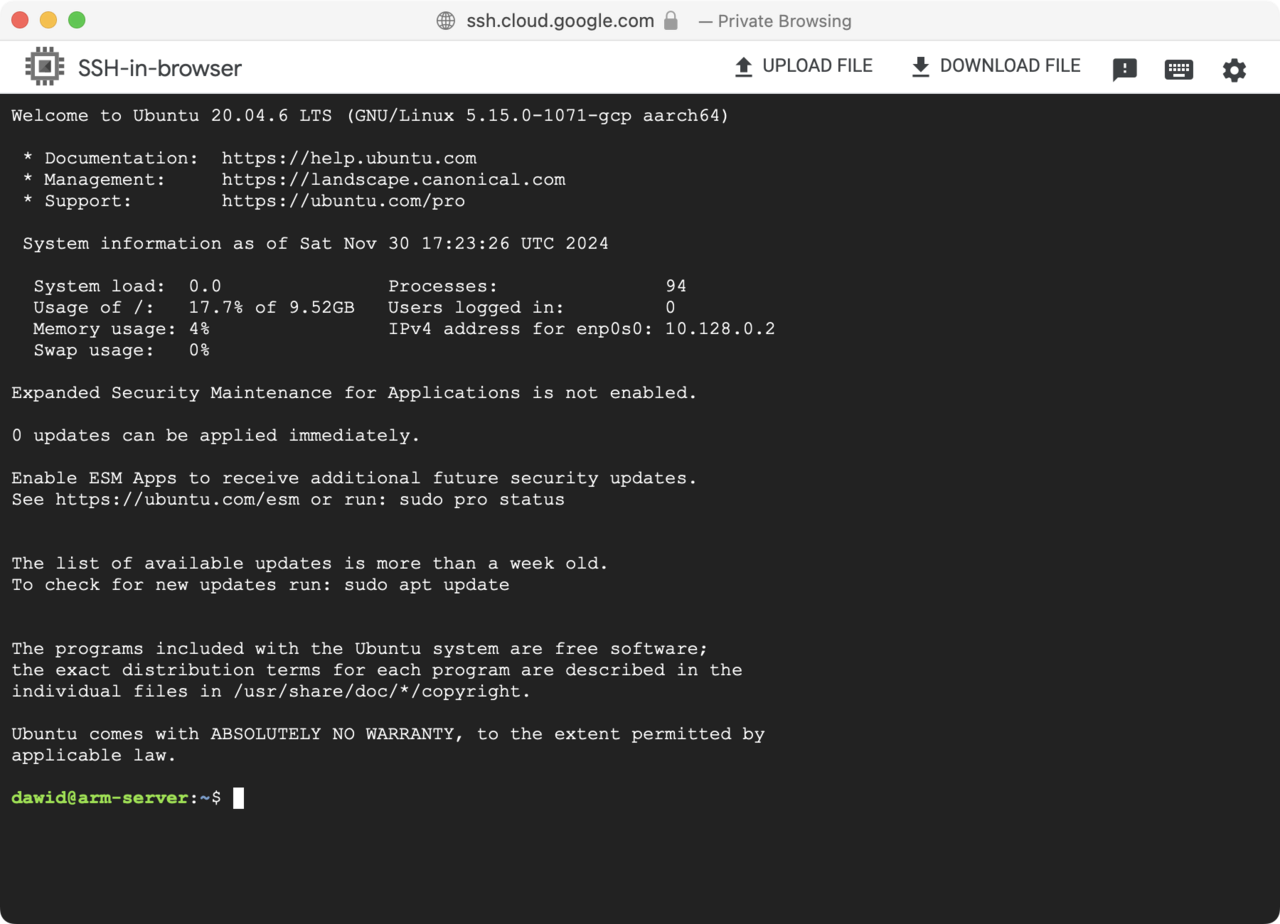
Installing dependencies and deploying an app
Once the connection is established, you can install the required dependencies (.NET SDK, Aspire workload, and Git), fetch the application code, and deploy it.
Update the Package List:
sudo apt update && sudo apt upgrade -y
Install .NET SDK 8.0 or later:
wget https://dot.net/v1/dotnet-install.sh
bash dotnet-install.sh --channel 8.0
Add .NET to PATH:
export DOTNET_ROOT=$HOME/.dotnet
export PATH=$PATH:$HOME/.dotnet:$HOME/.dotnet/tools
Verify the installation:
dotnet --version
Install the .NET Aspire workload:
dotnet workload install aspire
Install git:
sudo apt install -y git
Clone the repository:
git clone https://github.com/dawidborycki/NetAspire.Arm.git
cd NetAspire.Arm/
Trust the development certificate:
dotnet dev-certs https --trust
Build and run the project:
dotnet restore
dotnet run --project NetAspire.Arm.AppHost
You will see output similar to this:
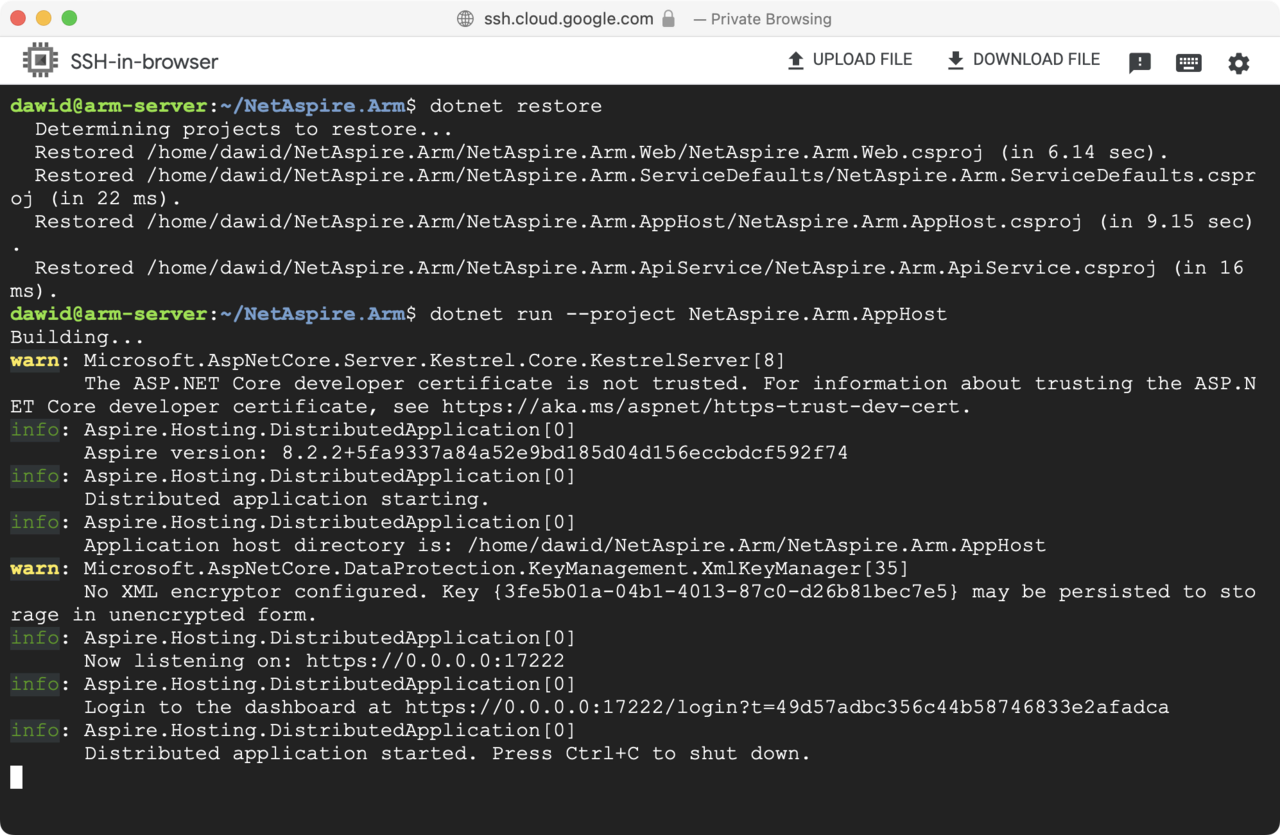
Making your application public
To make your application publicly-accessible, configure the firewall rules:
In the Google Cloud Console, navigate to VPC Network > Firewall.
Click Create Firewall Rule and configure the following:
- Name: allow-dotnet-ports.
- Target Tags: dotnet-app.
- Source IP Ranges: 0.0.0.0/0 (for public access).
- Protocols and Ports: allow TCP on ports 7133, 7511, and 17222.
- Click the Create button.
Go back to your VM instance.
Click Edit, and under Networking find Network Tags, add the tag dotnet-app.
Click the Save button.
Summary
You have successfully deployed the Aspire app onto an Arm-powered GCP virtual machine. This deployment demonstrates the compatibility of .NET applications with Arm architecture and GCP, offering high performance and cost efficiency.