Run a .NET Aspire application on Arm-based VMs on AWS and GCP
Introduction
.NET Aspire
Create a project and then an application
Run the application
Modify the Project
Deploy to AWS EC2
Deploy to GCP
Next Steps
Run a .NET Aspire application on Arm-based VMs on AWS and GCP
Objective
In this section, you will learn how to deploy the .NET Aspire application you created on to an AWS Elastic Compute Cloud (EC2) virtual machine powered by Arm-based processors, such as AWS Graviton. This allows you to leverage the cost and performance benefits of Arm architecture while benefiting from the seamless deployment of cloud-native applications on modern infrastructure.
Set up your AWS EC2 Instance
To set up an Arm-powered EC2 instance, follow these steps:
Log in to the AWS Management Console .
Navigate to the EC2 Service.
As Figure 5 shows, in the search box, type “EC2”.
Then, click on EC2 in the search results:
 Figure 5: Search for the EC2 Service in the AWS Management Console.
- In the EC2 Dashboard, click Launch Instance and add the following information in these corresponding data fields to configure your setup:
- Name: enter arm-server.
- AMI: select Arm-compatible Amazon Machine Image, Ubuntu 22.04 LTS for Arm64.
- Architecture: select 64-bit (Arm).
- Instance Type: select t4g.small.
The configuration should look like the configuration fields that Figure 6 shows:
 Figure 6: Configuration Fields.
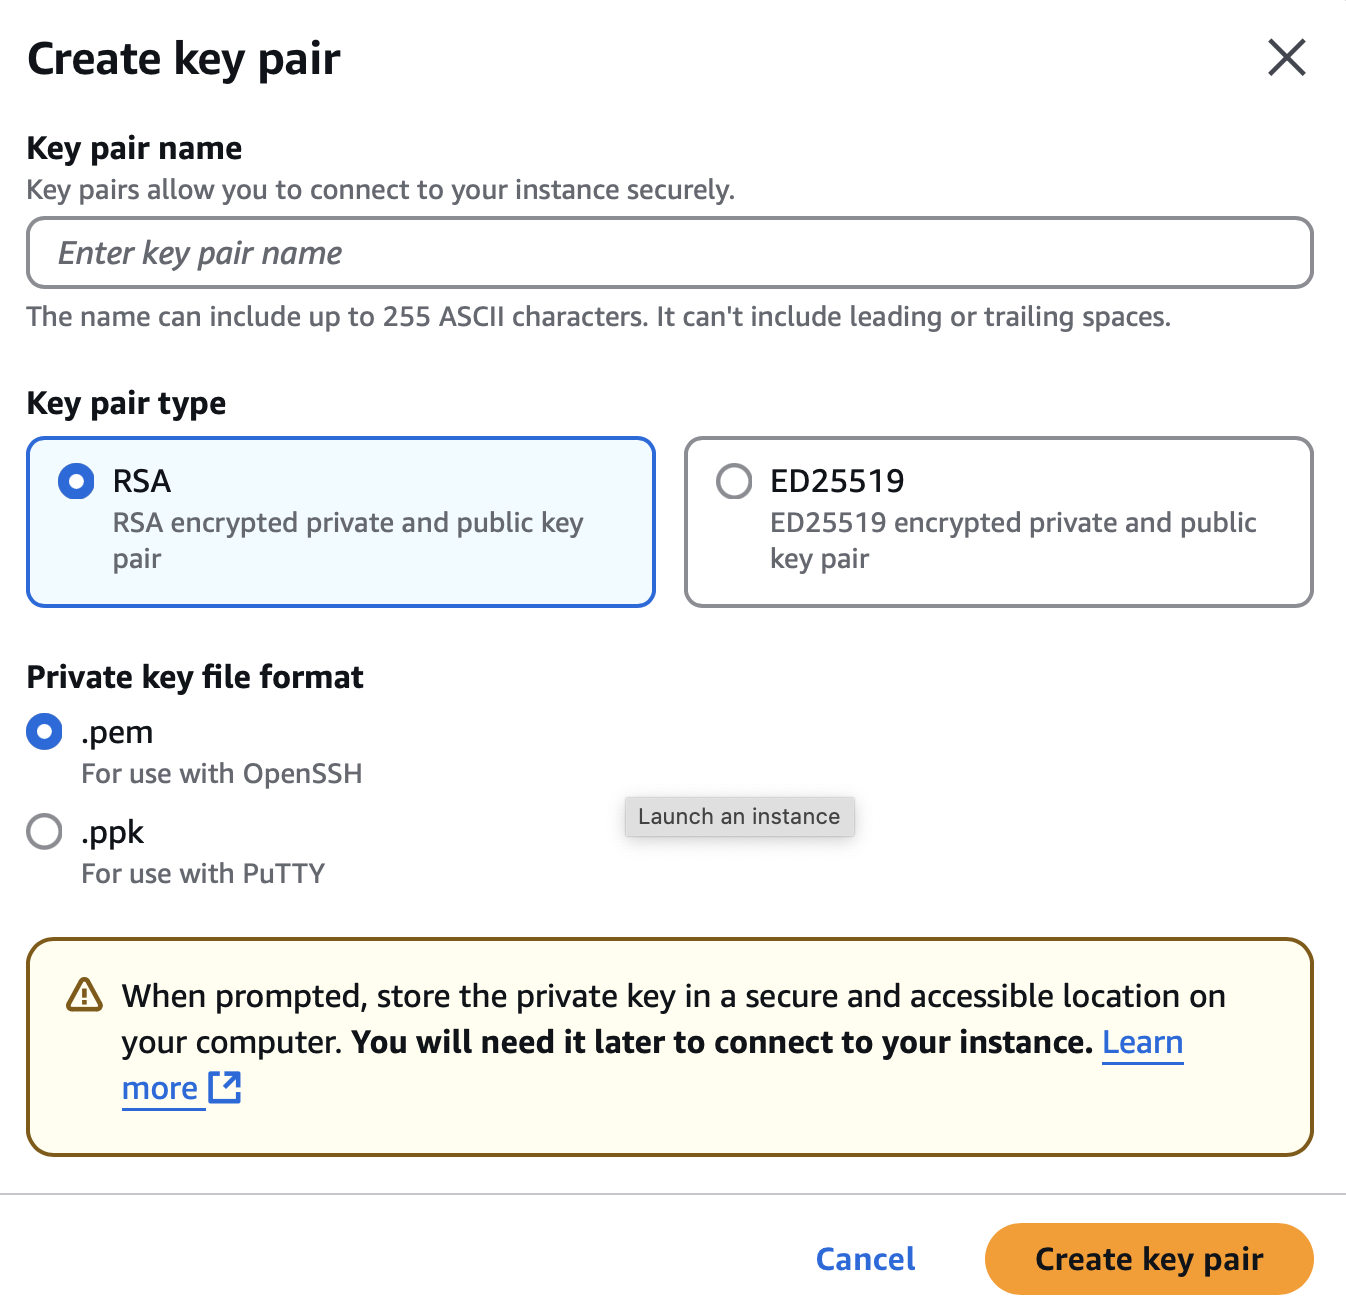
- Scroll down to Key pair (login), and click Create new key pair. This displays the Create key pair window. Now configure the following fields:
- Key pair name: arm-key-pair.
- Key pair type: RSA.
- Private key format: .pem.
- Click the Create key pair button, and download the key pair to your computer.
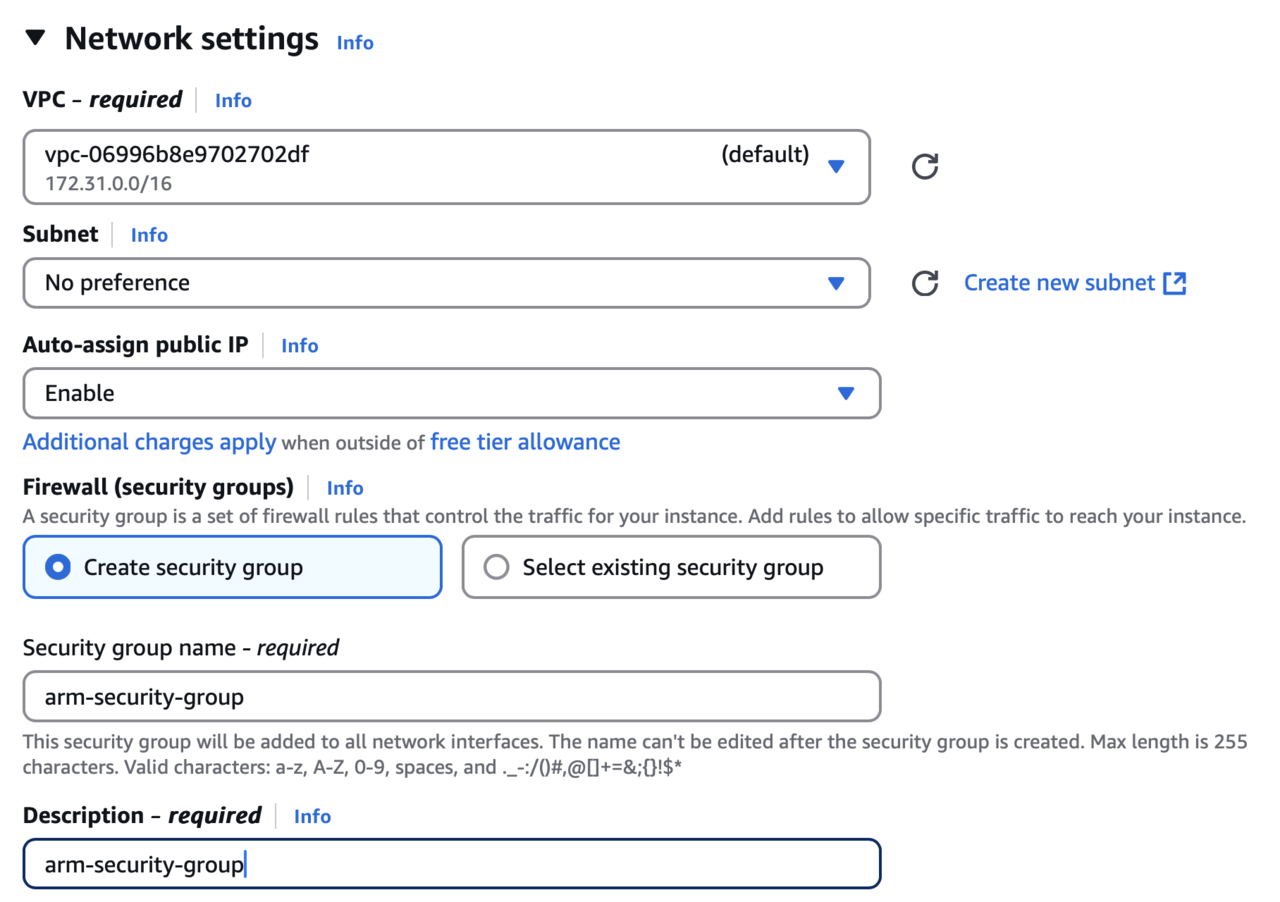
- Scroll down to Network Settings, and configure the settings:
- VPC: select the default.
- Subnet: select No preference.
- Auto-assign public IP: Enable.
- Firewall: Check Create security group.
- Security group name: arm-security-group.
- Description: arm-security-group.
- Inbound security groups.
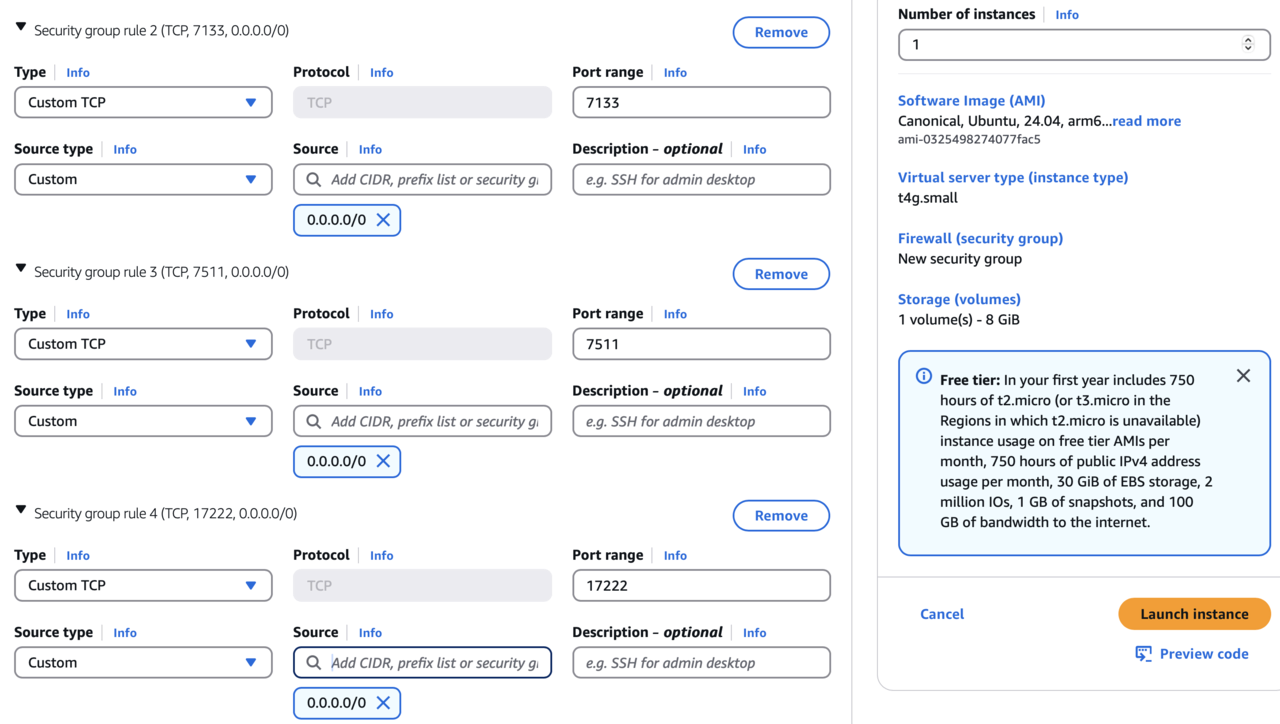
- Configure Inbound Security Group Rules by selecting Add Rule and then setting the following details:
- Type: Custom TCP.
- Protocol: TCP.
- Port Range: 7133.
- Source: Select Anywhere (0.0.0.0/0) for public access or restrict access to your specific IP for better security.
Repeat this step for all three ports that the application is using. This example demonstrates setup using ports 7133, 7511, and 17222. These must match the values that you have when you run the app locally.
The configuration should look like:
- Launch an instance by clicking the Launch instance button. You should see the green box with the Success label.
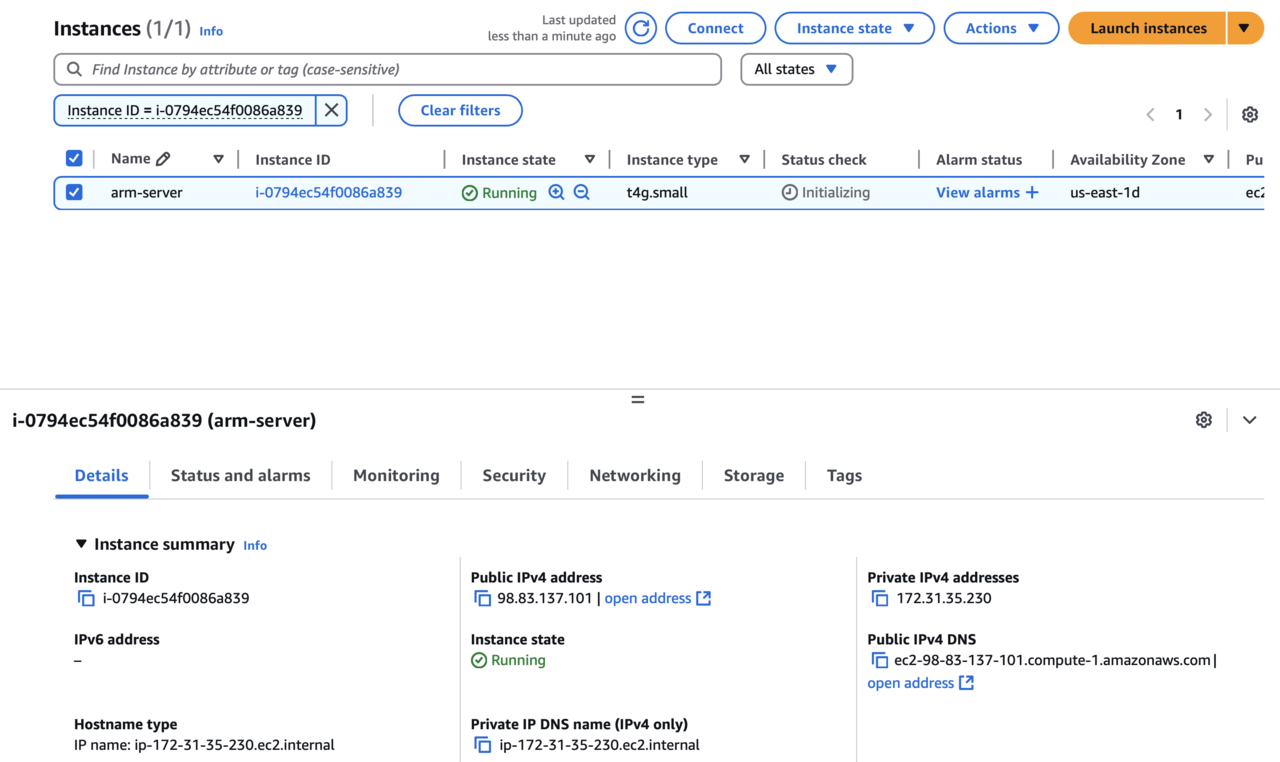
This box also contains a link to the EC2 instance. Click on it, and it takes you to the instance dashboard, as Figure 10 shows:
Deploy the application
Once the EC2 instance is ready, you can connect to it, and deploy the application. Follow these steps to connect:
Locate the instance public IP (here this is 98.83.137.101).
Use an SSH client to connect:
- Open the terminal.
- Set the appropriate permissions for the key pair file, using your own IP address:
chmod 400 arm-key-pair.pem
ssh -i arm-key-pair.pem ubuntu@98.83.137.101
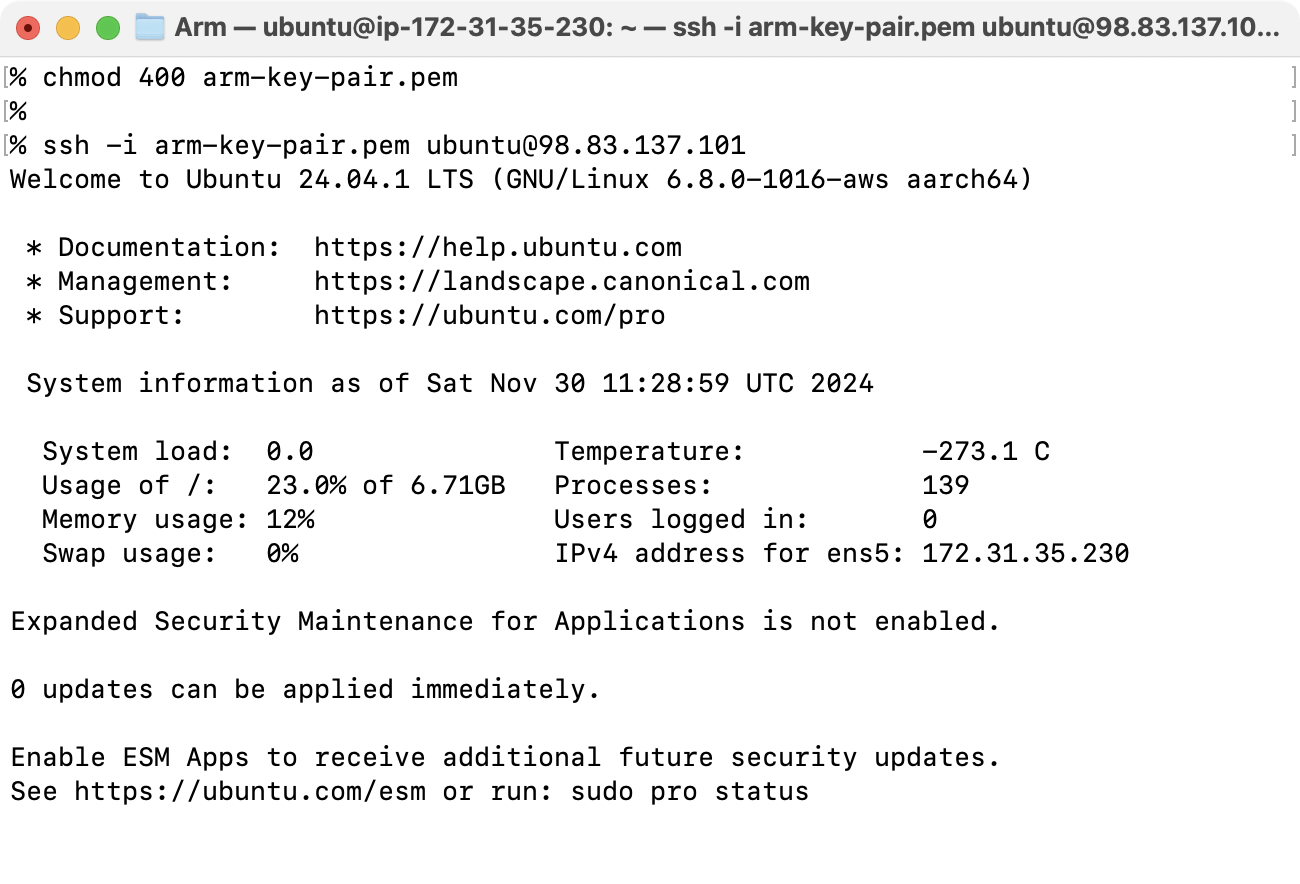
You can now install the required components, pull the application code from git, and launch the app: In the EC2 terminal run:
sudo apt update && sudo apt upgrade -y
This updates the package list and upgrades the installed packages.
Install .NET SDK using the following commands:
wget https://packages.microsoft.com/config/ubuntu/22.04/packages-microsoft-prod.deb -O packages-microsoft-prod.deb
sudo dpkg -i packages-microsoft-prod.deb
sudo apt update
sudo apt install -y dotnet-sdk-8.0
Verify the installation:
dotnet --version
Install the Aspire workload using the dotnet CLI:
dotnet workload install aspire
Clone the repository that contains the application that you created in the previous section:
git clone https://github.com/dawidborycki/NetAspire.Arm.git
cd NetAspire.Arm/
Trust the development certificate:
dotnet dev-certs https --trust
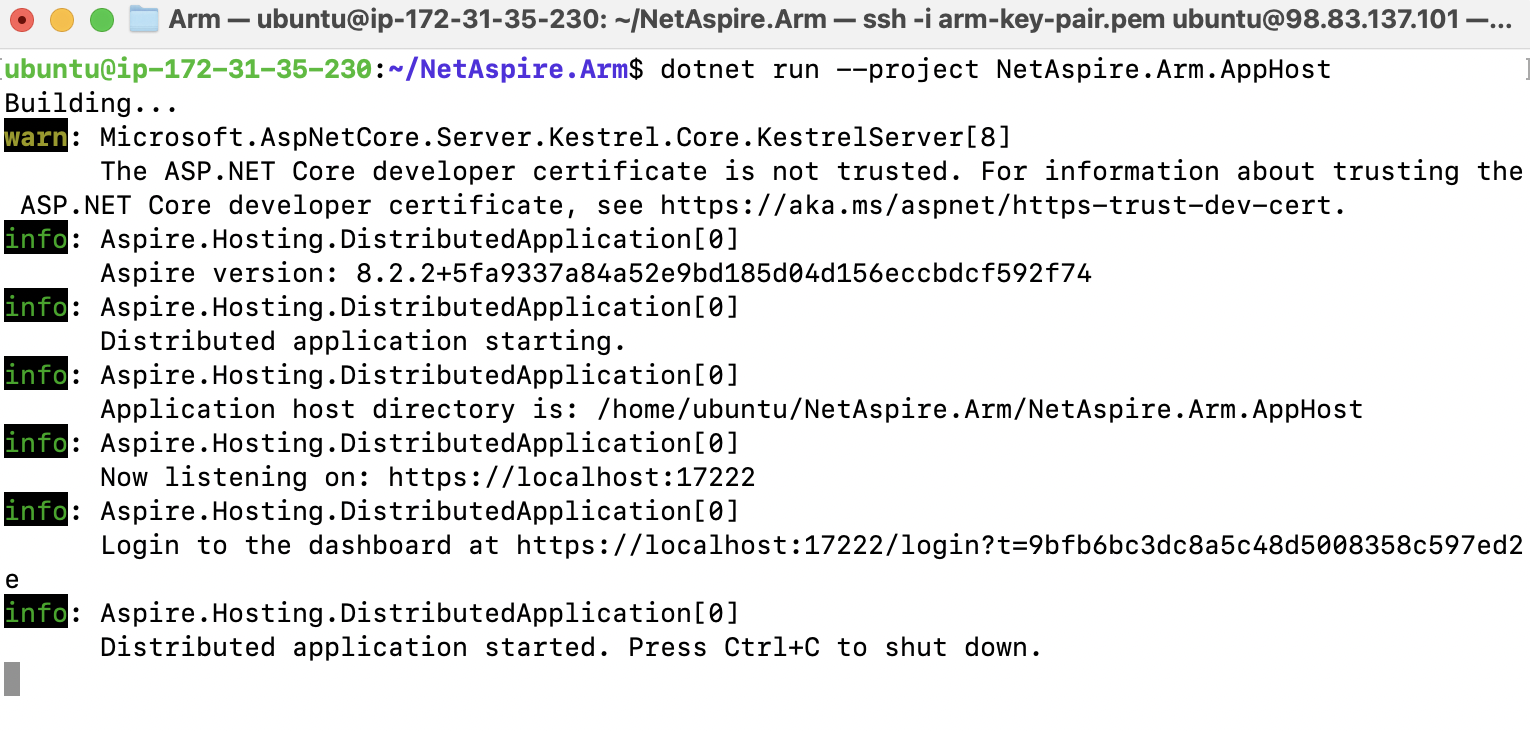
Build and run the project:
dotnet restore
dotnet run --project NetAspire.Arm.AppHost
The application runs the same way as it does locally. You should see the following:
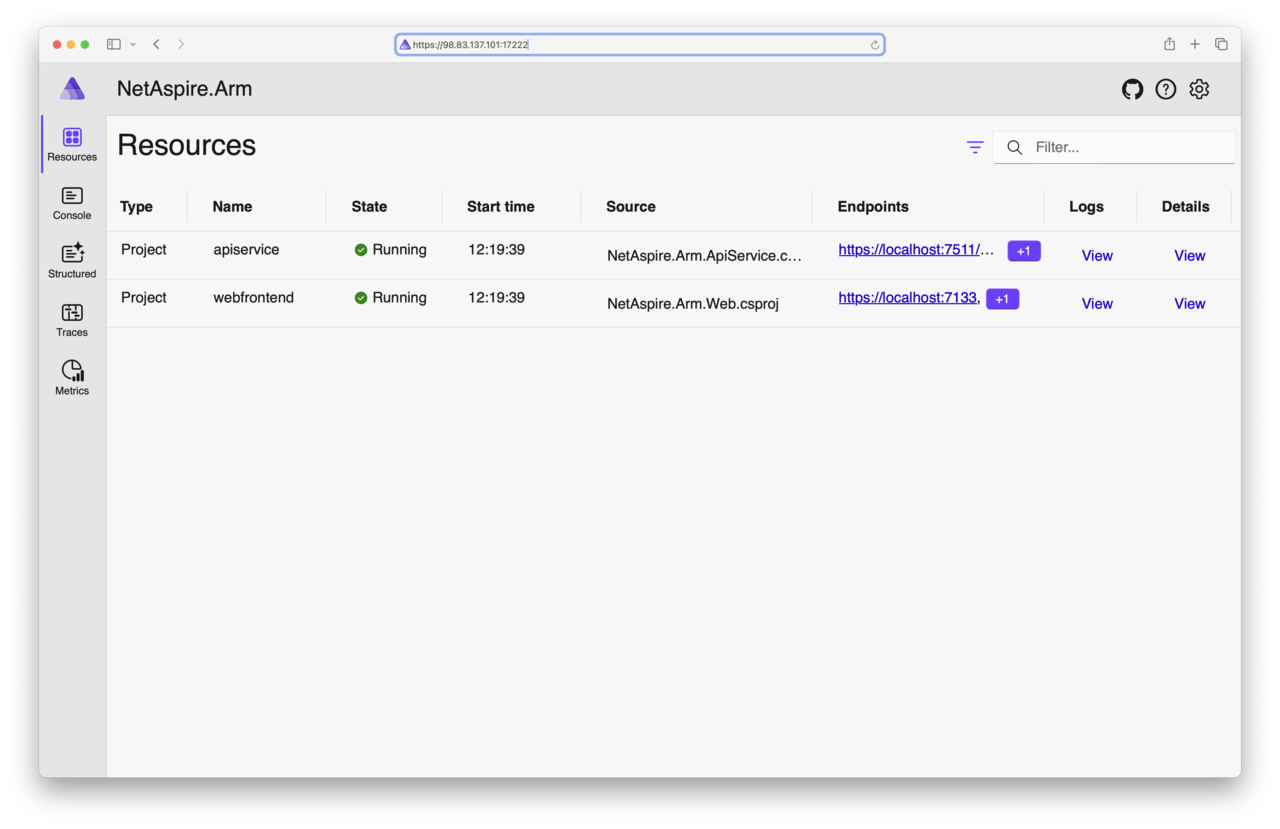
Finally, open the application in the web browser, using the EC2’s public IP:
Summary
You have successfully deployed the Aspire app on to an Arm-powered AWS EC2 instance. This demonstrates the compatibility of .NET applications with Arm architecture and AWS Graviton instances, offering high performance and cost-efficiency.