Migrate applications to Arm servers using migrate-ease
Introduction
Assessing your code for migration to Arm
Migrate-ease and supported programming languages
Getting started with migrate-ease
Try it out
Next Steps
Migrate applications to Arm servers using migrate-ease
Set up your environment
Before using migrate-ease, install the following system dependencies:
sudo apt-get install -y python3 python3-pip python3-venv unzip libmagic1 git
sudo apt-get install -y python3 python3-pip python3-venv unzip libmagic1 git
sudo dnf install -y python3 python3-pip unzip git
Clone the repository:
git clone https://github.com/migrate-ease/migrate-ease
cd migrate-ease
Create and activate a Python virtual environment:
python3 -m venv .venv
source .venv/bin/activate
Install the required packages and set the environment variable:
pip3 install -r requirements.txt
export PYTHONPATH=`pwd`
Usage
You can use migrate-ease from the command-line or through a Web GUI.
Command-line usage
You can scan local codebases written in a supported programming languages. By default, scan results from the code analysis are sent to the console.
python3 -m {scanner_name} --march {arch} {scan_path}
The result from the scan can be exported as txt, csv, json or html. Specify this using the --output option:
To generate a JSON report:
python3 -m {scanner_name} --output {result_file_name}.json --march {arch} {scan_path}
Here’s an explanation of each of the arguments passed to the scanner tool:
Parameters
{scanner_name}: The name of the scanner, which can be one of cpp, docker, go, java, Python or rust.
{result_file_name}: The name of the exported results file (without the extension).
{arch}: The architecture type; armv8-a is the default.
{scan_path}: The path to the code you want to scan.
To scan a remote Git repository:
python3 -m {scanner_name} --output {result_file_name}.json --march {arch} --git-repo {repo} {clone_path}
In the case of git repository scan, {clone_path} is a directory where the remote repo code is cloned into. This directory should be empty or must be created by the user.
There are more parameters for user to control the scan functionality. To see this information, use the built-in help as shown:
python3 -m {scanner_name} -h
Replace {scanner_name} with either cpp, docker, go, java, Python or rust.
GUI
Migrate-ease also provides a Web UI that supports scanning a git repo with cpp, docker, go, java, Python and rust scanners in one time. To start the web server, simply run:
python3 web/server.py
Once the server is running, you can access a web server hosted at http://localhost:8080
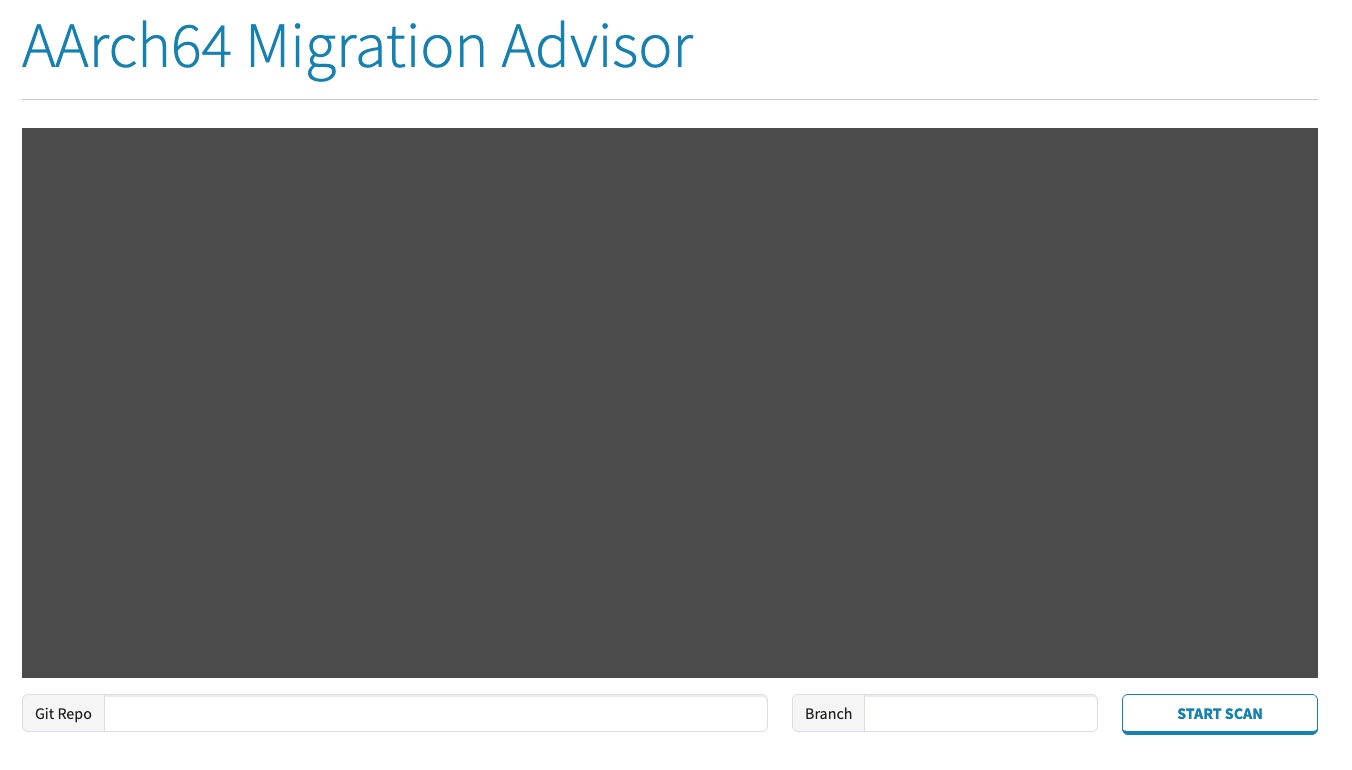
The web UI looks like this:
 Web UI to scan a git repo
A git repo URL is required, and you can specify certain branch name to scan. Once the necessary information is filled, you can click the START SCAN button to proceed project scanning.
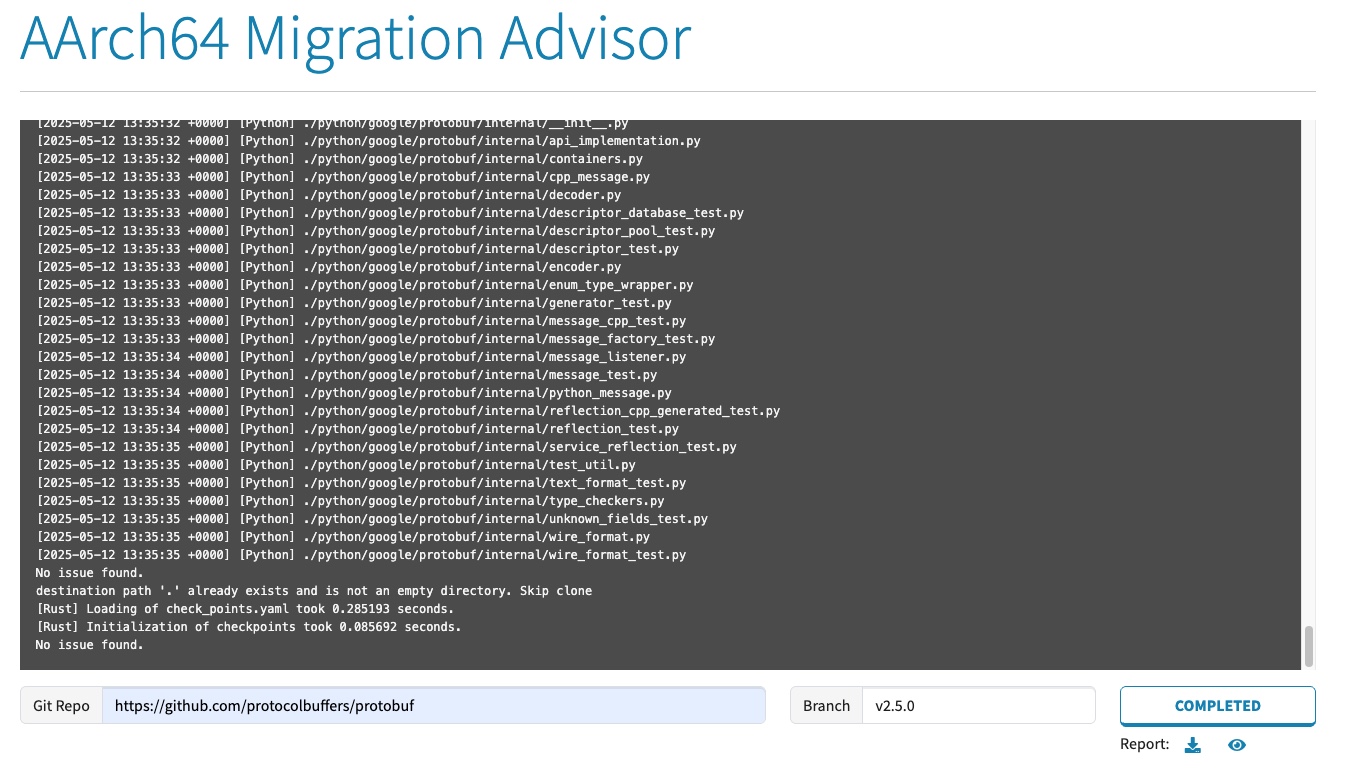
Scanning progress is then shown in the console pane. Once all the jobs are done, you will see a web page like this:
 Web UI of scan result
You can download the result by clicking the symbolic download icon button, or view the result by clicking the icon which looks like an eye.