Deploy a LLM-based vision chatbot with PyTorch and Hugging Face transformers on Google Axion processors
Introduction
Set up an LLM based-Vision Chatbot
Deploy Vision Chatbot LLM backend server
Deploy Vision Chatbot LLM frontend server
Inference with Vision Chatbot
Next Steps
Deploy a LLM-based vision chatbot with PyTorch and Hugging Face transformers on Google Axion processors
Access the Web Application
You can now open the web application in your browser using the external URL:
http://[your instance ip]:8501
To access the application, you might need to allow inbound TCP traffic in your instance’s security rules. Review these permissions cautiously as they might introduce security vulnerabilities.
For an Axion instance, you can do this from the gcloud CLI:
gcloud compute firewall-rules create allow-my-ip
–direction=INGRESS
–network=default
–action=ALLOW
–rules=tcp:8501
–source-ranges=[your IP]/32
–target-tags=allow-my-ip
For this to work, you must ensure that the allow-my-ip tag is present on your Axion instance.
Interact with the LLM
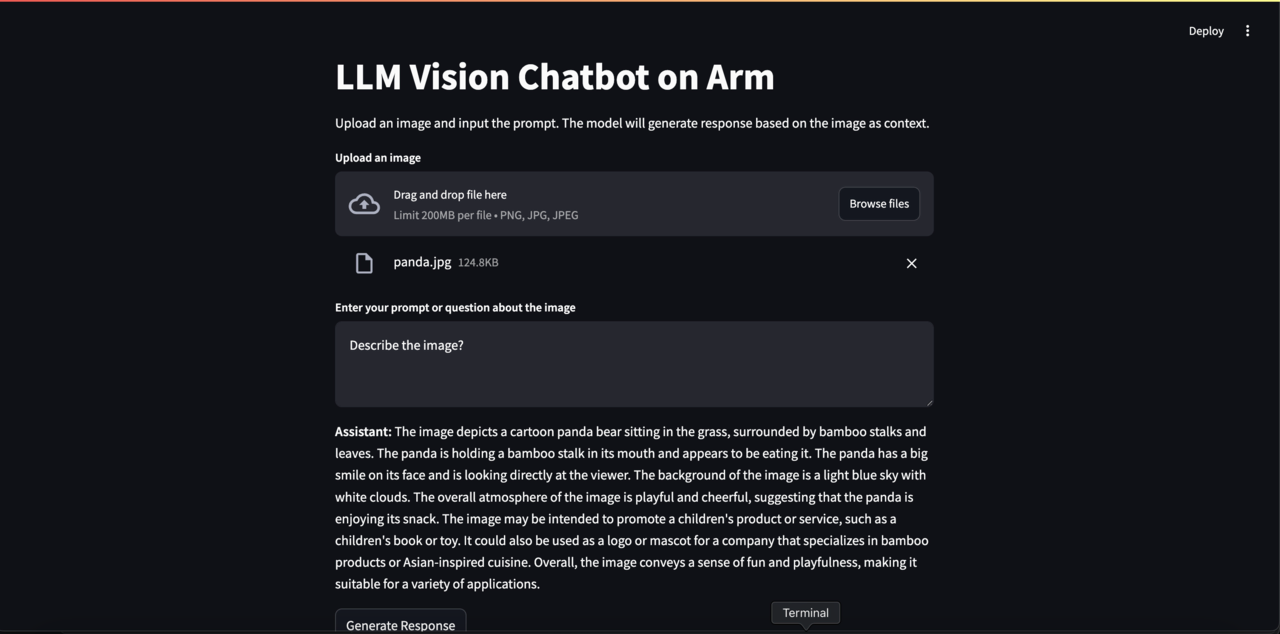
Upload an image and enter your prompt in the UI to generate a response.
You should see the LLM generating a response based on the prompt, using the image as context as shown below:
Further Interaction and Custom Applications
You can continue experimenting with different images and prompts to observe how the Vision model responds on Arm-based CPUs. This setup demonstrates how you can create various applications and configure your vision-based LLMs. This Learning Path serves as a guide and example to showcase the LLM inference of vision models on Arm CPUs, highlighting the optimized inference on CPUs.