Migrate x86 workloads to Arm on Google Kubernetes Engine with Axion processors
Introduction
Explore the benefits of migrating microservices to Arm on GKE
Set up your environment
Create build-ready Dockerfiles for both architectures
Build and deploy multi-architecture images on GKE
Prepare manifests and deploy on GKE
Automate builds and rollout with Cloud Build and Skaffold
Next Steps
Prepare deployment manifests
You’ll now configure the application manifests to use your Artifact Registry images and create Kustomize overlays for different CPU architectures. This allows you to deploy the same application to both x86 and Arm node pools by replacing sample image references with your Artifact Registry path and tag, then creating overlays to select nodes by architecture.
Update base manifests to use your images
Replace the sample image references in the base manifests with your Artifact Registry path and tag:
Replace the image references with your references:
# Replace the sample repo path with your GAR (from earlier: ${GAR})
find kustomize/base -name "*.yaml" -type f -exec \
  sed -i "s|us-central1-docker.pkg.dev/google-samples/microservices-demo|${GAR}|g" {} +

# Replace the sample tag with your tag
find kustomize/base -name "*.yaml" -type f -exec \
  sed -i "s|:v0\.10\.3|:v1|g" {} +

# Verify changes
grep -r "${GAR}" kustomize/base/ || true
You’ve updated your deployment manifests to reference your own Artifact Registry images. This ensures your application uses the multi-architecture containers you built for Arm and x86.
Create node-selector overlays
Create node-selector overlays for targeting specific architectures.
First, create the directories:
mkdir -p kustomize/overlays/amd64 kustomize/overlays/arm64
Create the amd64 overlay:
cat << 'EOF' > kustomize/overlays/amd64/kustomization.yaml
resources:
- ../../base
patches:
- path: node-selector.yaml
  target:
    kind: Deployment
EOF

cat << 'EOF' > kustomize/overlays/amd64/node-selector.yaml
- op: add
  path: /spec/template/spec/nodeSelector
  value:
    kubernetes.io/arch: amd64
EOF
Create the arm64 overlay:
cat << 'EOF' > kustomize/overlays/arm64/kustomization.yaml
resources:
- ../../base
patches:
- path: node-selector.yaml
  target:
    kind: Deployment
EOF

cat << 'EOF' > kustomize/overlays/arm64/node-selector.yaml
- op: add
  path: /spec/template/spec/nodeSelector
  value:
    kubernetes.io/arch: arm64
EOF
You’ve updated your deployment manifests to reference your own Artifact Registry images. This ensures your application uses the multi-architecture containers you built for Arm and x86.
Deploy to the x86 (amd64) pool
Render the amd64 Kustomize overlay (adds nodeSelector: kubernetes.io/arch=amd64) and apply it to the cluster.
Run from the repository root after updating base manifests and setting your kube-context to this cluster:
kubectl kustomize kustomize/overlays/amd64 | kubectl apply -f -
Check pod placement and status:
kubectl get pods -o wide
# or include the architecture label on the nodes
kubectl get pods -o=custom-columns=NAME:.metadata.name,NODE:.spec.nodeName,STATUS:.status.phase --no-headers
Pods should be scheduled on nodes labeled kubernetes.io/arch=amd64.
You’ve deployed your application to the x86 node pool and verified pod placement. This confirms your manifests and overlays work as expected before migrating to Arm.
Migrate to the Arm (arm64) pool
Apply the arm64 overlay to move workloads:
kubectl kustomize kustomize/overlays/arm64 | kubectl apply -f -
Verify pods have moved to arm64 nodes:
kubectl get pods -o wide
You should see pods now running on nodes where kubernetes.io/arch=arm64.
You’ve migrated your workloads to the Arm node pool. Pods now run on Arm-based nodes, demonstrating a successful architecture transition.
Verify external access
Get the LoadBalancer IP and open the storefront:
kubectl get svc frontend-external
The output is similar to:
        NAME               TYPE           CLUSTER-IP     EXTERNAL-IP      PORT(S)        AGE
frontend-external  LoadBalancer   10.12.3.45     34.123.45.67     80:31380/TCP   3m
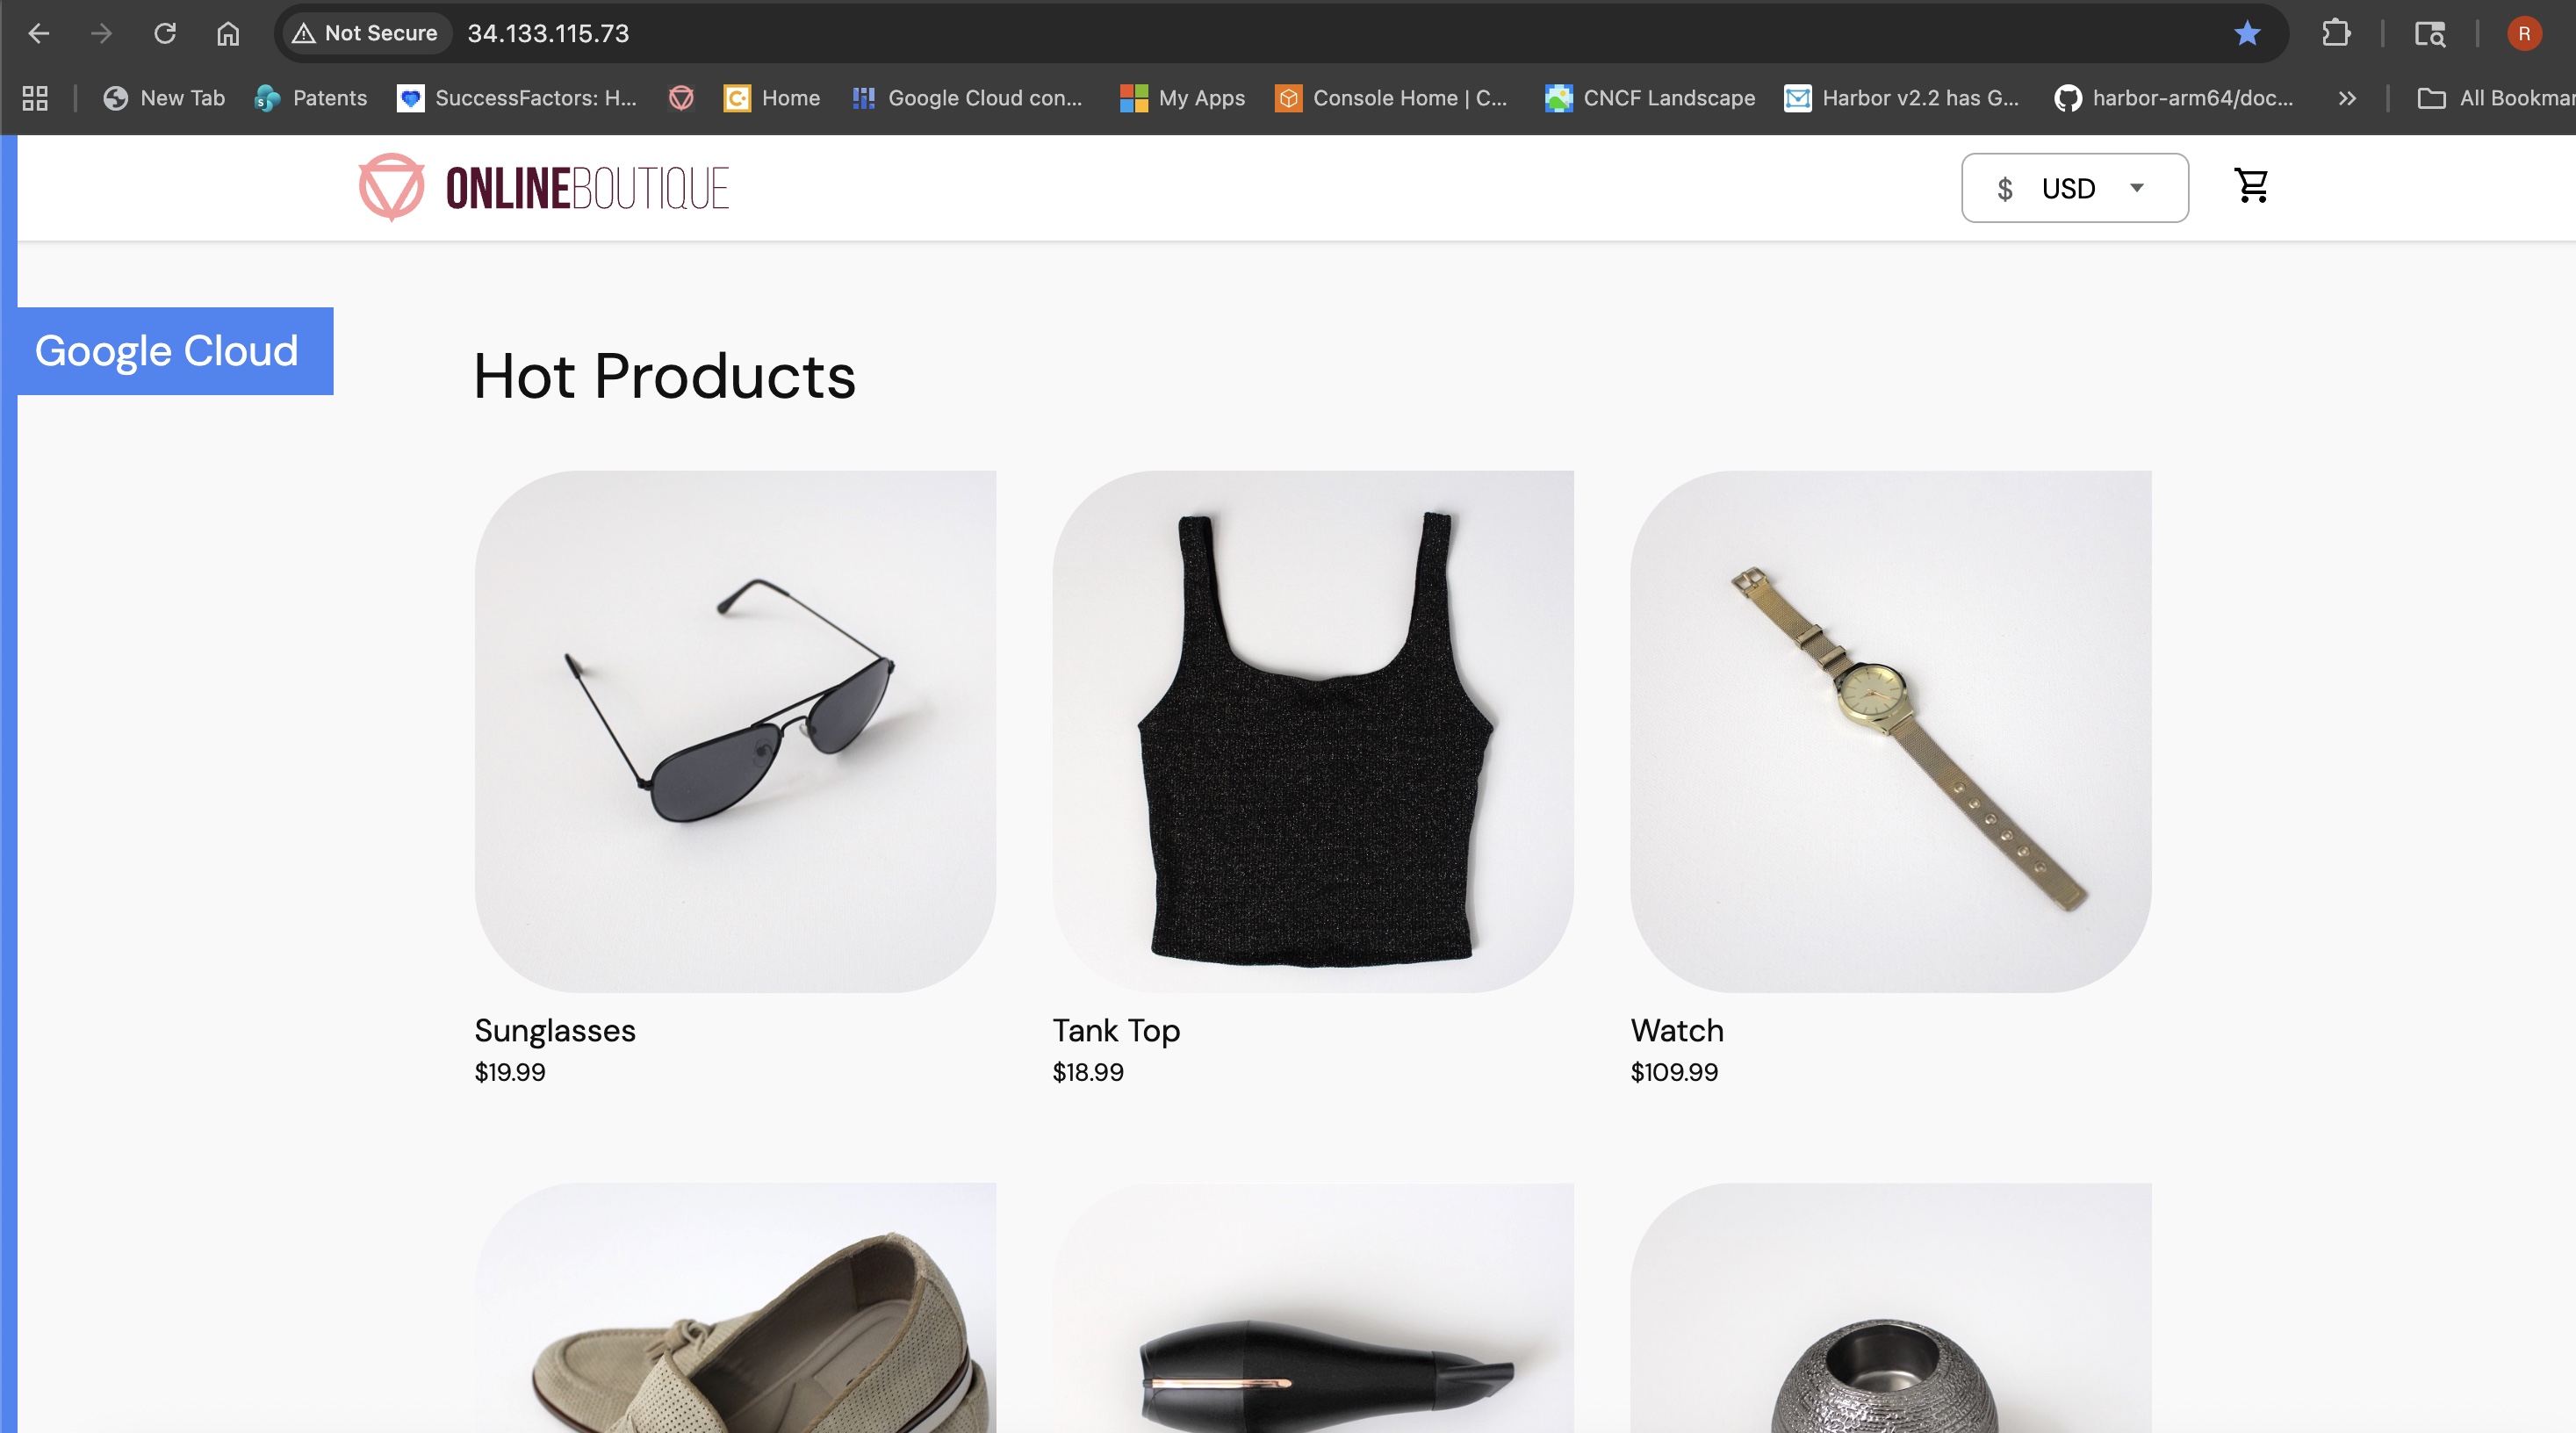
Copy the EXTERNAL-IP value and open it in a new browser tab:
http://<EXTERNAL-IP>
The microservices storefront loads, confirming that your application is accessible and functional on the arm64 node pool. You’re now running a production-ready microservices storefront on Arm-powered GKE infrastructure.
 Online Boutique storefront running on Google Axion (arm64) nodes in GKE