How do I connect my Copilot extension to my GitHub account?
Create a GitHub App to connect your Python extension to your GitHub account.
Click on your photo in the upper-right corner of GitHub and select Settings.
Scroll to the bottom left and select Developer settings.
Create a new GitHub App
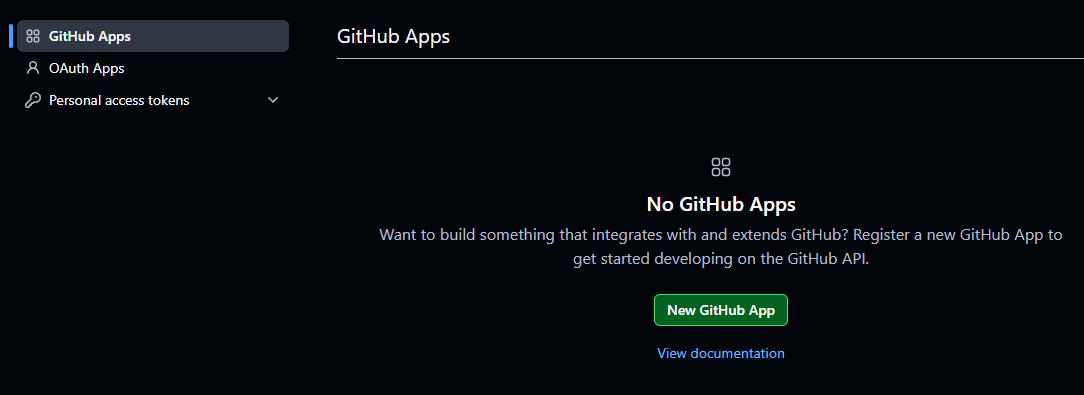
Select the GitHub Apps on the left side and click New GitHub App.
The important fields to complete or modify are listed below.
| Field | Description |
|---|---|
| GitHub App Name | This can be any name, but it must be unique across all of GitHub. This is also the name you will use to invoke your extension in Copilot using the @name syntax. One way to avoid conflicts is to use your GitHub handle as the name or add some text to your handle, such as @jasonrandrews-cp. |
| Homepage URL | This needs to be filled in but is not used for a private extension, any URL can be entered such as https://learn.arm.com |
| Callback URL | Enter the URL of your ngrok domain such as https://your-domain.ngrok-free.app (substitute your domain). |
| Webhook | Uncheck the Active box. |
| Permissions | Select Account permissions and set the GitHub Copilot Chat to Read-only. |
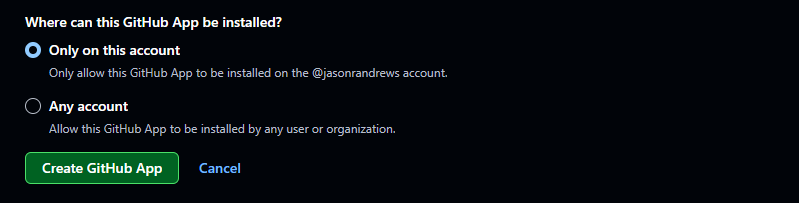
| Where can this GitHub App be installed? | Confirm Only this account is selected to make the GitHub App only for your use. |
Click the Create GitHub App to save the configuration.
Configure the Copilot settings
Click on the left side Copilot sidebar.
Modify and update the following fields:
| Step | Description |
|---|---|
| 1. Set the App Type | Set the App Type to Agent. |
| 2. Agent Definition | Enter your ngrok URL in the URL box, such as https://your-domain.ngrok-free.app. |
| 3. Interface Description | Any text can be added. |
The Copilot settings are shown below:
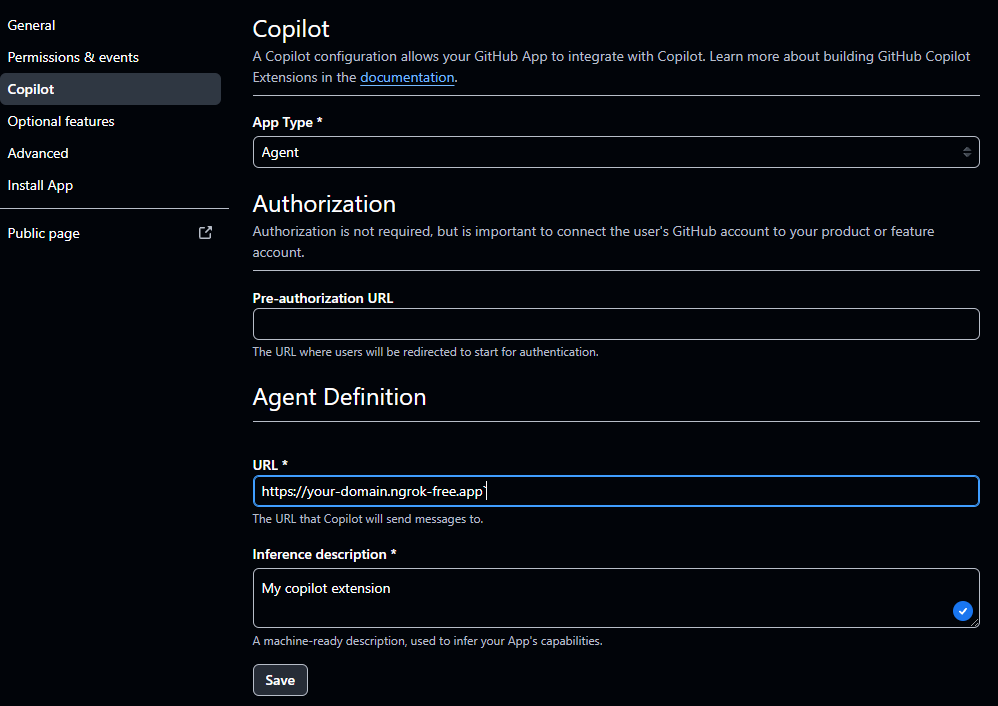
Click the Save button when the information is entered.
Install your GitHub App
When the GitHub App has been configured and saved, install it into your account using the Install App tab on the left side and click the Install button.
You might need to agree to install the GitHub App in your account.
Once installed, you see the App in your account’s Applications .
Your GitHub App is now ready to use with Copilot.