Use Infrastructure as Code and Pulumi to provision Azure resources
Introduction
Motivation
Pulumi
Pulumi project
Resources declaration and deployment
Next Steps
Use Infrastructure as Code and Pulumi to provision Azure resources
Setting up the Pulumi
You will now set up Pulumi on Windows for Azure. Follow these steps to install the required tools:
- Install Node.js for Arm64 by downloading and running the following installer: https://nodejs.org/dist/v20.9.0/node-v20.9.0-arm64.msi
- Install Pulumi CLI. Here is the link to the installer: https://github.com/pulumi/pulumi-winget/releases/download/v3.92.0/pulumi-3.92.0-windows-x64.msi
- Install Azure CLI for Windows using this installer: https://aka.ms/installazurecliwindowsx64
- Go to the Pulumi website ( https://www.pulumi.com ) and create a new account
Now, you will create the Pulumi project for Azure:
- Open the Windows Command Prompt, and then type:
az login
The command will open the web browser and let you log into your Azure subscription.
- Using the Command Prompt, create a new folder for your project by typing:
mkdir azure-aci
- Then, change the working directory to azure-aci:
cd azure-aci
- Create the new Pulumi project for Azure using the following command:
pulumi new azure-typescript
The last command starts the wizard, but you first need to log in to Pulumi (see below).
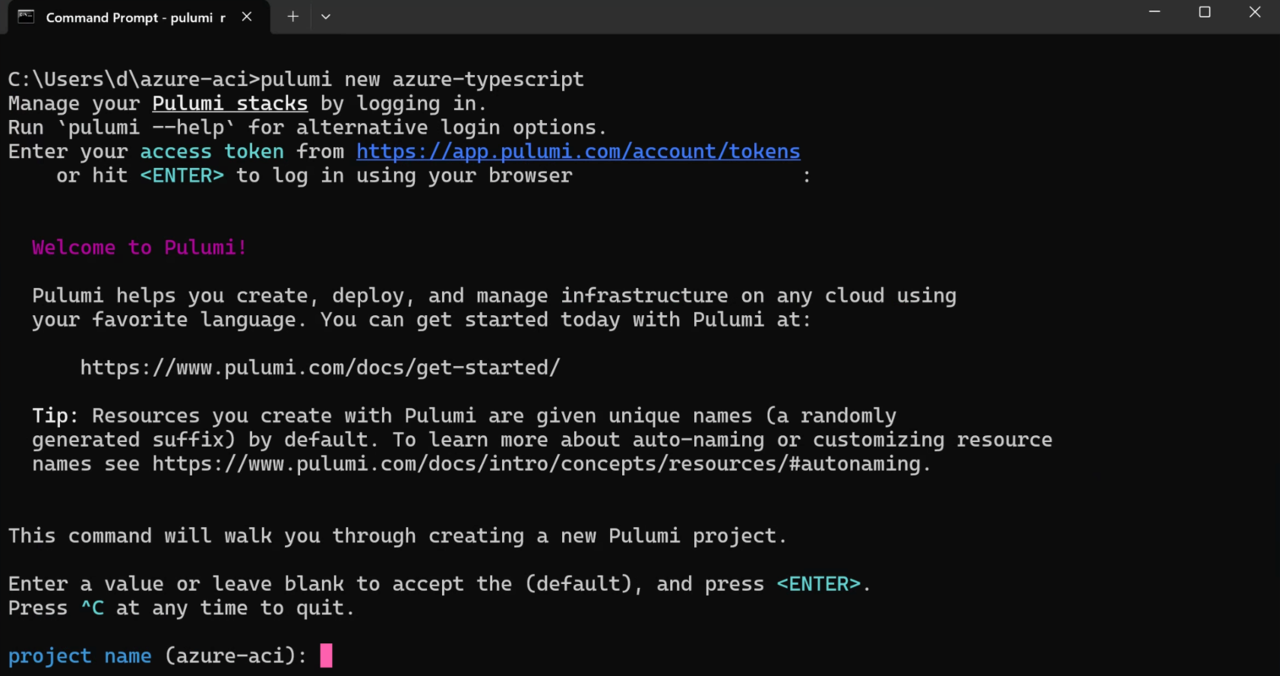
You can use the access token or press ENTER to log in using a web browser.
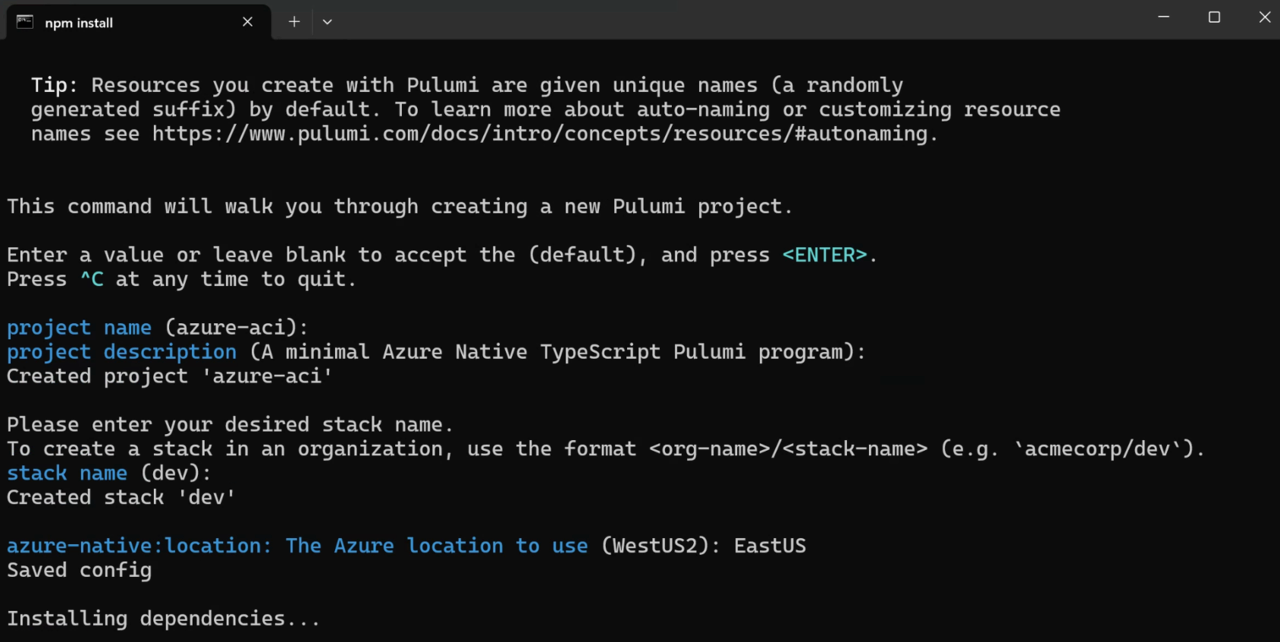
After you log in to Pulumi, configure the project as follows:
- Project name (azure-aci): press enter to keep the default
- Project description: press enter to keep the default
- Stack name: dev
- azure-native-location: EastUS
The wizard will save this configuration and proceed to install the npm packages required by Pulumi: