Deploy .NET applications to Arm virtual machines and Azure Container Registry
Introduction
Motivation
Creating the Virtual Machine
Connecting to the Virtual Machine
Installing application dependencies and running the application
Create a Dockerfile using Visual Studio Code
Building a Docker image
Azure Container Registry
Pushing the local image to Azure Container Registry
Next Steps
Deploy .NET applications to Arm virtual machines and Azure Container Registry
In this section you will modify the Dockerfile and then build the Docker image.
Modify a Dockerfile
We need to modify the following line in the Dockerfile (in Visual Studio Code):
FROM --platform=$BUILDPLATFORM mcr.microsoft.com/dotnet/sdk:7.0 AS build
to
FROM mcr.microsoft.com/dotnet/sdk:7.0 AS build
Ensure the Docker image will be built for the current platform, which is arm64 (alternatively, you could set the BUILDPLATFORM environment variable).
Then, you save the file and go back to the WSL console, where you type:
cd People.WebApp/
You can now build the Docker image using the docker build command:
sudo docker build -t people.webapp:v1 .
Then, type your password, and you will see the Docker build progress:
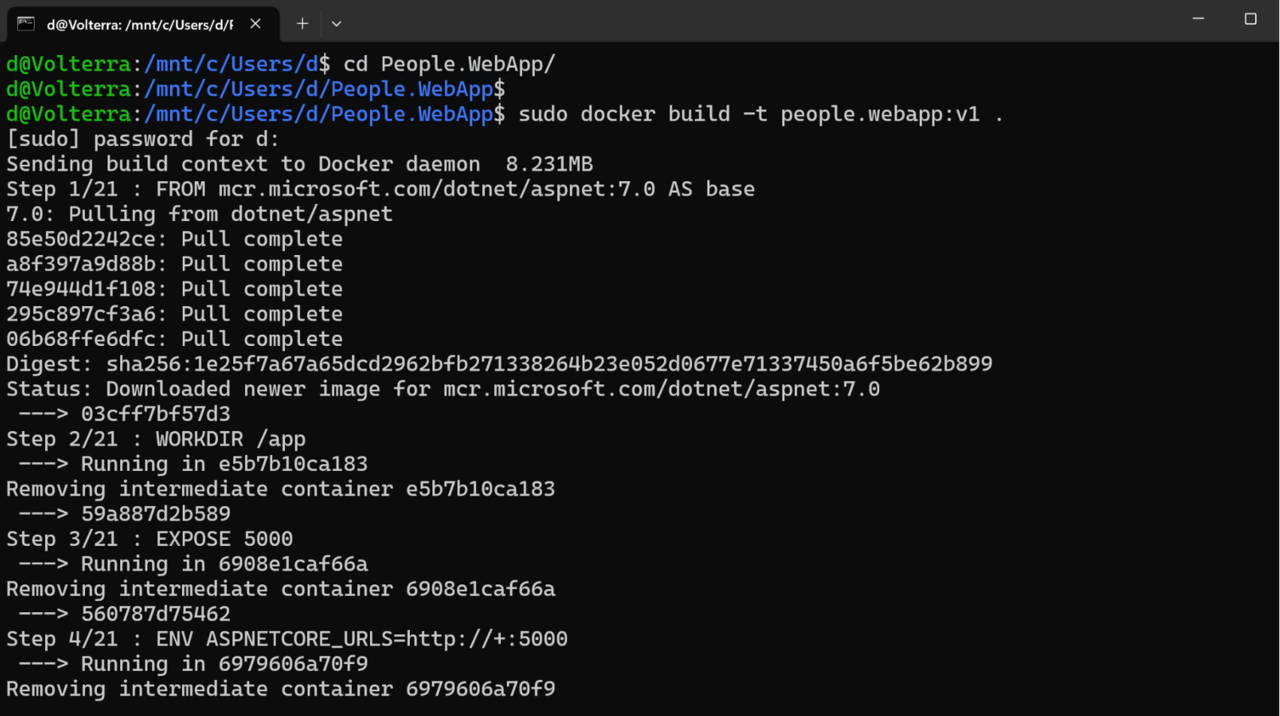 Figure 19. Building a Docker image
In the above example, we used the -t flag to tag the image (people.webapp:v1). Also, we used . to set the build context to the working directory.
If you see errors during the build, double check that you invoked the build command from the People.WebApp folder as shown in the figure above.