Monitor Azure Cobalt 100 Arm64 virtual machines using Dynatrace OneAgent
Introduction
Overview of Azure Cobalt 100 and Dynatrace
Create an Azure Cobalt 100 Arm64 virtual machine
Create a firewall rule on Azure
Install Dynatrace OneAgent on Azure Ubuntu Arm64 virtual machine
Install Dynatrace ActiveGate on Azure Ubuntu Arm64 virtual machine
Next Steps
Monitor Azure Cobalt 100 Arm64 virtual machines using Dynatrace OneAgent
Install Dynatrace OneAgent on Azure Ubuntu Arm64
To install Dynatrace OneAgent on an Azure Ubuntu 24.04 LTS Arm64 virtual machine, follow these steps.
After installation completes, Dynatrace OneAgent:
- Runs as a host monitoring agent
- Connects to your Dynatrace SaaS environment
- Monitors system processes and services automatically
- Operates natively on Arm64 (
aarch64) architecture
Update the system and install required tools
Update the operating system and install the tools required for downloading the Dynatrace installer.
sudo apt update && sudo apt upgrade -y
sudo apt install -y curl wget unzip ca-certificates
Verify Arm64 architecture
Confirm that the virtual machine is running on the Arm64 architecture.
uname -m
The output is similar to:
aarch64
This confirms the system is using the Arm64 architecture required for Cobalt 100 processors.
Create your Dynatrace trial environment
In a web browser, go to Dynatrace and select Try it free followed by Start trial.
Enter your email and then complete the requested fields:
- Create and supply a password for your trial account
- First name
- Last name
- Work email address
- Company name
- Country
After submitting the form, Dynatrace creates a new SaaS monitoring environment for you.
This process usually takes 1–2 minutes.
Access your Dynatrace environment
After the environment is created, your browser shows a button named Launch Dynatrace. Select it to open your Dynatrace environment.
Make a note of the environment ID assigned to your account because it appears in your dashboard URL.
Example:
https://mbp77458.apps.dynatrace.com/ui/apps/dynatrace.launcher/getting-started
The Environment ID uniquely identifies your Dynatrace tenant and is required for agent installation.
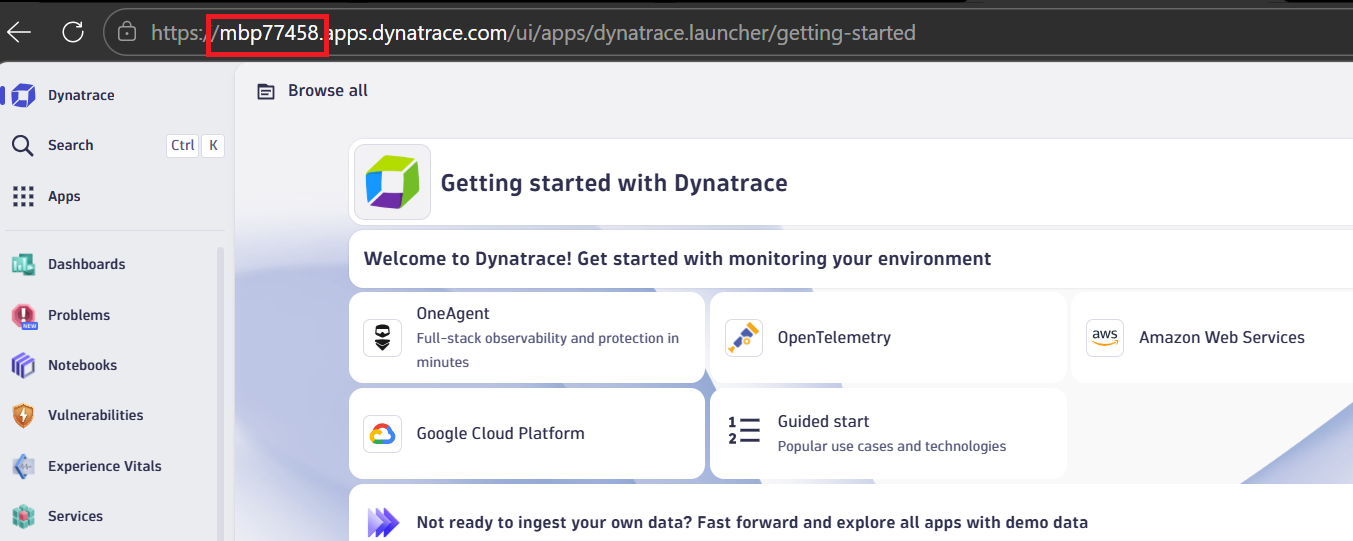 Dynatrace SaaS environment login
Navigate to Deployment
From the Dynatrace dashboard:
- Choose OneAgent
- Choose Setup
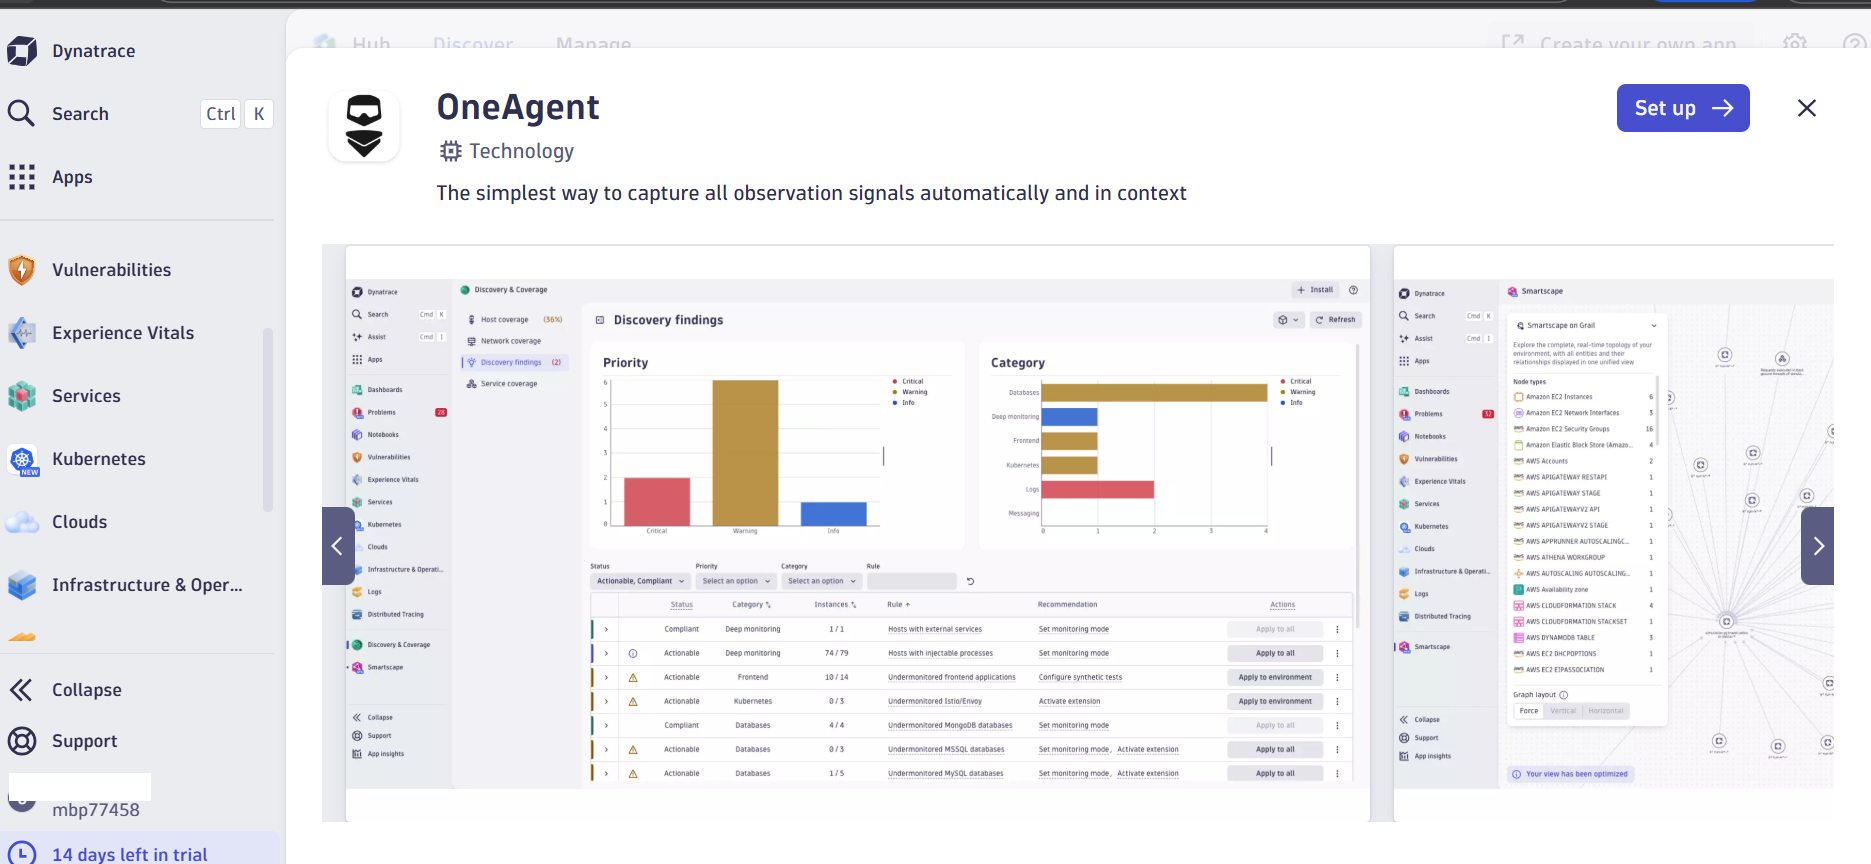 Dynatrace OneAgent deployment setup page
This page generates the installation command tailored for your environment.
Select Arm64 architecture
On the installer page, confirm these selections:
- Platform -> Linux
- Architecture -> ARM64
- Monitoring mode -> Full-stack monitoring
Then select Generate token to create an authentication token.
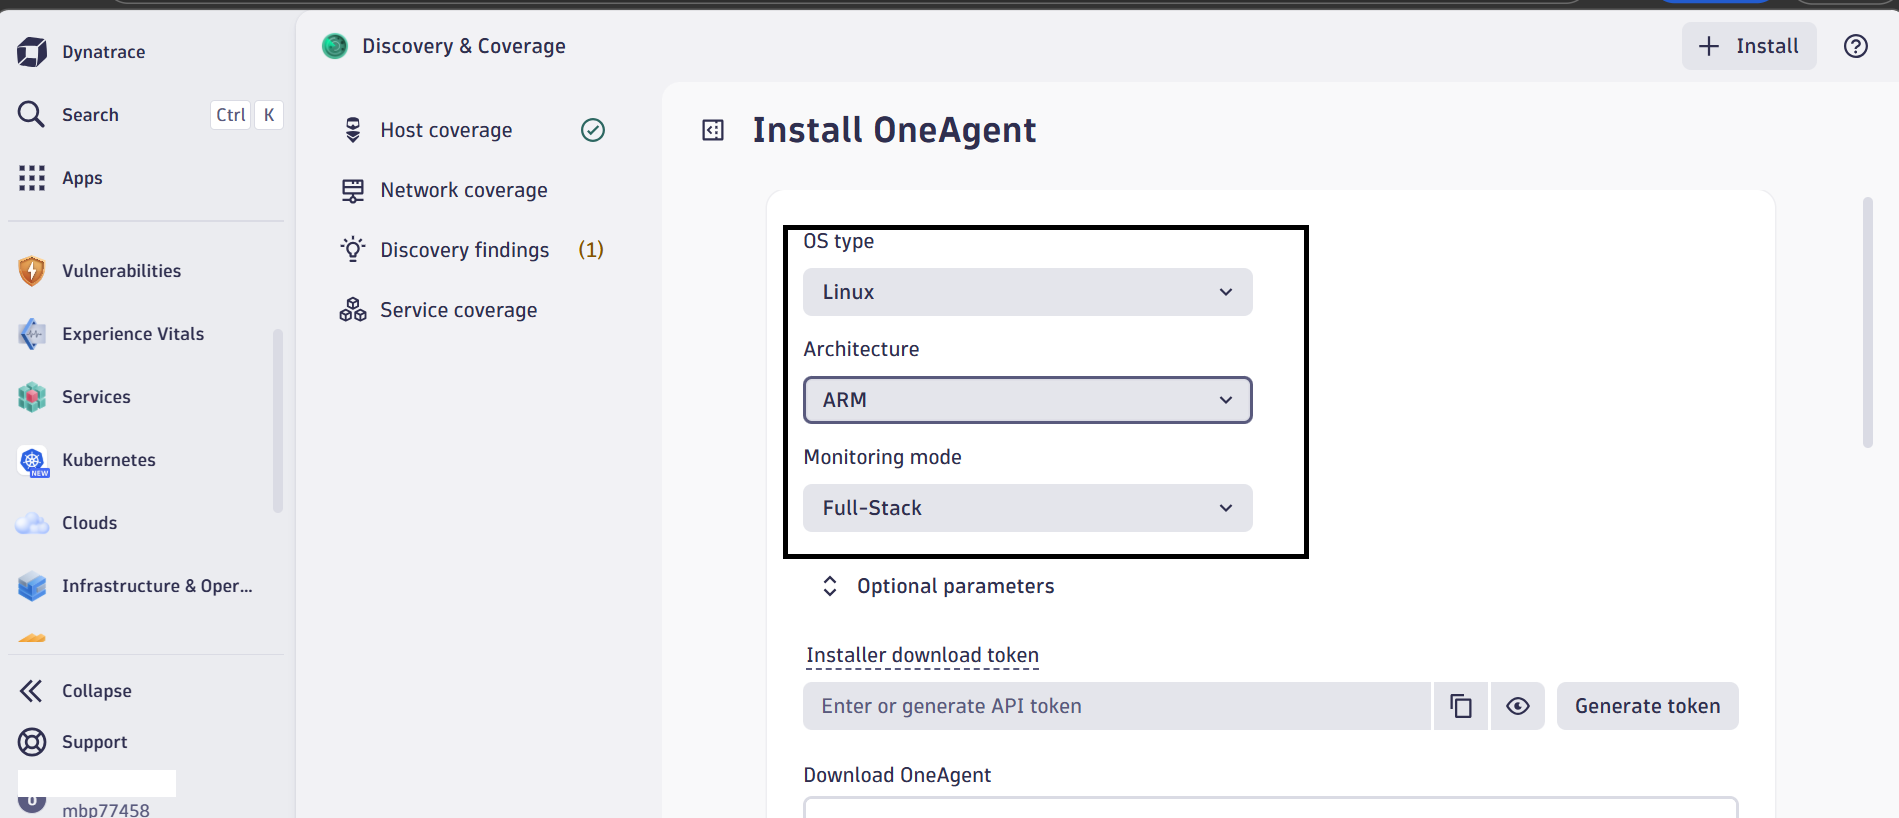 Dynatrace OneAgent ARM64 architecture selection
Copy OneAgent installer command
Dynatrace generates an installer command that includes your environment ID and API token.:
wget -O Dynatrace-OneAgent-Linux-arm.sh \
"https://<ENV>.live.dynatrace.com/api/v1/deployment/installer/agent/unix/default/latest?arch=arm" \
--header="Authorization: Api-Token <API_TOKEN>"
Example:
wget -O Dynatrace-OneAgent-Linux-arm.sh \
"https://qzo72404.live.dynatrace.com/api/v1/deployment/installer/agent/unix/default/latest?arch=arm" \
--header="Authorization: Api-Token DT_API_TOKEN"
The API token allows secure access to the Dynatrace installer.
Run this command on the virtual machine to download the installer.
Verify installer signature
For security, verify the installer signature using Dynatrace’s root certificate.
wget https://ca.dynatrace.com/dt-root.cert.pem
( echo 'Content-Type: multipart/signed; protocol="application/x-pkcs7-signature"; micalg="sha-256"; boundary="--SIGNED-INSTALLER"'; echo; echo; echo '----SIGNED-INSTALLER'; cat Dynatrace-OneAgent-Linux-arm.sh ) | openssl cms -verify -CAfile dt-root.cert.pem > /dev/null
This command validates the downloaded installer before you run it.
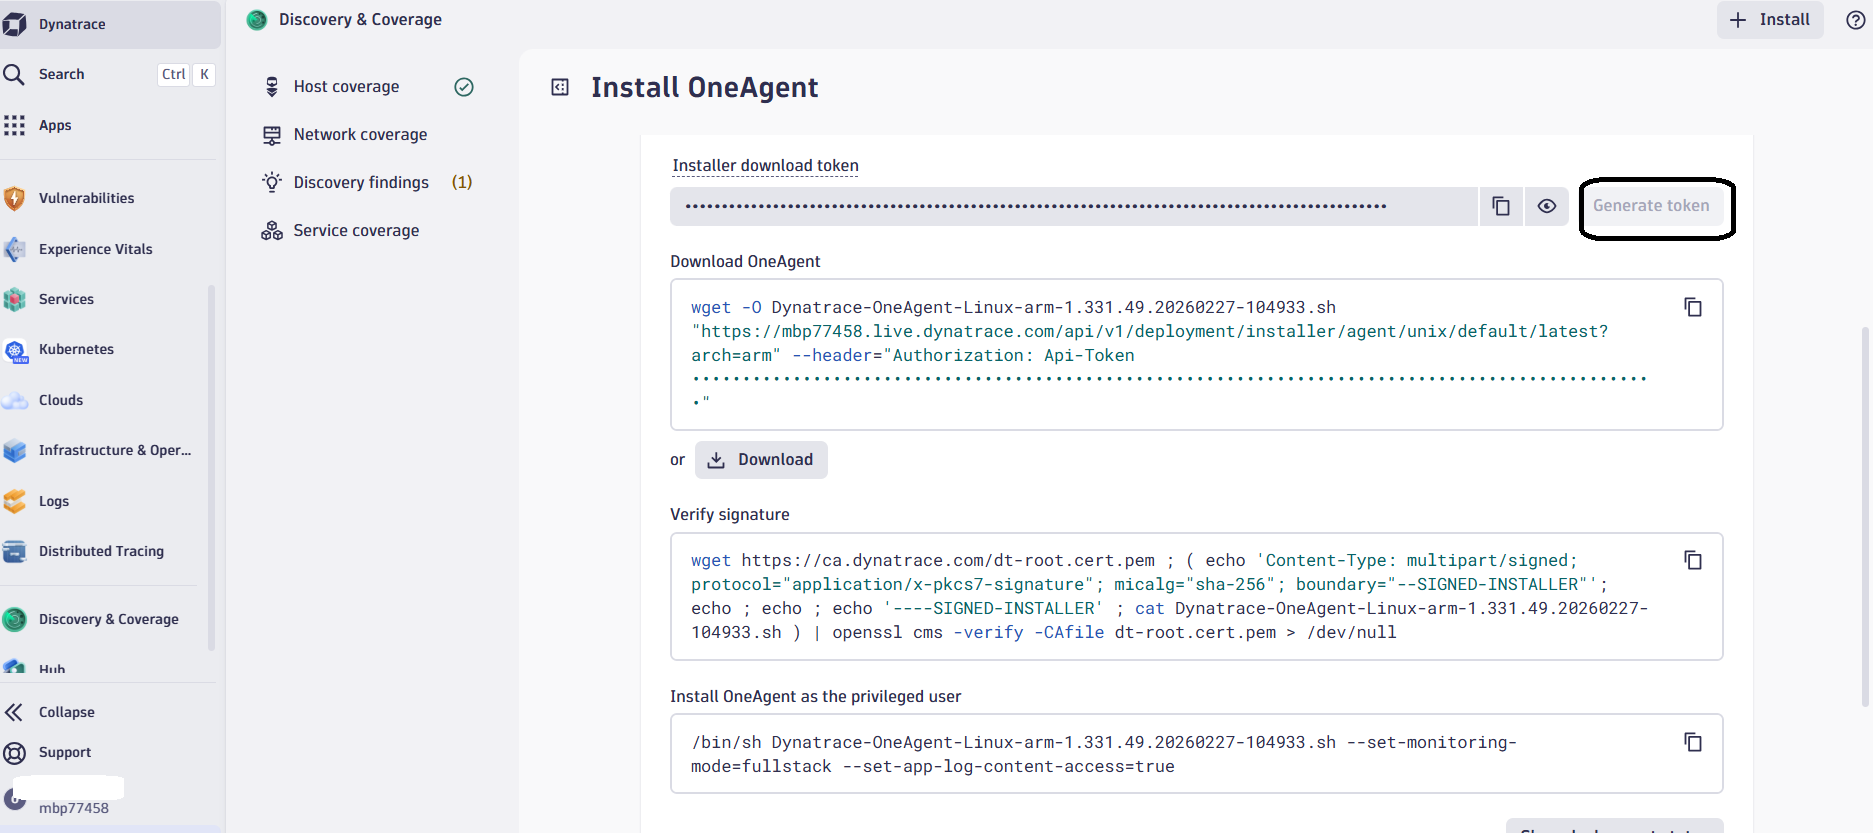 Dynatrace OneAgent installation command
Install OneAgent as the privileged user
Copy the command under Install OneAgent as the privileged user from your Dynatrace dashboard and prepend sudo to run the install.
sudo /bin/sh Dynatrace-OneAgent-Linux-arm.sh --set-monitoring-mode=fullstack --set-app-log-content-access=true
The output is similar to:
        Starting Dynatrace OneAgent installer...
Installing OneAgent...
Setting agent configuration...
Installation finished successfully.
The installer performs several tasks automatically:
- Downloads monitoring components
- Configures kernel instrumentation
- Installs the OneAgent system service
- Registers the host with your Dynatrace environment
Verify OneAgent service
Check that the Dynatrace monitoring service is running.
sudo systemctl status oneagent
The output is similar to:
        ● oneagent.service - Dynatrace OneAgent
  Loaded: loaded (/etc/systemd/system/oneagent.service; enabled; preset: enabled)
  Active: active (running)
This confirms the monitoring agent started successfully.
Verify Dynatrace processes
You can also check the OneAgent processes from the terminal.
ps aux | grep oneagent
The output is similar to:
        dtuser     17754  0.0  0.0 307872  4388 ?        Ssl  05:48   0:00 /opt/dynatrace/oneagent/agent/lib64/oneagentwatchdog -bg -config=/opt/dynatrace/oneagent/agent/conf/watchdog.conf
dtuser     17761  0.2  0.3 1183000 59136 ?       Sl   05:48   0:06 oneagentos -Dcom.compuware.apm.WatchDogTimeout=900 -watchdog.restart_file_location=/var/lib/dynatrace/oneagent/agent/watchdog/watchdog_restart_file -Dcom.compuware.apm.WatchDogPipe=/var/lib/dynatrace/oneagent/agent/watchdog/oneagentos_pipe_17754
dtuser     17793  0.0  0.2 689184 34408 ?        Sl   05:48   0:01 oneagentloganalytics -Dcom.compuware.apm.WatchDogTimeout=900 -Dcom.compuware.apm.WatchDogPipe=/var/lib/dynatrace/oneagent/agent/watchdog/oneagentloganalytics_pipe_17754
dtuser     17795  0.1  0.2 361936 42940 ?        Sl   05:48   0:04 oneagentnetwork -Dcom.compuware.apm.WatchDogTimeout=900 -Dcom.compuware.apm.WatchDogPipe=/var/lib/dynatrace/oneagent/agent/watchdog/oneagentnetwork_pipe_17754
dtuser     17883  0.0  0.0  28212  5340 ?        Sl   05:49   0:00 /opt/dynatrace/oneagent/agent/lib64/oneagentebpfdiscovery --log-dir /var/log/dynatrace/oneagent/os/ --log-no-stdout --log-level info
azureus+   23847  0.0  0.0   9988  2772 pts/0    S+   06:33   0:00 grep --color=auto oneagent
This confirms the monitoring agent started successfully.
Confirm host detection in Dynatrace
Return to the Dynatrace web interface.
Navigate to:
Infrastructure & Operations
→ Hosts
You should see:
        Host name: <vm-name>
OS: Linux
Architecture: ARM64
Monitoring mode: Full Stack
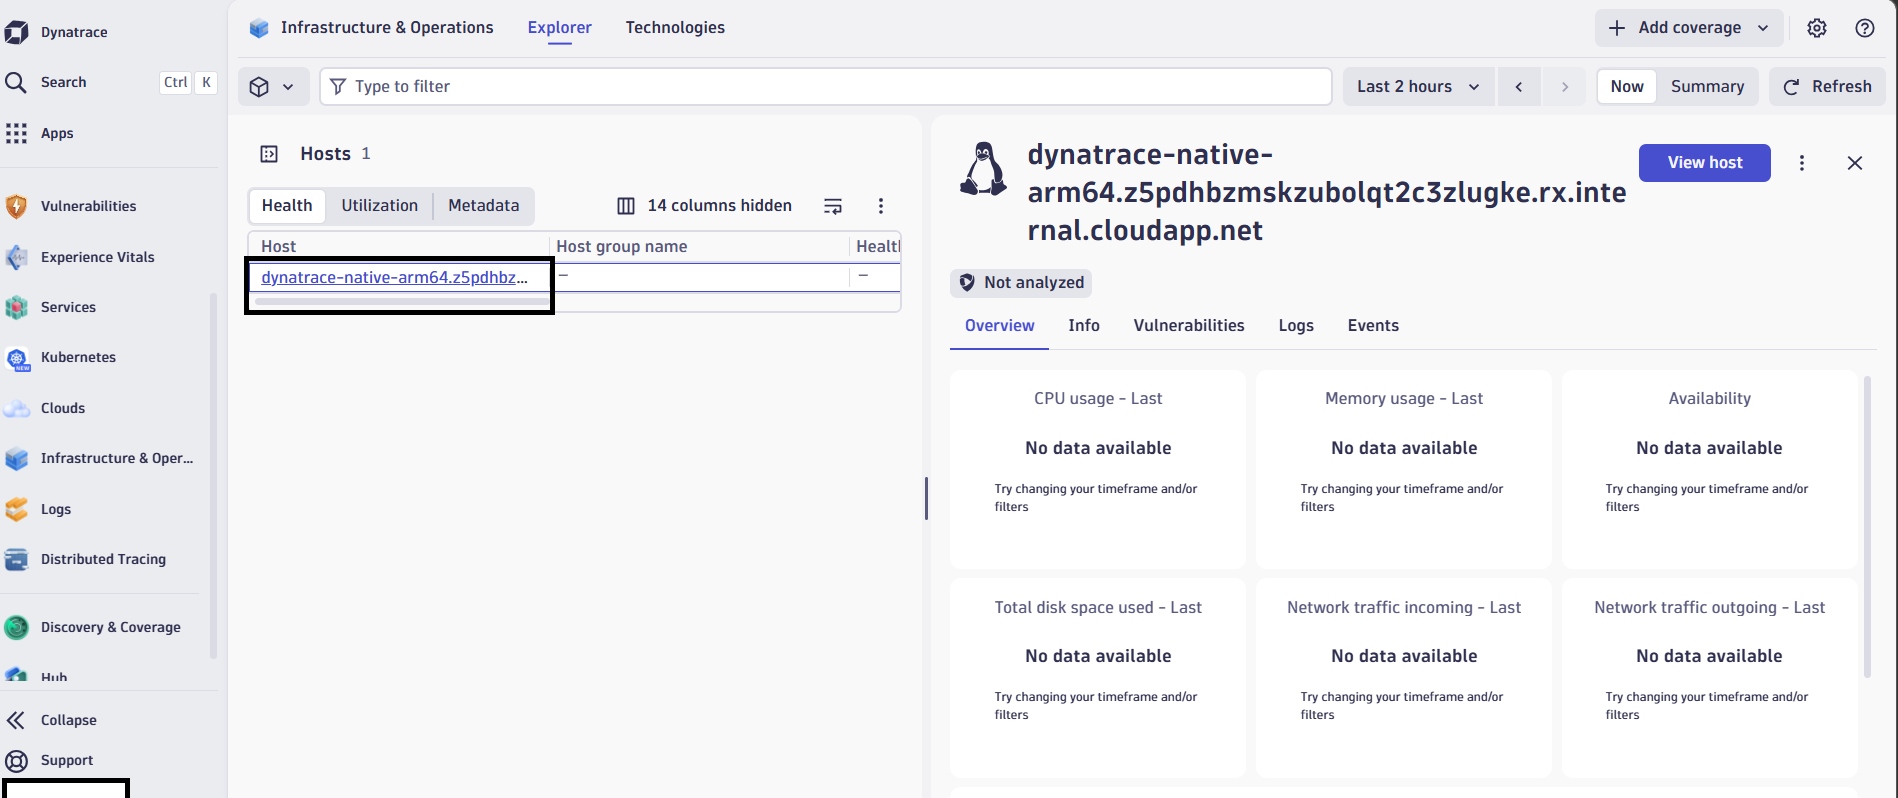 Dynatrace host monitoring dashboard
Check automatic process discovery
Dynatrace automatically discovers running applications and services.
View them under:
Hosts → Processes
Dynatrace identifies services such as:
- system processes
- web servers
- databases
- container runtimes
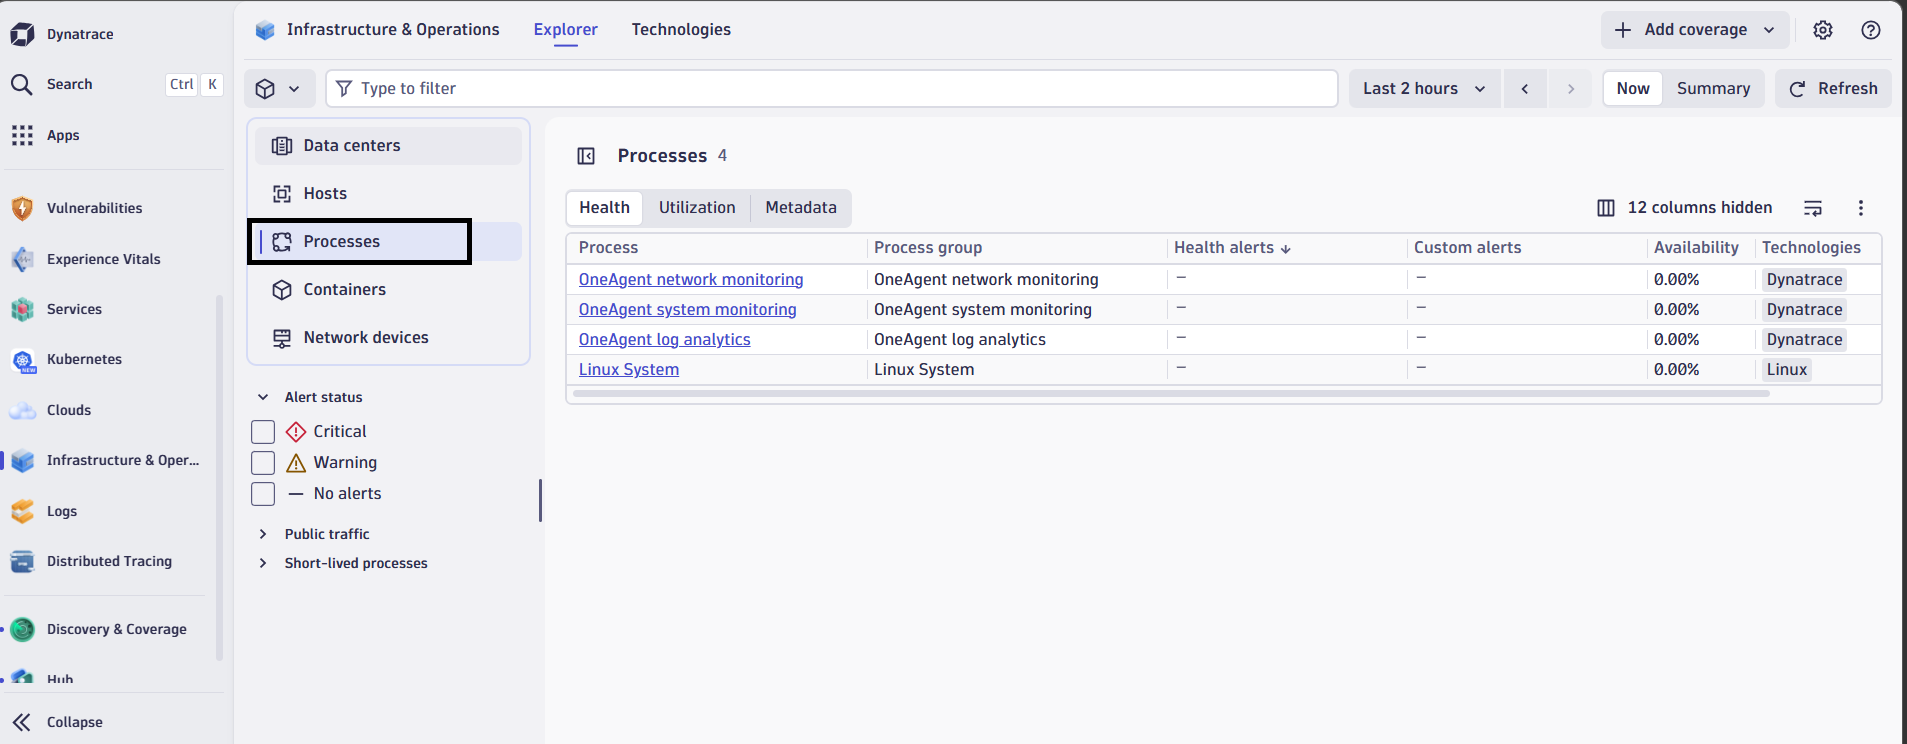 Dynatrace process discovery view
What you’ve learned and what’s next
Dynatrace OneAgent is now monitoring your Azure Cobalt 100 virtual machine. The agent runs as a system service, automatically discovers processes, and securely transmits monitoring data to your Dynatrace environment.
Next, you’ll install Dynatrace ActiveGate to enable secure data routing, Kubernetes monitoring, and extension support.