Learn how to deploy a Django application
Introduction
Install the required dependencies
Create the Django application
Deploy the Django application
Next Steps
Learn how to deploy a Django application
Create the Django project
You create a Django project from the terminal where the virtual environment is activated:
django-admin startproject myproject
The above command creates a directory called myproject that contains the basic
structure of a Django application. Inspect the project files:
tree myproject/
The output should look like:
        myproject/
    manage.py
    myproject
        asgi.py
        __init__.py
        settings.py
        urls.py
        wsgi.py
Feel free to explore the content of these files.
Now you can test the application by starting the development server.
cd myproject
python manage.py runserver 0.0.0.0:8000
You will see messages similar to:
        Watching for file changes with StatReloader
Performing system checks...

System check identified no issues (0 silenced).

You have 18 unapplied migration(s). Your project may not work properly until
you apply the migrations for app(s): admin, auth, contenttypes, sessions.
Run 'python manage.py migrate' to apply them.
November 06, 2023 - 22:34:05
Django version 4.2.7, using settings 'myproject.settings'
Starting development server at http://0.0.0.0:8000/
Quit the server with CONTROL-C.
In the above command, you specified 0.0.0.0:8000. This means that the web server is listening to all available ports. You need to specify this value if you developing on a remote machine because, by default, the development server listens only to the localhost.
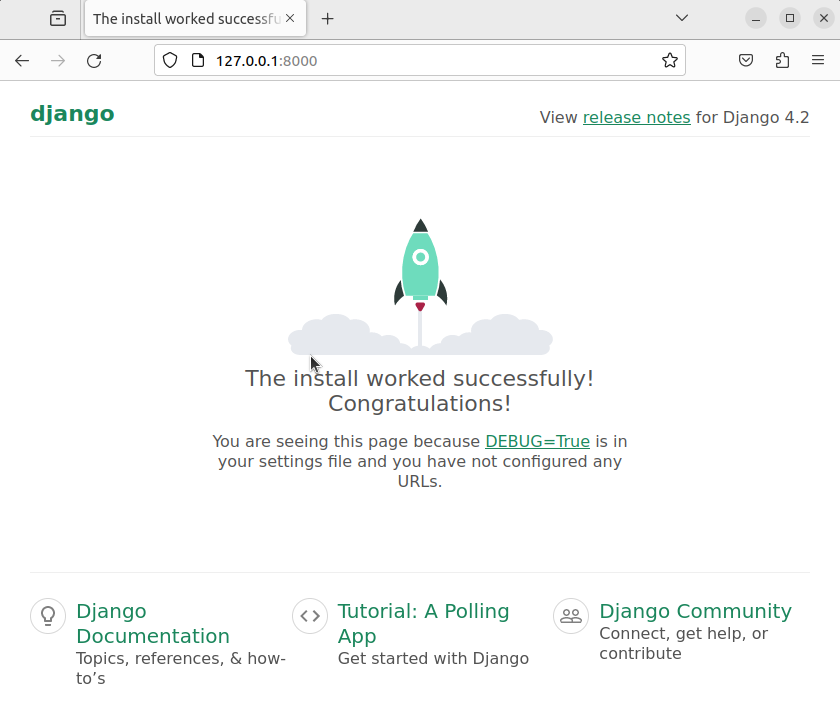
Now open a web browser and point it to the IP address of your machine followed
by :8000. You should see something like this:
 Successful installation of a Django project
Create the Django application
Now that you have a Django project, it’s time to create a Django application within the project. Type:
python manage.py startapp aarch64app
tree aarch64app
The output should look similar to:
        aarch64app/
    admin.py
    apps.py
    __init__.py
    migrations
        __init__.py
    models.py
    tests.py
    views.py
Again, feel free to explore the content of these files.
It’s now time to write some code that will be executed by the Django
application.
With your preferred editor, open aarch64app/views.py and replace the content
with the following:
import platform

from django.http import HttpResponse

# Create your views here.
def index(request):
    return HttpResponse(f"Hello world from an {platform.machine()} machine.")
Next you need to map a URL to this view. Create a new file aarch64app/urls.py
with the following content:
from django.urls import path

from . import views

urlpatterns = [
    path("", views.index, name="index"),
]
Now you need to make it visible at the project level. Edit myproject/urls.py
and add the following code:
from django.contrib import admin
from django.urls import include, path

urlpatterns = [
    path("aarch64app/", include("aarch64app.urls")),
    path('admin/', admin.site.urls),
]
You have now connected the index view with the URL /aarch64app. Run the
development web server again with:
python manage.py runserver 0.0.0.0:8000
Open http://your_IP:8000/aarch64app/ with your browser. You should see the hello world message.
 Successful call to a Django view