Google Cloud is a public cloud computing platform.
As with most cloud service providers, Google Cloud offers a pay-as-you-use pricing policy , including a number of free services.
This section is to help you get started with
Google Cloud Compute Engine
compute services, using Arm-based Virtual Machines. Google Cloud offers two generations of Arm-based VMs, C4A is the latest generation based on
Google Axion
, Google’s first Arm-based server processor, built using the Armv9 Neoverse V2 CPU. The previous generation VMs are based on Ampere Altra processor and part of
Tau T2A
family of Virtual Machines.
Detailed instructions are available in the Google Cloud documentation .
Create an account
Before you begin, create an account. For a personal account, click on Get started for free , and follow the on-screen instructions to register. You can use an existing Google account if you have one.
If using an organization’s account, you will likely need to consult with your internal administrator. See this guide for additional information.
Browse for an appropriate instance
Google Cloud offers a wide range of instance types, covering all performance (and pricing) points. For an overview of the C4A instance types, see the
General-purpose machine family
. Similarly, to know more about the T2A instance types, see this
page
.
Also note which regions these servers are available in.
Create your Compute Engine instance
The easiest way to launch your instance is via the
Google Cloud Console
. Activities can be separated by Project. By default, when you first login, you will be in My First Project. If you wish to rename this, navigate to IAM & Admin > Settings, and rename. You can also create new project(s) from the pull-down menu, or
directly
.
Select Compute Engine from the Quick access section, if shown. Else navigate to Compute Engine > VM instances. If it is your first time, you will be prompted to enable Compute Engine API. Go to the
VM instances
area of the console.
Click the CREATE INSTANCE button.
Create a VM instance
Name your instance
Give your instance a meaningful, but arbitrary, name. This is particularly useful when creating multiple instances. You can optionally add labels as additional identifiers.
Specify a name for the instance and optionally add labels
Select Region and Zone for your instance.
Select an appropriate region and zone that support Arm-based servers.
Select an appropriate region and zone
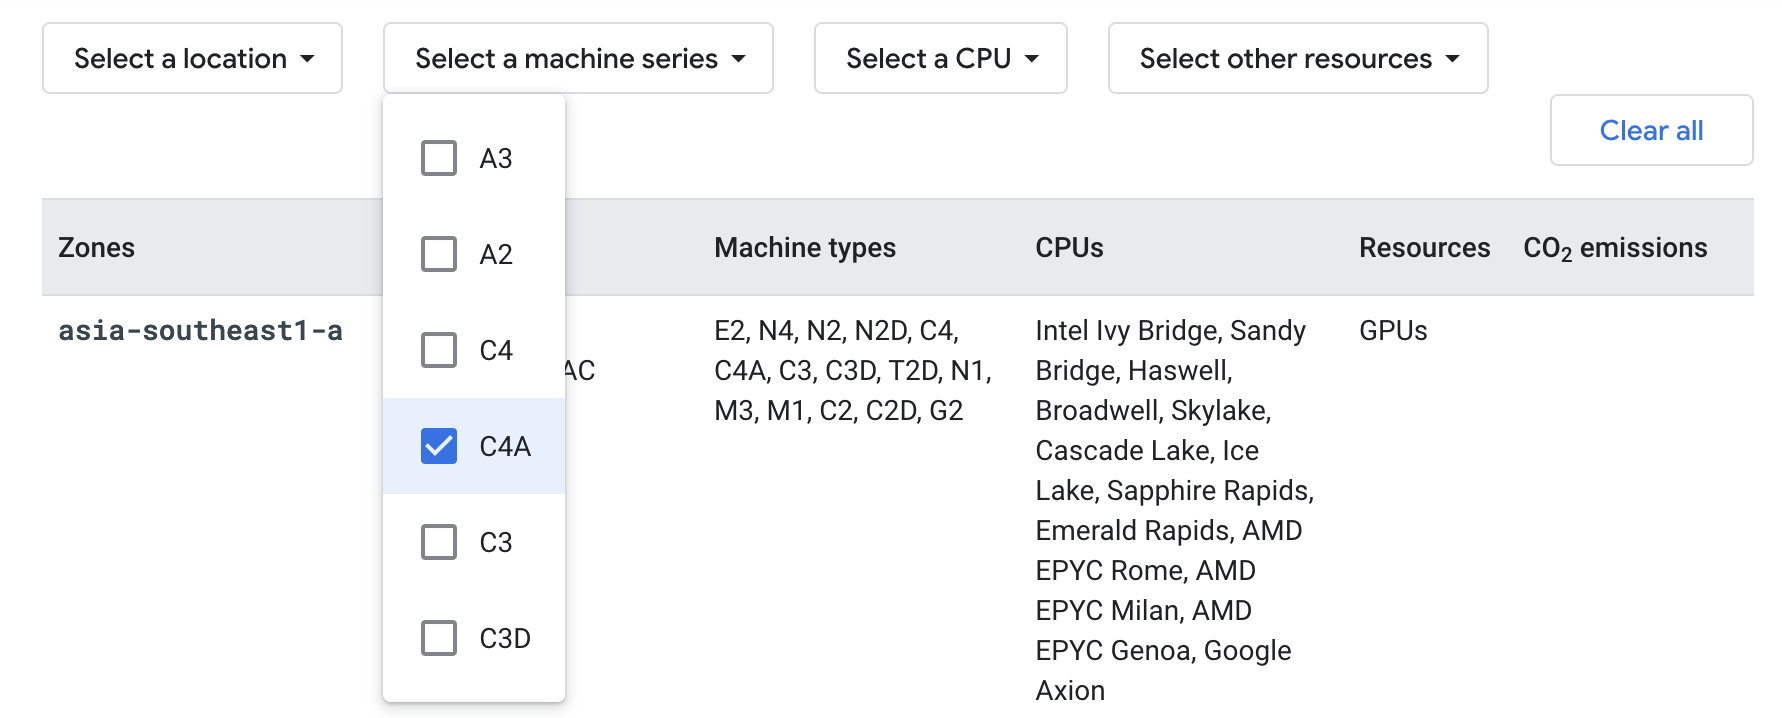
To view the latest information on which available regions and zones support Arm-based servers, see the
Compute Engine documentation
. To filter for Arm-based machines, click on Select a machine type, then select C4A or T2A from the pull-down menu.
 Check which regions and zones support Arm-based machines
Machine configuration
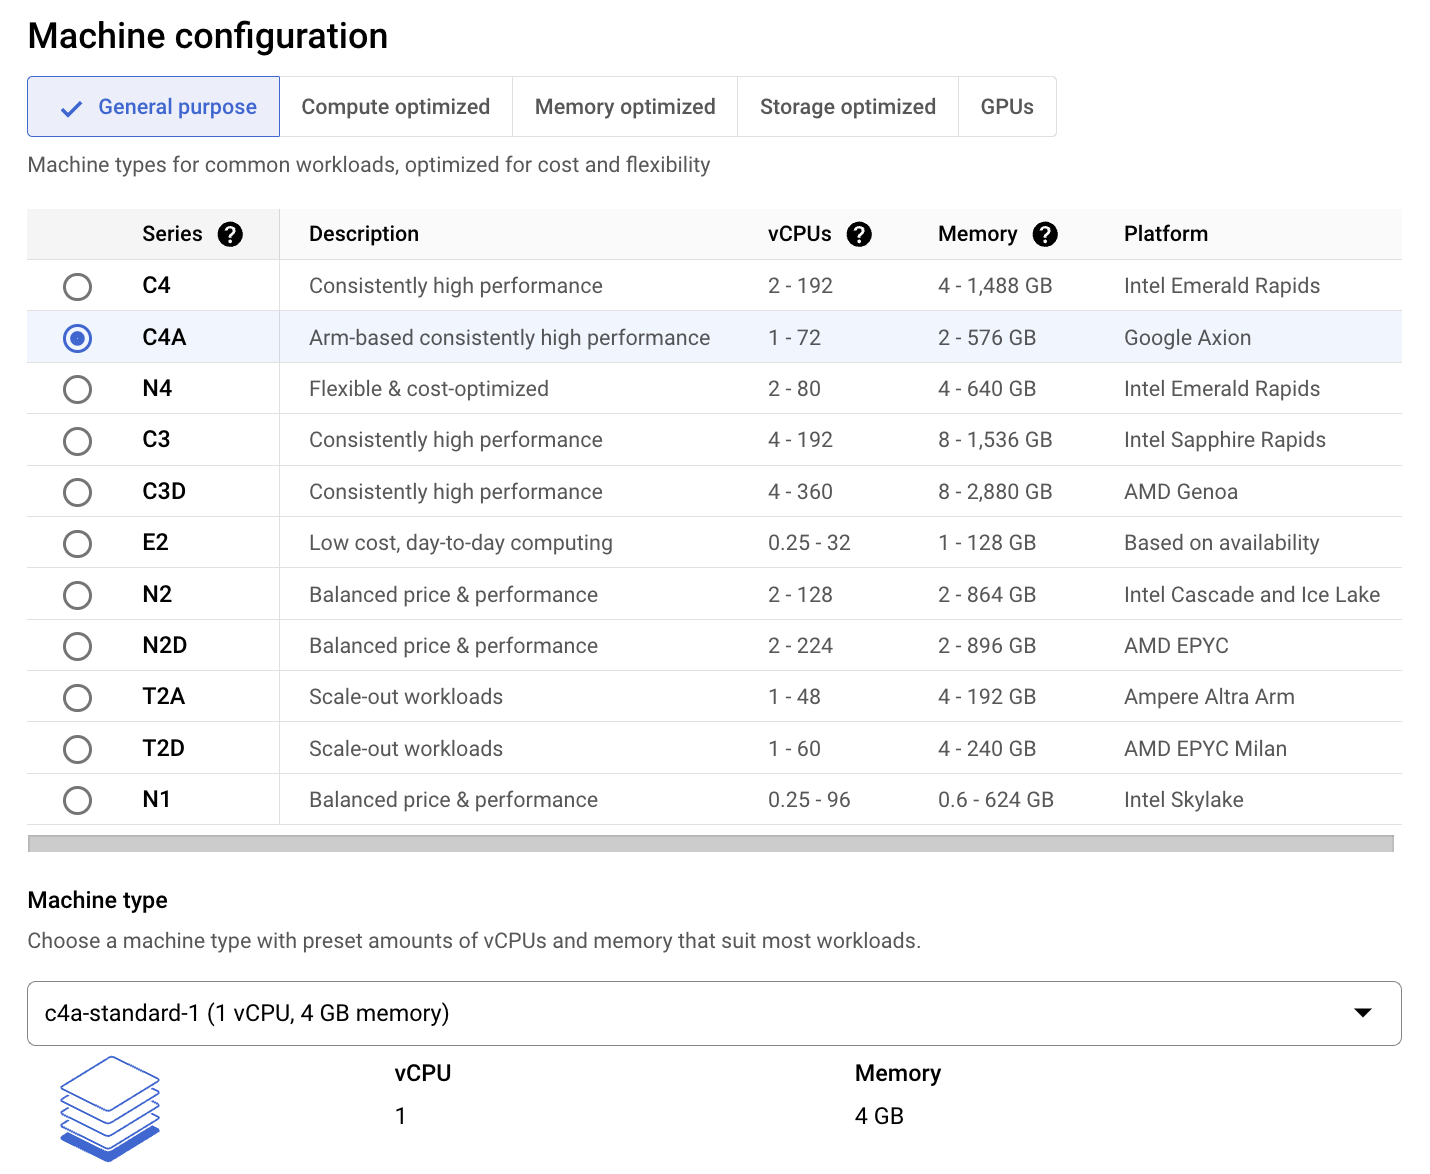
Select C4A from the Series pull-down menu. Then select an appropriate Machine type configuration for your needs.
 Select an appropriate C4A machine type
Boot disk configuration
Click the CHANGE button if you wish to change the virtual disk size, or the operating system or version, for example to Ubuntu 24.04 LTS. Be sure to select Arm compatible image.
Edit boot disk configuration if necessary
Security and SSH key pair
By default, you can access your instance via the browser. If you wish to use an SSH terminal, you must create and add an appropriate SSH key pair.
Add or create an SSH key pair to access the VM
Other options
Other options, such as Confidential VM service, can optionally be enabled. For now, leave as default (disabled). See the Google Cloud documentation for an explanation of these configurations.
When satisfied, click CREATE. After a few moments the instance will be available and listed in your
console
.
Create the VM instance
Connect to your instance
You can interact with your instance via the browser (SSH-in-browser) or via an SSH terminal application.
SSH-in-browser Connect
Once running, the IP address will be displayed, and you are able to connect to the instance.
Select Open in browser window from the SSH pull-down to open an SSH shell directly.
 Open SSH-in-browser through the Google Cloud console
Once connected, you are now ready to use your instance.
SSH client Connect
If an SSH key pair was set, connect to the instance with your preferred SSH client. For example, if using ubuntu image:
ssh -i <private_key> ubuntu@<public_ip_address>
Replace <private_key> with the private key on your local machine and <public_ip_address> with the public IP of the target VM.
Terminal applications such as PuTTY , MobaXterm and similar can be used.
Once connected, you are now ready to use your instance.
Explore your instance
Run uname
Use the uname utility to verify that you are using an Arm-based server. For example:
uname -m
will identify the host machine as aarch64.
Run hello world
Install the gcc compiler. If you are using Ubuntu, use the following commands. If not, refer to the
GNU compiler install guide
:
sudo apt-get update
sudo apt install -y gcc
Using a text editor of your choice, create a file named hello.c with the contents below:
#include <stdio.h>
int main(){
    printf("hello world\n");
    return 0;
}
Build and run the application:
gcc hello.c -o hello
./hello
The output is shown below:
hello world
Automating Arm Based Infrastructure Deployment
Cloud infrastructure deployment is typically done via Infrastructure as code (IaC) automation tools. There are Cloud Service Provider specific tools like Google Cloud Deployment Manager .
There are also Cloud Service Provider agnostic tools like Terraform .There is a deploying Arm VMs on (GCP) using Terraform learning path that should be reviewed next.