Create a RAG-based GitHub Copilot Extension in Python
Introduction
RAG Overview
Vector Database
Create GitHub Application
Build a RAG System
Infrastructure Deployment
Configure GitHub Application
Test the installation
Next Steps
Create a RAG-based GitHub Copilot Extension in Python
Configure GitHub App for Copilot Extension
Now, configure the GitHub Application you created earlier to connect to your deployed Copilot extension.
For the most up-to-date instructions, follow the official documentation for configuring your GitHub App for Copilot Extension .
On any page of GitHub , click your profile picture and go to Settings. Scroll down to Developer Settings, and open the GitHub App we made previously.
Make the following changes:
General settings
In the Callback URL field, put the callback URL of your agent that you deployed in the previous step.
If you are not using a deployed application and you want to test locally, you can use an ephemeral domain with ngrok. However you will need to update the callback URL each time you restart your ngrok server.
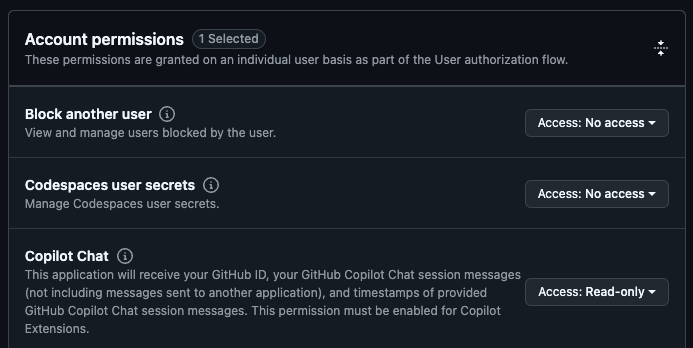
Permissions & events settings
Under Account permissions, grant read-only permissions to GitHub Copilot Chat.
Copilot settings
Set your app type to Agent, then fill out the remaining fields.
Under URL, enter your server’s hostname, which is also known as the forwarding endpoint, that you deployed in the previous step.
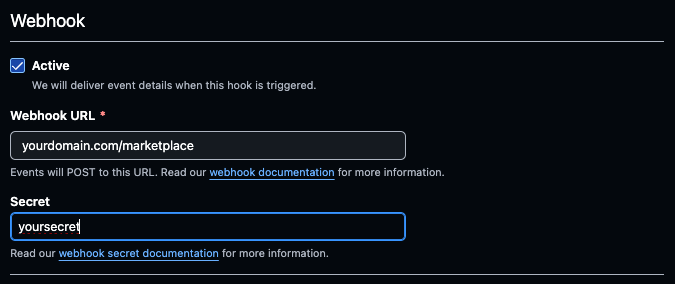
Optional: add your Marketplace Endpoint
If you would like to get install/uninstall events when users interact with your marketplace posting, set up a webhook.
Under the General tab of your application settings, activate the webhook and add your marketplace endpoint: