Build a real-time analytics pipeline with ClickHouse on Google Cloud Axion
Introduction
Get started with ClickHouse on Google Cloud C4A Arm virtual machines
Create a Firewall Rule on GCP
Create a Google Axion C4A Arm virtual machine on GCP
Set up GCP Pub/Sub and IAM for ClickHouse real-time analytics on Axion
Install ClickHouse
Establish a ClickHouse baseline on Arm
Build a Dataflow streaming ETL pipeline to ClickHouse
Benchmark ClickHouse on Google Axion processors
Next Steps
Build a real-time analytics pipeline with ClickHouse on Google Cloud Axion
Introduction
Get started with ClickHouse on Google Cloud C4A Arm virtual machines
Create a Firewall Rule on GCP
Create a Google Axion C4A Arm virtual machine on GCP
Set up GCP Pub/Sub and IAM for ClickHouse real-time analytics on Axion
Install ClickHouse
Establish a ClickHouse baseline on Arm
Build a Dataflow streaming ETL pipeline to ClickHouse
Benchmark ClickHouse on Google Axion processors
Next Steps
Overview
In this section, you will learn how to provision a Google Axion C4A Arm virtual machine on Google Cloud Platform (GCP) using the c4a-standard-4 (4 vCPUs, 16 GB memory) machine type in the Google Cloud Console.
For support on GCP setup, see the Learning Path Getting started with Google Cloud Platform .
Provision a Google Axion C4A Arm VM in Google Cloud Console
To create a virtual machine based on the C4A instance type:
Navigate to the Google Cloud Console .
Go to Compute Engine > VM Instances and select Create Instance.
Under Machine configuration:
- Populate fields such as Instance name, Region, and Zone.
- Set Series to
C4A. - Select
c4a-standard-4for machine type.
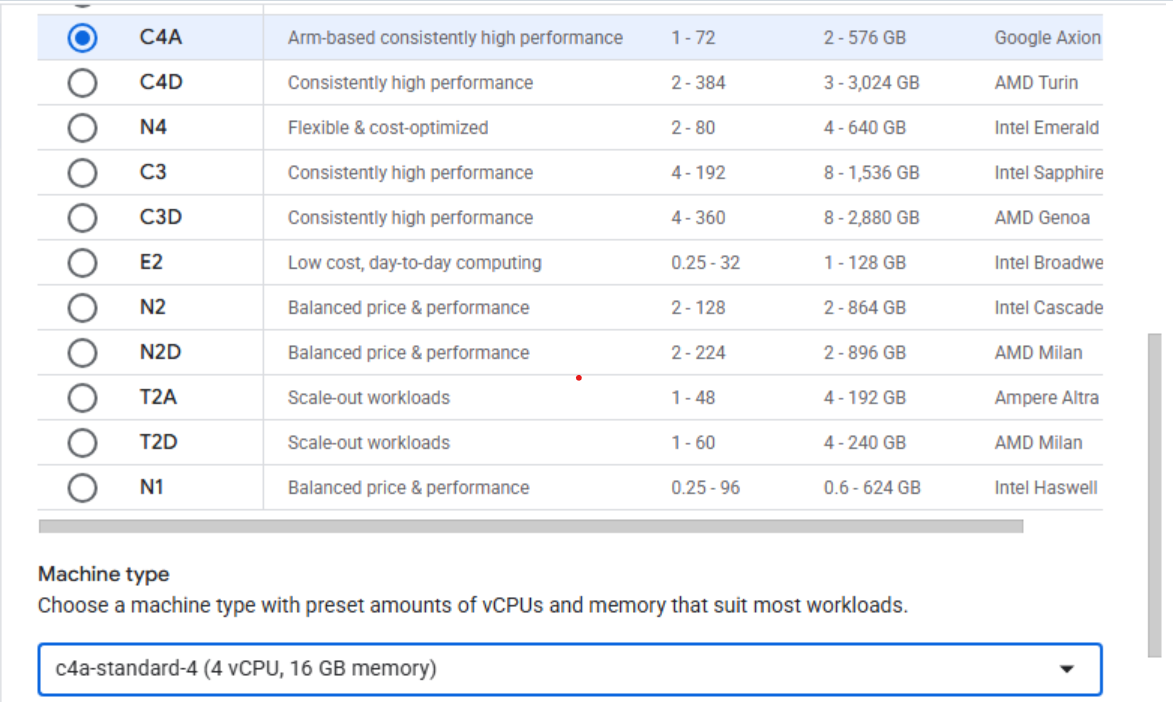 Creating a Google Axion C4A Arm virtual machine in Google Cloud Console
Under OS and Storage, select Change, then choose an Arm64-based OS image. For this Learning Path, use SUSE Linux Enterprise Server.
If using SUSE Linux Enterprise Server, select “Pay As You Go” for the license type.
Once appropriately selected and configured, click Select.
Under Networking, enable Allow HTTP traffic.
Click Create to launch the instance.
Once created, you should see a “SSH” option to the right in your list of VM instances. Click on this to launch a SSH shell into your VM instance:
 Invoke a SSH session into your running VM instance
- A window from your browser should come up and you should now see a shell into your VM instance:
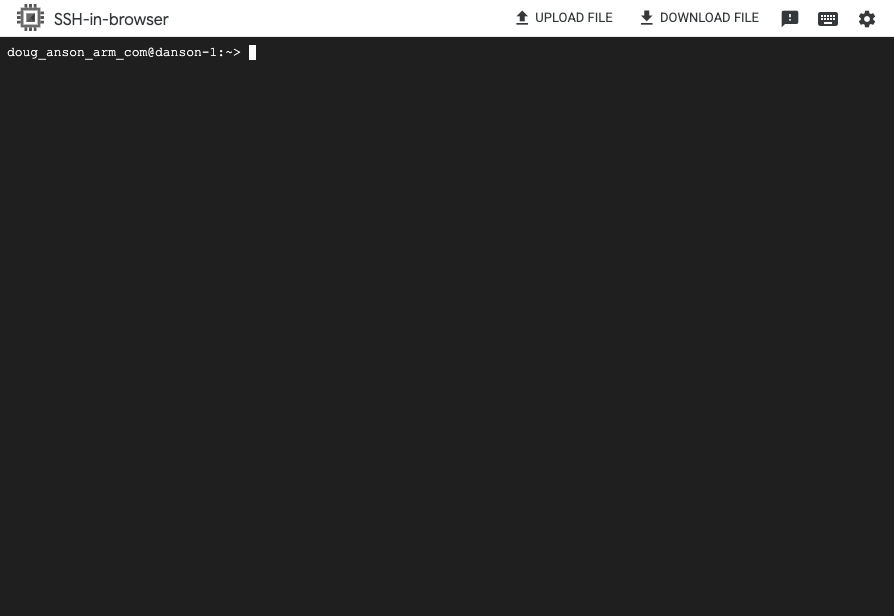 Terminal shell in your VM instance
Next, let’s install ClickHouse!