Create multi-architecture Docker images with Buildkite on Google Axion
Introduction
Discover Buildkite on Google Axion C4A instances
Create a Google Axion C4A Arm virtual machine on GCP
Install Buildkite on a Google Axion C4A Arm VM
Set up and connect Buildkite agent on a Google Axion C4A Arm VM
Create a Flask app and set up the Buildkite pipeline
Run the Buildkite pipeline
Next Steps
Create an application
Now you’ll create a simple application to containerize with Docker. This example uses Flask, a popular Python web framework.
The first step is to create a new public GitHub repository. You’ll add both the Dockerfile and the Python application file to this repository.
Create a Dockerfile
In a GitHub repo, add a new file named Dockerfile with this content:
FROM python:3.12-slim

WORKDIR /app

COPY app.py .

RUN pip install flask

EXPOSE 5000

CMD ["python", "app.py"]
Create a Python application
In the same repo, add a Python source file named app.py:
from flask import Flask
app = Flask(__name__)

@app.route('/')
def hello():
    return "Hello from Arm-based Buildkite runner!"

if __name__ == "__main__":
    app.run(host="0.0.0.0", port=5000)
This Python code defines a simple Flask web server that listens on all interfaces (0.0.0.0) at port 5000 and responds with “Hello from Arm-based Buildkite runner!” when the root URL (/) is accessed.
Add your code to the GitHub repository
Before you trigger the Buildkite pipeline, make sure your GitHub repository contains both the Dockerfile and the app.py file. The Dockerfile defines your multi-architecture container image, and app.py is your Python microservice.
You’ll need the URL of this repository when you create your Buildkite pipeline in the next steps.
Add Docker credentials as Buildkite secrets
Make sure to add your Docker credentials as secrets in the Buildkite UI.
Navigate to Buildkite and select Agents and then Secrets and add DOCKER_USERNAME and DOCKER_PASSWORD.
 Set Secrets
Create a Buildkite pipeline for multi-arch builds
In Buildkite, define your pipeline using YAML through the UI.
Go to the Buildkite Dashboard and select Pipelines and New Pipeline
Fill out the form using the following details:
- Git Repository: Enter your GitHub repository URL (SSH or HTTPS).
- Name: Enter a name for your pipeline.
 Create Pipeline
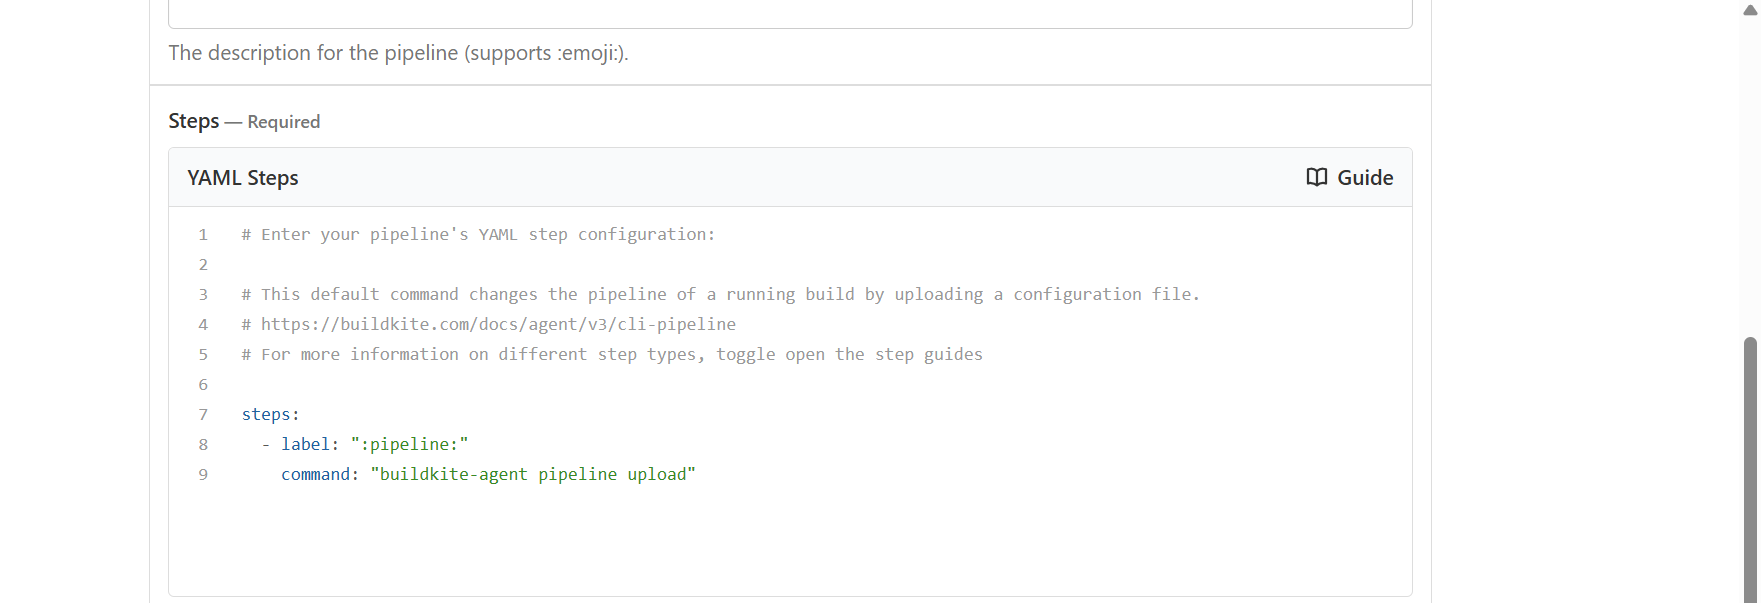
In the Steps (YAML Steps) section, paste your pipeline YAML:
steps:
  - label: "Build and Push Multiarch App"
    env:
      DOCKER_CONFIG: "~/.docker"
    commands:
      - echo "Testing env hook..."
      - env | grep DOCKER
      - ~/.buildkite-agent/bin/buildkite-agent secret get "DOCKER_PASSWORD" | docker login -u "$(~/.buildkite-agent/bin/buildkite-agent secret get "DOCKER_USERNAME")" --password-stdin
      - docker buildx rm mybuilder || true
      - docker buildx create --use --name mybuilder
      - docker buildx inspect --bootstrap
      - docker buildx build --platform linux/amd64,linux/arm64 -t "$(~/.buildkite-agent/bin/buildkite-agent secret get "DOCKER_USERNAME")/multi-arch-app:latest" --push .
    agents:
      queue: buildkite-queue1
 YAML steps
Select Create pipeline to save your new pipeline.
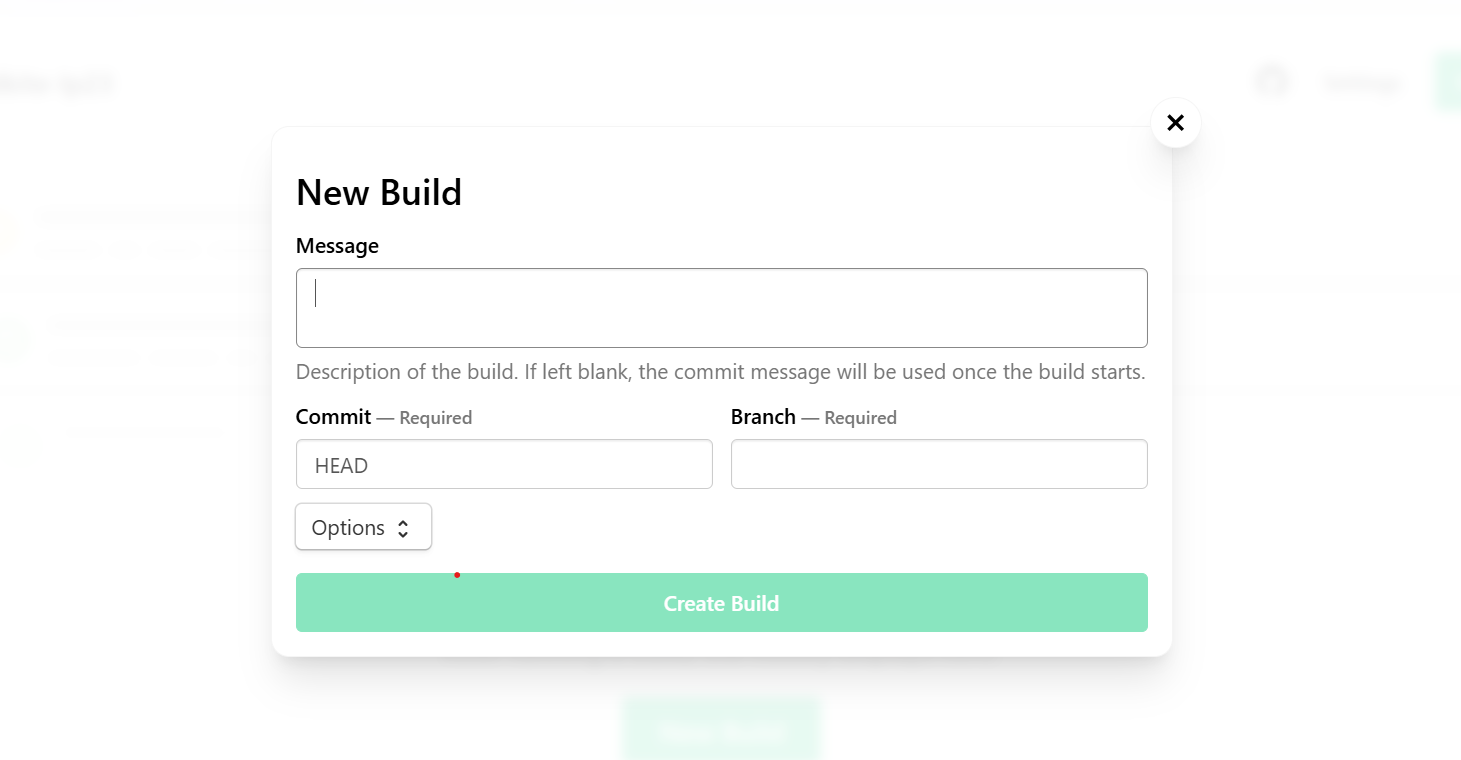
To start your first build, select New build on your pipeline dashboard. This action triggers the pipeline and begins the multi-architecture build process.
 Create Build
What you’ve accomplished
You’ve now created a simple Flask application, added a Dockerfile, set up your GitHub repository, and configured a Buildkite pipeline for multi-architecture builds on Arm. You also added Docker credentials as secrets and defined your pipeline steps in YAML. These steps prepare you to build, push, and test containerized applications using Arm-based infrastructure. You’re now ready to validate your setup and run your first build!