Create multi-architecture Docker images with Buildkite on Google Axion
Introduction
Discover Buildkite on Google Axion C4A instances
Create a Google Axion C4A Arm virtual machine on GCP
Install Buildkite on a Google Axion C4A Arm VM
Set up and connect Buildkite agent on a Google Axion C4A Arm VM
Create a Flask app and set up the Buildkite pipeline
Run the Buildkite pipeline
Next Steps
What you’ll do in this section
In this section, you’ll configure and connect a Buildkite agent on a Google Axion C4A Arm virtual machine (VM). You’ll generate an agent token, set up the agent configuration, create a Buildkite queue, and verify that your agent is online and ready to run CI/CD jobs on Arm infrastructure.
Create an agent token
Before configuring the agent, you need an agent token from your Buildkite organization.
To create an agent token, follow these steps:
- Sign in to your Buildkite account. You can use your GitHub credentials if you prefer.
- In the left menu, select Organization settings.
- Select Agents.
- Select Create agent token.
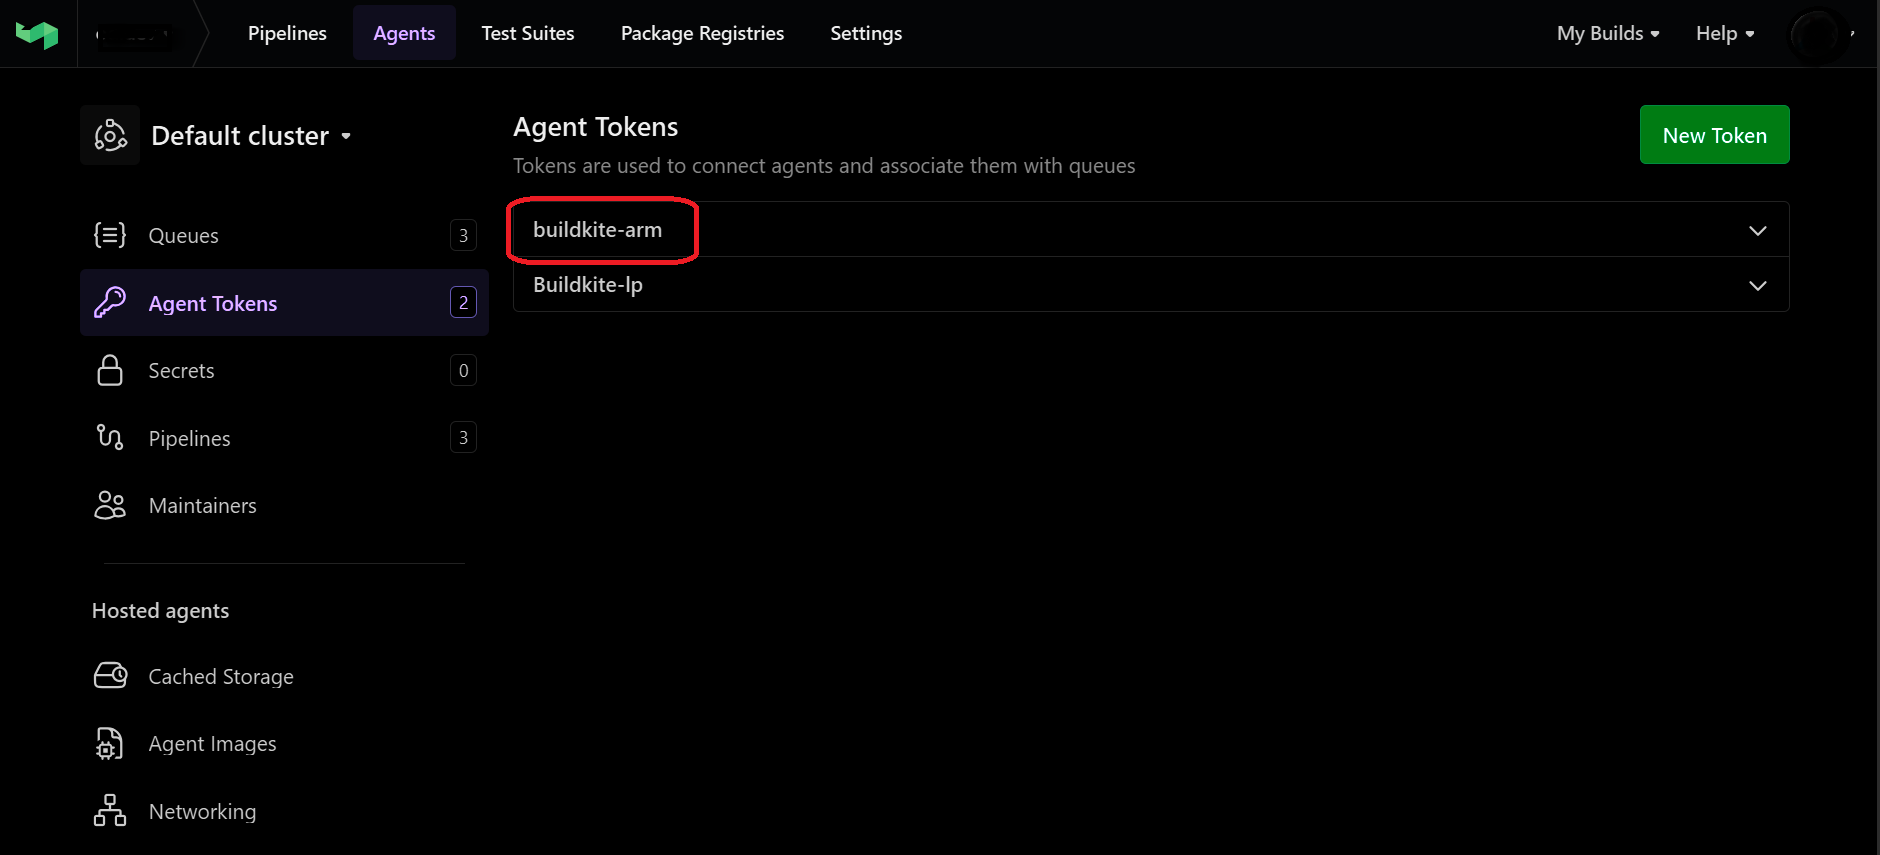
- Enter a descriptive name for the token, such as
buildkite-arm. - Select Create token.
- Copy the token and store it securely as you won’t be able to view it again after you leave the page.
 Create Buildkite agent token
Configure the Buildkite agent
Create the configuration directory and file on your local system with the commands below:
sudo tee /root/.buildkite-agent/buildkite-agent.cfg > /dev/null <<EOF
token="YOUR_AGENT_TOKEN"
tags="queue=buildkite-queue1"
EOF
Replace YOUR_AGENT_TOKEN with the token that you generated from your Buildkite Agents page.
You might find it easier to copy the commands above into a text file named config-agent.sh and run the file.
bash ./config-agent.sh
In Buildkite tags are key-value labels that let you match pipeline steps to specific agents, ensuring jobs run only on agents with the required tag.
The name field is optional; if omitted, Buildkite will assign a default name.
Verify the configuration:
sudo cat /root/.buildkite-agent/buildkite-agent.cfg
You should see output similar to:
        # The token from your Buildkite "Agents" page
token="YOUR-GENERATED-TOKEN-VALUE"
tags="queue=buildkite-queue1"
Create a queue in Buildkite
Now that your agent is created, you can create a queue.
- Go to your Buildkite organization, select Queues, and then select Create queue.
- Enter a name for the queue, for example
buildkite-queue1. - Select Save to create the queue.
This step connects your agent to the correct queue, ensuring jobs are routed to your Arm-based Buildkite agent.
Make sure the queue name matches the tags field in the agent configuration.
 Create the Buildkite queue
Verify the agent in the Buildkite UI
First, start the agent on your local computer:
sudo /root/.buildkite-agent/bin/buildkite-agent start --build-path="/var/lib/buildkite-agent/builds"
Then, confirm the agent is visible in the Buildkite UI, by doing the following:
- In the Buildkite dashboard, select Agents from the left menu. This page lists all registered agents for your organization.
- Look for your new agent in the list and verify that its status is online and that it is assigned to the correct queue.
Confirm that the agent is online and connected to the queue buildkite-queue1.
 Verify the agent
Congratulations! Your Buildkite agent is now set up and connected to your queue. You can now start using Buildkite to build multi-architecture images on your Arm-based VM. This setup enables you to run CI/CD pipelines optimized for Arm platforms, and take advantage of the performance and scalability of Arm servers.