Build high-performance image processing with Halide on Android
Introduction
Install and configure Halide for Arm development
Build a simple camera image processing workflow
Apply operator fusion in Halide for real-time image processing
Generate optimized Halide pipelines for Android using ahead-of-time cross-compilation
Integrate Halide into an Android project with Kotlin
Next Steps
What is Halide?
Halide is a powerful, open-source programming language designed to simplify and optimize high-performance image and signal processing. In 2012, researchers at MIT and Adobe developed Halide to efficiently run image-processing algorithms on different hardware architectures without extensive manual tuning.
Halide makes it easy to write correct image-processing code by separating what your program does from how it runs. You first describe the algorithm, which is the steps to process each pixel, without needing to worry about performance details. You can then later choose scheduling strategies like parallelism, vectorization, and memory management to optimize for your hardware, including Arm processors. This approach helps you focus on getting the right results before tuning for speed, often matching or beating hand-optimized code.
In this Learning Path, you’ll explore Halide’s foundational concepts, set up your development environment, and create your first functional Halide application. By the end, you’ll understand what makes Halide uniquely suited to efficient image processing, particularly on mobile and Arm-based hardware, and be ready to build your own optimized pipelines.
For broader use cases, see the official Halide documentation and tutorials on the Halide website .
You can find the example code for this Learning Path in two GitHub repositories: Arm.Halide.Hello-World GitHub repository and Arm.Halide.AndroidDemo GitHub repository .
Key concepts in Halide
Before you build your first Halide application, get familiar with the key ideas that make Halide powerful for image processing. Halide separates the steps of what your code does (the algorithm) from how it runs (the schedule). You’ll use symbolic building blocks to describe image operations, then apply scheduling strategies to optimize performance for Arm processors. Understanding these concepts helps you write code that’s both correct and fast. These concepts work together to enable high-performance code that’s both readable and portable across different hardware architectures, including Arm processors.
Separate algorithm from schedule for optimal performance
Halide’s core design principle separates algorithms from schedules. Traditional image-processing code tightly couples algorithmic logic with execution strategy, complicating optimization and portability.
The algorithm defines what computations are performed, such as image filters, pixel transformations, or mathematical operations on image data.
The schedule specifies how and where these computations execute, including parallel execution, memory usage, caching strategies, and hardware-specific optimizations.
This separation enables you to experiment and optimize code for different hardware architectures without changing the core algorithmic logic.
Discover Halide building blocks
Halide provides three key building blocks to structure image processing algorithms, as shown below:
Halide::Var x("x"), y("y"), c("c");
Halide::Func brighter("brighter");

// Define a function to increase image brightness by 50
brighter(x, y, c) = Halide::cast<uint8_t>(Halide::min(input(x, y, c) + 50, 255));
Functions (
Func)represent individual computational steps or image operations. Each Func encapsulates an expression applied to pixels, enabling concise definition of complex tasks.Varsymbolically represents spatial coordinates or dimensions (for example, horizontal x, vertical y, color channel c), specifying where computations are applied.Pipelines are formed by connecting multiple
Funcobjects, creating a workflow where each stage’s output feeds into subsequent stages.
Halide is a domain-specific language (DSL) tailored for image and signal processing. It provides predefined operations and building blocks optimized for expressing complex pipelines. By abstracting common computational patterns, Halide lets you define processing logic concisely, which in turn facilitates readability, maintainability, and optimization across hardware targets.
Learn about scheduling strategies
Halide offers several powerful scheduling strategies for maximum performance:
Parallelism is the execution of computations concurrently across multiple CPU cores, reducing execution time for large datasets
Vectorization enables simultaneous processing of multiple data elements using SIMD (Single Instruction, Multiple Data) instructions, such as Arm Neon, enhancing performance on Arm CPUs and GPUs
Tiling divides computations into smaller blocks optimized for cache efficiency, improving memory locality and reducing transfer overhead
You can combine these techniques to achieve optimal performance tailored to your target hardware architecture.
Beyond manual scheduling, Halide provides an Autoscheduler that automatically generates optimized schedules for specific hardware architectures, including Arm-based systems, simplifying performance optimization.
Set up your environment
You can set up Halide using one of two approaches:
Use pre-built binaries for a fast and convenient setup on Windows, Linux, and macOS. This method is recommended for most users and standard development environments.
Building from source is required when pre-built binaries aren’t available for your environment, or if you want to experiment with the latest Halide features or LLVM versions under active development. This method requires familiarity with build systems.
To use pre-built binaries, follow these steps:
To set up Halide using pre-built binaries:
- Go to the Halide releases page . This Learning Path uses version v19.0.0.
- Download and unzip the binaries to a convenient location, such as
/usr/local/halide(Linux/macOS) orC:\halide(Windows). - Set environment variables to make Halide easy to use:
export HALIDE_DIR=/path/to/halide
export PATH=$HALIDE_DIR/bin:$PATH
Install LLVM and OpenCV
Before you can build and run Halide pipelines, you need to install two essential components:
LLVM: Halide depends on LLVM to compile and execute image processing pipelines. LLVM provides the backend that turns Halide code into optimized machine instructions for Arm processors.
OpenCV: You’ll use OpenCV for image input and output in later sections. OpenCV makes it easy to load, display, and save images, and it integrates smoothly with Halide buffers.
Both tools are available for Arm platforms on Linux, macOS, and Windows. Make sure you install the correct versions for your operating system and architecture.
The commands below show how to install LLVM and OpenCV:
sudo apt-get install llvm-19-dev libclang-19-dev clang-19
sudo apt-get install libopencv-dev pkg-config
brew install llvm
brew install opencv pkg-config
Halide examples were tested with OpenCV 4.11.0
Build your first Halide program
You’re now ready to build your first Halide application. Save the following code in a file named hello-world.cpp:
#include "Halide.h"
#include <opencv2/opencv.hpp>
#include <iostream>
#include <string>
#include <cstdint>

using namespace Halide;
using namespace cv;

int main() {
    // Static path for the input image.
    std::string imagePath = "img.png";

    // Load the input image using OpenCV (BGR format by default, which stands for Blue-Green-Red channel order).
    Mat input = imread(imagePath, IMREAD_COLOR);
    // Alternative: Halide has a built-in IO function to directly load images as Halide::Buffer.
    // Example: Halide::Buffer<uint8_t> inputBuffer = Halide::Tools::load_image(imagePath);
    if (input.empty()) {
        std::cerr << "Error: Unable to load image from " << imagePath << std::endl;
        return -1;
    }

    // Convert from BGR to RGB (Red-Green-Blue) format for correct color display in OpenCV.
    cvtColor(input, input, COLOR_BGR2RGB);

    // Wrap the OpenCV Mat data in a Halide::Buffer.
    Buffer<uint8_t> inputBuffer(input.data, input.cols, input.rows, input.channels());

    // Example Halide pipeline definition directly using inputBuffer
    // Define Halide pipeline variables:
    // x, y - spatial coordinates (width, height)
    // c    - channel coordinate (R, G, B)
    Var x("x"), y("y"), c("c");
    Func invert("inverted");
    invert(x, y, c) = 255 - inputBuffer(x, y, c);

    // Schedule the pipeline so that the channel dimension is the innermost loop,
    // ensuring that the output is interleaved.
    invert.reorder(c, x, y);

    // Realize the output buffer with the same dimensions as the input.
    Buffer<uint8_t> outputBuffer = invert.realize({input.cols, input.rows, input.channels()});

    // Wrap the Halide output buffer directly into an OpenCV Mat header.
    // CV_8UC3 indicates an 8-bit unsigned integer image (CV_8U) with 3 color channels (C3), typically representing RGB or BGR images.
    // This does not copy data; it creates a header that refers to the same memory.
    Mat output(input.rows, input.cols, CV_8UC3, outputBuffer.data());

    // Convert from BGR to RGB for consistency (optional, but recommended if your pipeline expects RGB).
    cvtColor(output, output, COLOR_RGB2BGR);

    // Display the input and processed image.
    imshow("Original Image", input);
    imshow("Inverted Image", output);

    // Wait indefinitely until a key is pressed.
    waitKey(0); // Wait for a key press before closing the window.

    return 0;
}
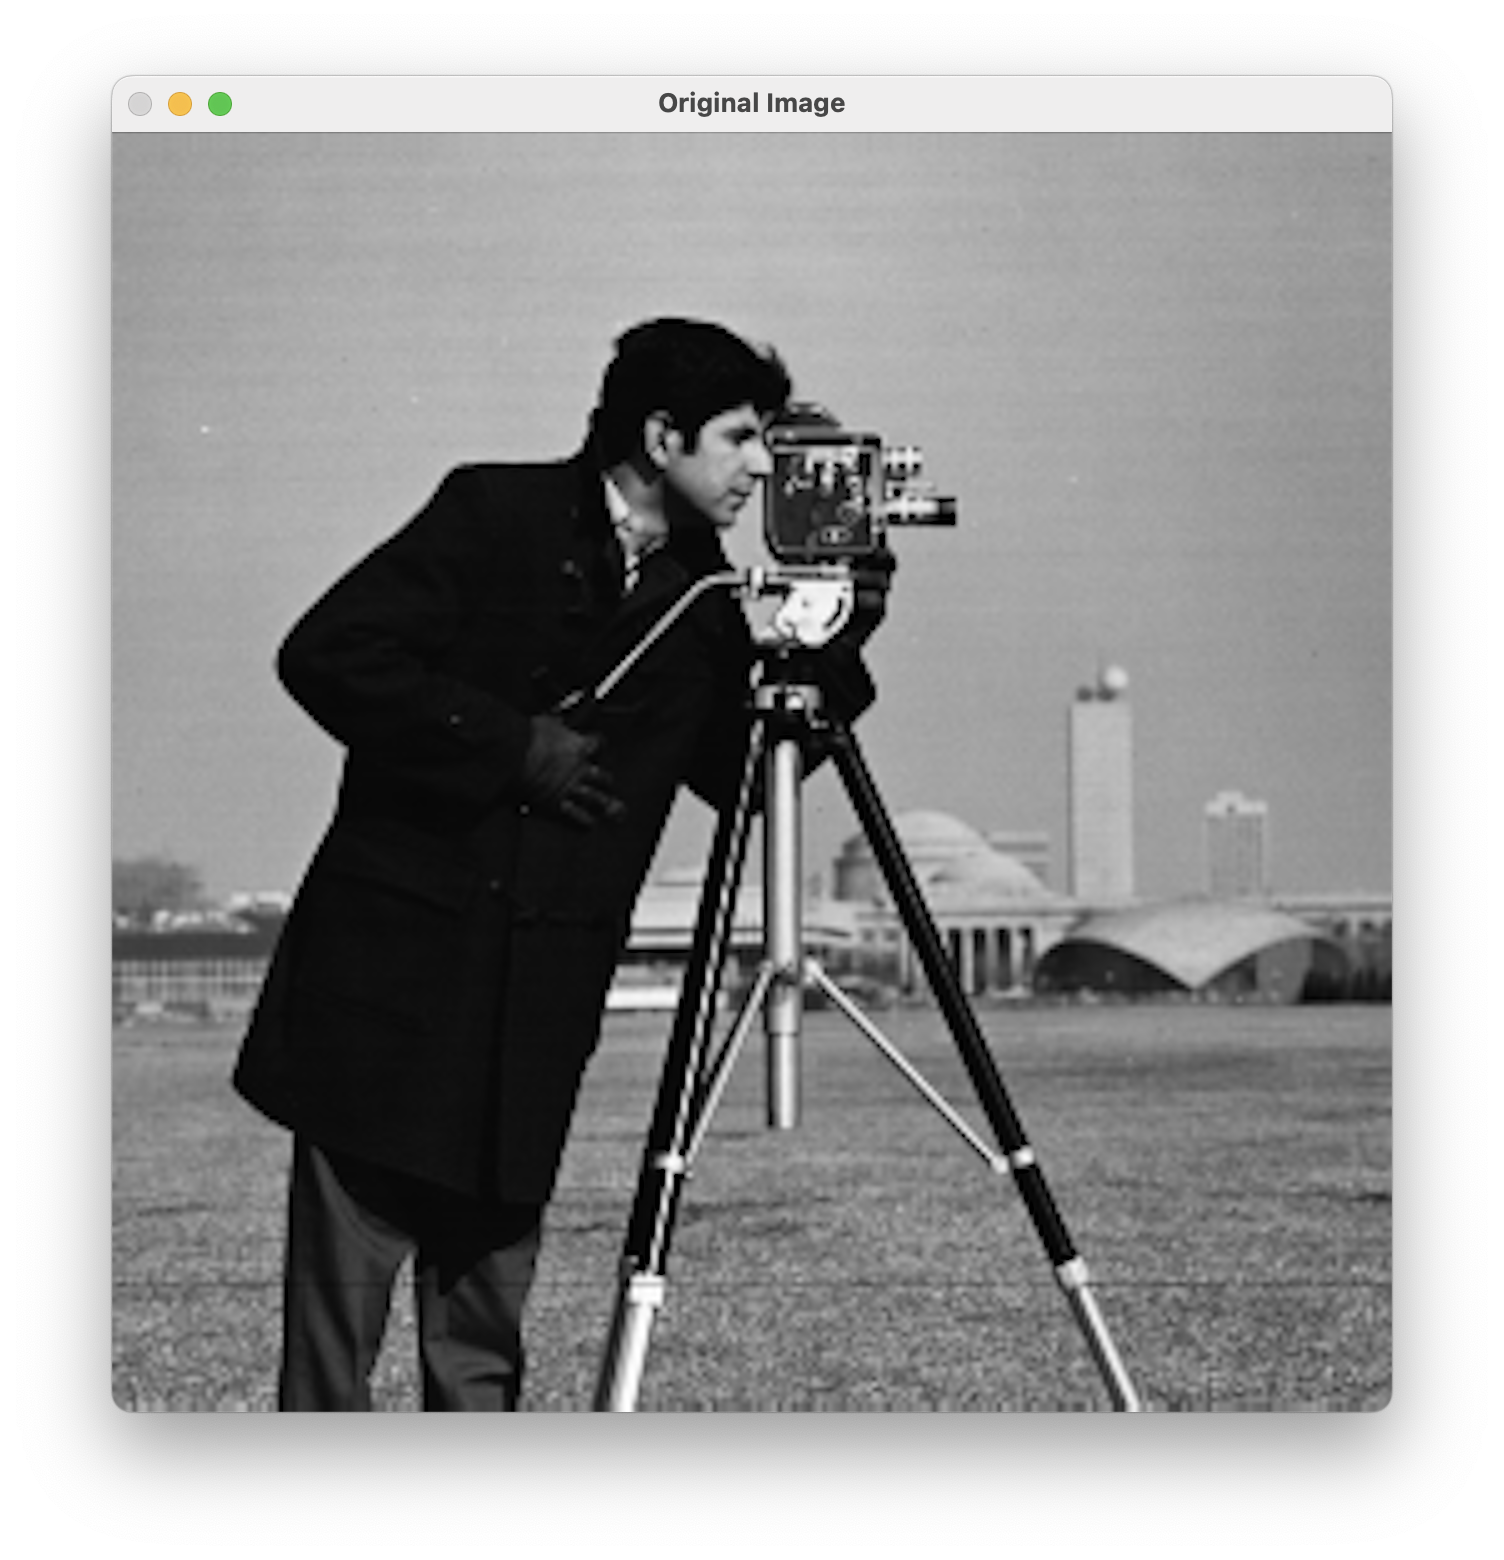
This program demonstrates how you can combine Halide’s image processing capabilities with OpenCV’s image I/O and display functionality. It begins by loading an image from disk using OpenCV, specifically reading from a static file named img.png (here you use a Cameraman image). Since OpenCV loads images in BGR (Blue-Green-Red) format by default, the code immediately converts the image to RGB (Red-Green-Blue) format so that it’s compatible with Halide.
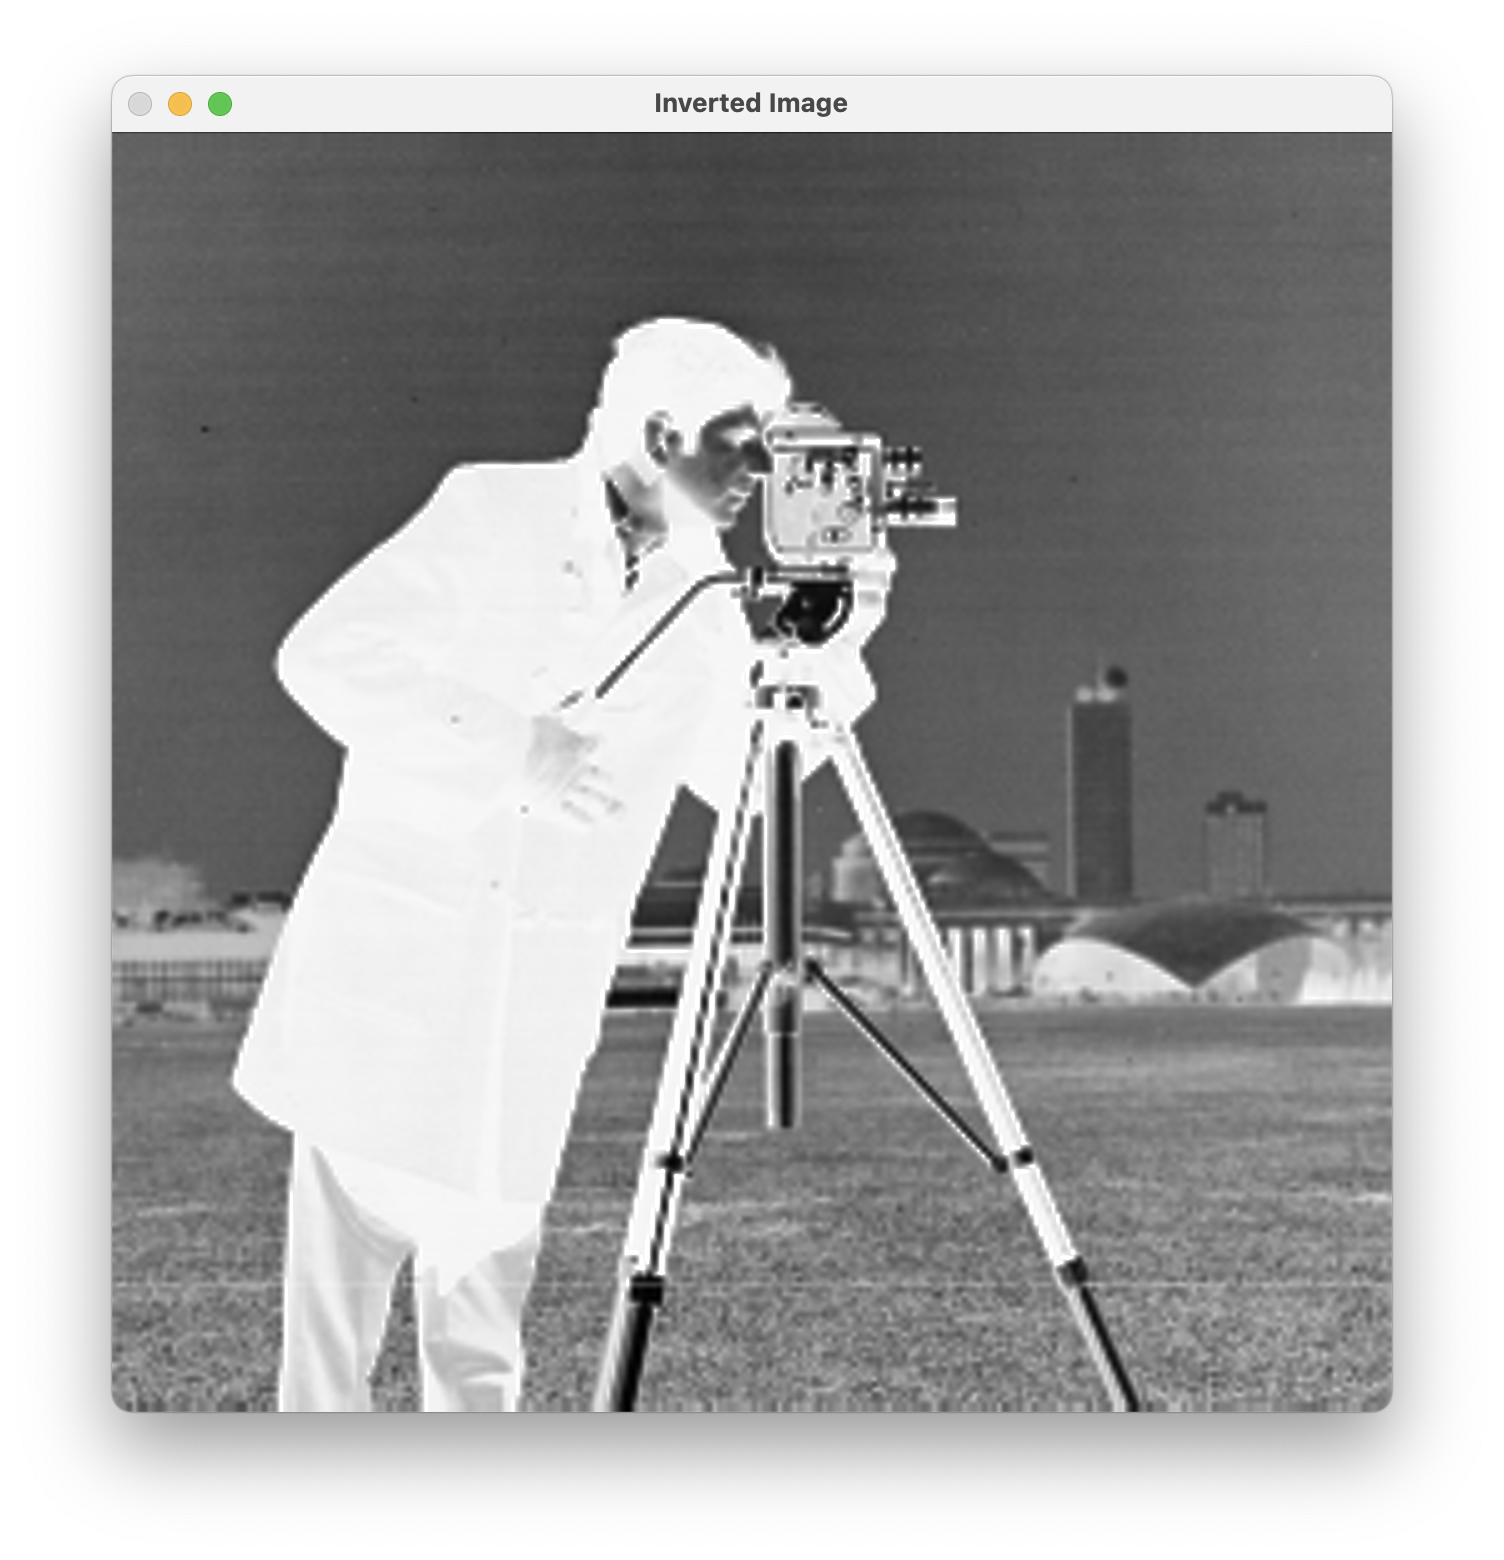
The program wraps the raw image data into a Halide buffer, capturing the image’s width, height, and color channels. It defines the Halide pipeline using a function named invert to specify the computation for each pixel—subtract the original pixel value from 255 to invert the colors.
Remember, the pipeline definition only describes the computations and scheduling; it doesn’t perform any actual processing until you realize the pipeline.
The actual computation occurs when the pipeline is executed with the call to invert.realize(…). This is the step that processes the input image according to the defined pipeline and produces an output Halide buffer. The scheduling directive (invert.reorder(c, x, y)) ensures that pixel data is computed in an interleaved manner (channel-by-channel per pixel), aligning the resulting data with OpenCV’s expected memory layout for images.
Wrap the processed Halide output buffer in an OpenCV Mat header without copying pixel data. Convert the processed image from RGB back to BGR for proper display in OpenCV, which uses BGR channel ordering by default. Display the original and inverted images in separate windows, and wait for a key press before exiting. Use this approach to integrate Halide for high-performance image processing with OpenCV for convenient input and output operations.
By default, Halide orders loops based on the order of variable declaration. In this example, the original ordering (x, y, c) implies processing the image pixel-by-pixel across all horizontal positions (x), then vertical positions (y), and finally channels (c). This ordering naturally produces a planar memory layout (for example, processing all red pixels first, then green, then blue).
However, the optimal loop order depends on your intended memory layout and compatibility with external libraries:
Interleaved layout (RGBRGBRGB…) is commonly used by libraries such as OpenCV. To achieve this, the color channel (c) should be the innermost loop, followed by horizontal (x) and then vertical (y) loops.
Call:
invert.reorder(c, x, y);
This changes the loop nesting to process each pixel’s channels together (R, G, B for the first pixel, then R, G, B for the second pixel, and so on). This provides better memory locality and cache performance when interfacing with interleaved libraries like OpenCV, and reduces overhead for subsequent image-handling operations (display, saving, or further processing).
By default, OpenCV stores images in interleaved memory layout, using the HWC (Height, Width, Channel) ordering. To correctly represent this data layout in a Halide buffer, you can use the Buffer::make_interleaved() method, which ensures the data layout is properly specified:
// Wrap the OpenCV Mat data in a Halide buffer with interleaved HWC layout.
Buffer<uint8_t> inputBuffer = Buffer<uint8_t>::make_interleaved(
    input.data, input.cols, input.rows, input.channels()
);
Planar layout (RRR…GGG…BBB…) is preferred by certain image-processing routines or hardware accelerators (for example, some GPU kernels or ML frameworks). This is achieved naturally by Halide’s default loop ordering (x, y, c).
Choose your loop ordering based on how your image data is stored and which libraries you use. Halide lets you control loop order for both performance and compatibility.
Halide separates two important ideas:
Loop execution order — Use reorder to set the order in which loops run during computation. For example, making the channel (c) the innermost loop helps match interleaved layouts like OpenCV’s HWC format:
invert.reorder(c, x, y);
Memory storage layout (controlled by reorder_storage) defines the actual order in which data is stored in memory, such as interleaved or planar:
invert.reorder_storage(c, x, y);
Using only reorder(c, x, y) affects the computational loop order but not necessarily the memory layout. The computed data could still be stored in planar order by default. Using reorder_storage(c, x, y) defines the memory layout as interleaved.
Compile the program
Compile the program as follows (replace /path/to/halide with your actual path):
export DYLD_LIBRARY_PATH=/path/to/halide/lib/libHalide.19.dylib
g++ -std=c++17 hello-world.cpp -o hello-world \
    -I/path/to/halide/include -L/path/to/halide/lib -lHalide \
    $(pkg-config --cflags --libs opencv4) -lpthread -ldl \
    -Wl,-rpath,/path/to/halide/lib
On Linux, set LD_LIBRARY_PATH instead:
export LD_LIBRARY_PATH=/path/to/halide/lib/
To run the executable:
./hello-world
You’ll see two windows displaying the original and inverted images:
What you’ve accomplished and what’s next
You’ve learned Halide’s foundational concepts, explored the benefits of separating algorithms and schedules, set up your development environment, and created your first functional Halide application integrated with OpenCV for Arm development.
While the example introduces the core concepts of Halide pipelines (such as defining computations symbolically and realizing them), it doesn’t yet showcase the benefits of separating algorithm definition from scheduling strategies.
In subsequent sections, you’ll explore advanced Halide scheduling techniques, including parallelism, vectorization, tiling, and loop fusion, which demonstrate the practical advantages of separating algorithm logic from scheduling. These techniques enable fine-grained performance optimization tailored to Arm processors and other hardware without modifying algorithmic correctness.