Accelerate Denoising, Background Blur and Low-Light Camera Effects with SME2
Introduction
Prerequisites
Overview
Build the pipelines
Run the pipelines
Performance
Next Steps
Accelerate Denoising, Background Blur and Low-Light Camera Effects with SME2
Apply transformations
In the previous section, you built the AI Camera Pipelines. In this section, you’ll run them to apply transformations to an input image or input frames.
cd $HOME/ai-camera-pipelines
python3 -m venv venv
. venv/bin/activate
pip install numpy opencv-python pillow torch
Background blur
Run the background Blur pipeline, using resources/test_input.png as the input image and write the transformed image to test_output_cinematic_mode.png:
cd $HOME/ai-camera-pipelines
bin/cinematic_mode resources/test_input.png test_output_cinematic_mode.png resources/depth_and_saliency_v3_2_assortedv2_w_augment_mobilenetv2_int8_only_ptq.tflite
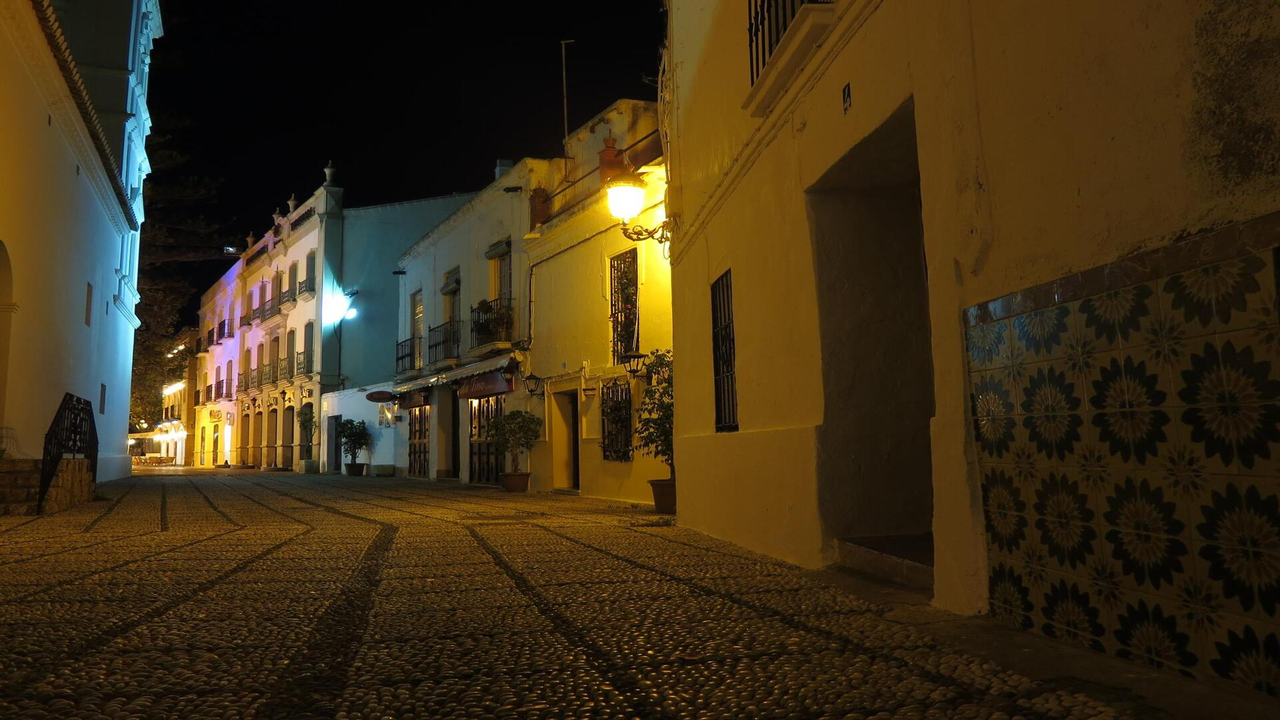 Input image
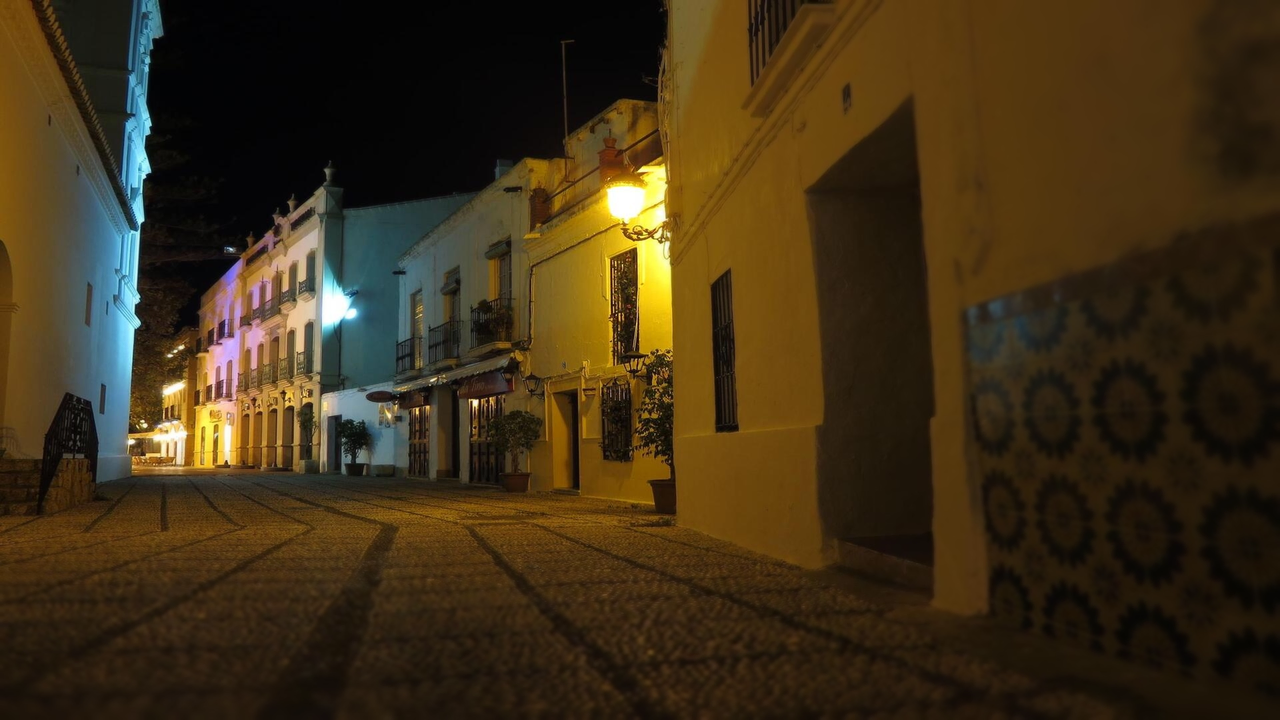 Image with blur applied
Low-Light Enhancement
Run the Low-Light Enhancement pipeline, using resources/test_input.png as the input image and write the transformed image to test_output_lime.png:
cd $HOME/ai-camera-pipelines
bin/low_light_image_enhancement resources/test_input.png test_output_lime.png resources/HDRNetLIME_lr_coeffs_v1_1_0_mixed_low_light_perceptual_l1_loss_float32.tflite
Input image
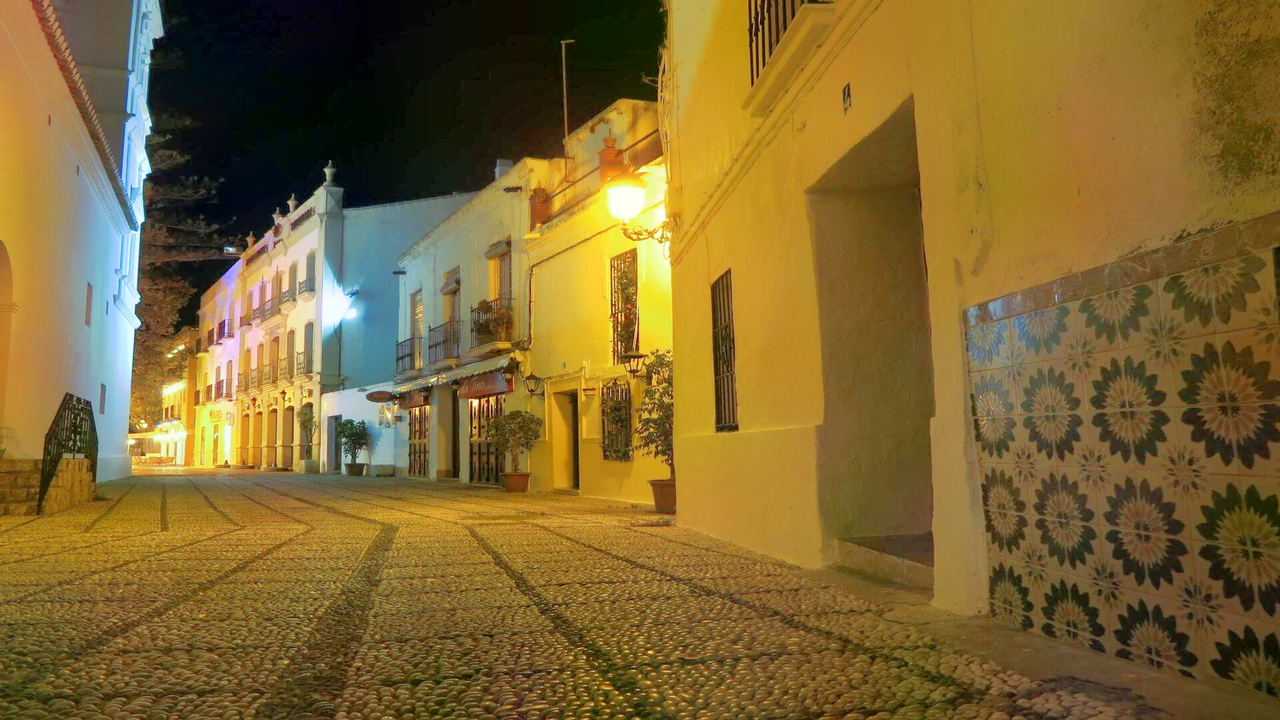 Image with low-light enhancement applied
Neural denoising
When the SME extension is not available, only temporal neural denoising is available, so this is what you will run for now — but stay tuned as the SME extension will become available very soon:
./scripts/run_neural_denoiser_temporal.sh
The input frames are:
- first converted from
.pngfiles in theresources/test-lab-sequence/directory to the sensor format (RGGB Bayer) intoneural_denoiser_io/input_noisy* - those frames are then processed by the Neural Denoiser and written into
neural_denoiser_io/output_denoised* - last, the denoised frames are converted back to
.pngfor easy visualization in directorytest-lab-sequence-out
 Original frame
 Frame with temporal denoising applied