Convert uvprojx-based projects to csolution
Introduction
Using Keil Studio
Using µVision
Using the command line
Next Steps
Convert uvprojx-based projects to csolution
Project conversion in Keil Studio
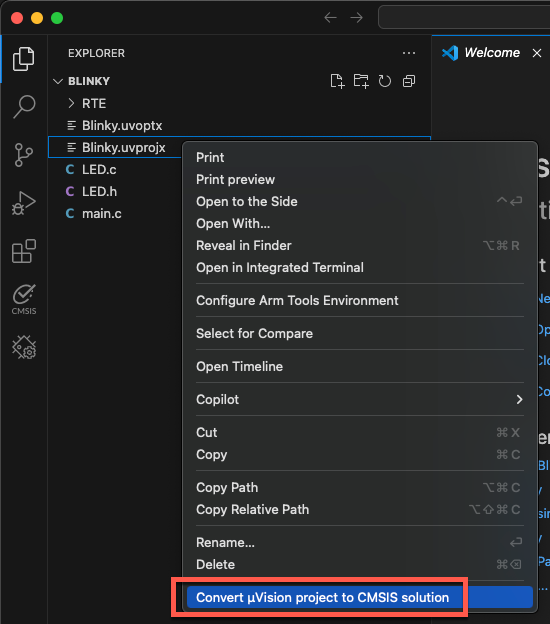
In VS Code, go to File - Open Folder and select the folder containing the uvprojx file (here
Blinky.uvprojx).Once the folder is open in VS Code, right-click the uvprojx file and select Convert µVision project to csolution:
The following files (and more) are generated:
Blinky.csolution.yamlBlinky.cproject.yamlvcpkg-configuration.json
The Output window shows a successful conversion:

The vcpkg configuration file is automatically activated. You notice a couple of “Arm Tools” available in the Status Bar at the bottom:

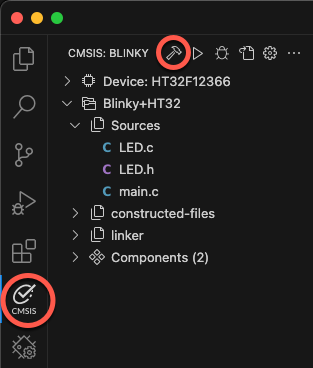
Click on the CMSIS icon in the Activity Bar to open the CMSIS View. At the top, click on the hammer icon to build the project:
The
cbuildtask starts. A successful project build will end with:Program size: Code=... RO-data=... RW-data=... ZI-data=... info cbuild: build finished successfully! Build complete