Get Started with Keil Studio Cloud
Before you begin
To access Keil Studio Cloud, you need an Arm Account . If you already have an Mbed account, you can use it to access Keil Studio.
To work with development boards over USB, you must use Keil Studio in a desktop browser that supports the WebUSB standard: Google Chrome or Microsoft Edge (Chromium). All other features are supported in the latest versions of the following desktop browsers: Google Chrome, Microsoft Edge, Opera, Safari, and Mozilla Firefox.
Get started with the IDE
Go to keil.arm.com .
Click the Hardware menu to see the list of supported hardware.
You can search for a board by name or vendor, or filter the list by vendor or core. You can also display boards with example projects with the Only include boards with example projects checkbox.
Search for and select the V2M-MPS3-SSE-300-FVP board in the list.
You can either download or import example projects into Keil Studio from the Projects tab and get access to board details from the Features and Documentation tabs.
Find the hello example in the Projects tab and click the Open in Keil Studio button.
 Find and import hello project
Import and build an example project
- Log into Keil Studio with your Arm or Mbed account if you are not already logged in. Keil Studio opens. Confirm the project name in the Clone dialog box. Keil Studio sets the newly imported project as the active project by default.
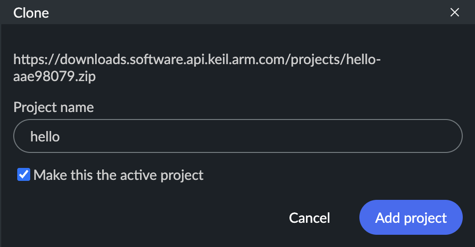 Specify a name for the imported project
Click Add project. The project loads to your workspace and is the active project. The README.md file of the project displays. Review the file to learn more about project settings and board requirements.
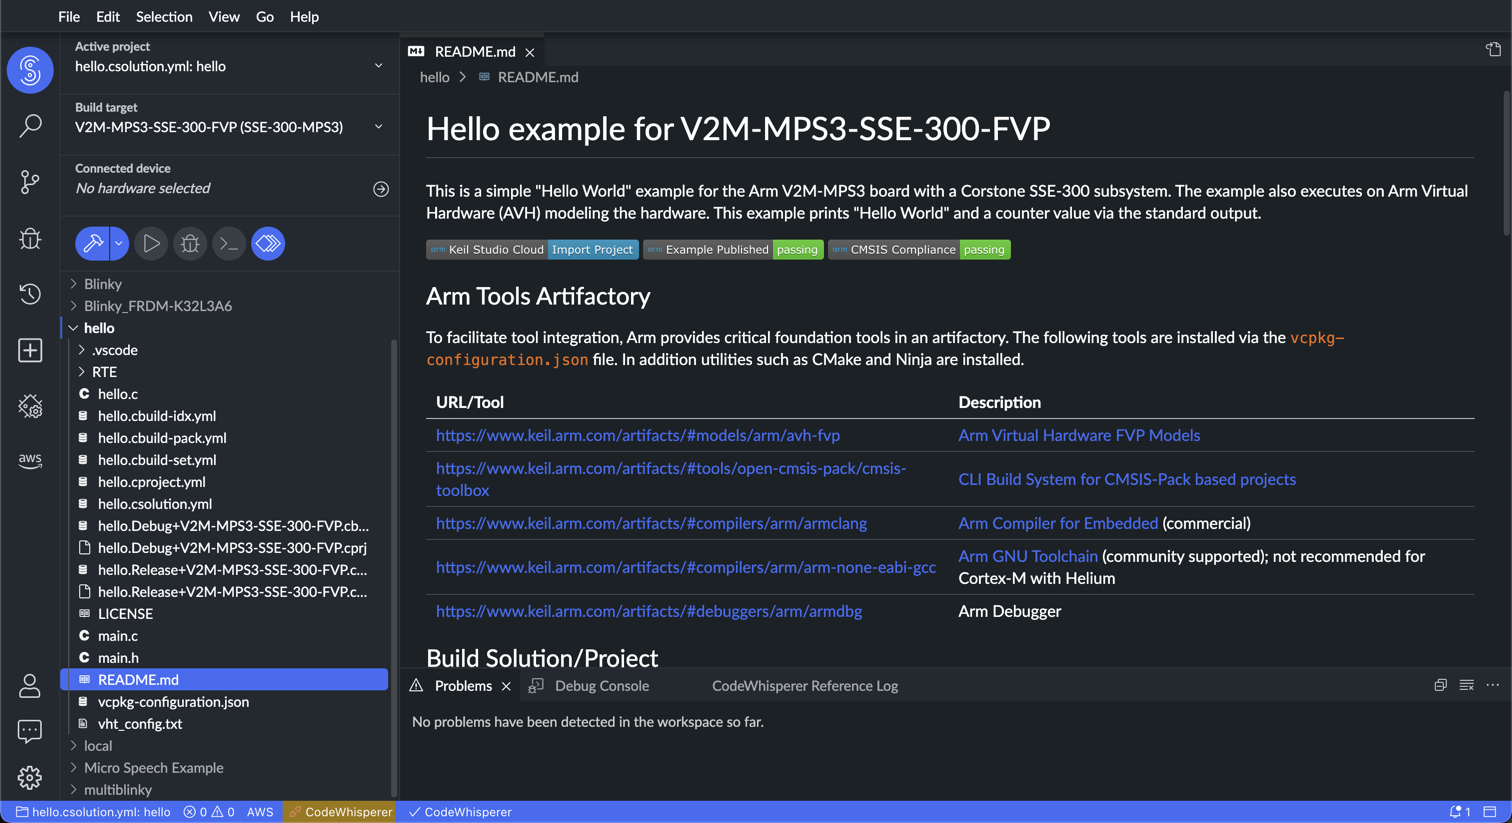 First screen after project import
In the top-left corner, select the Connected device. Set to Virtual Device - SSE-300-MPS3:
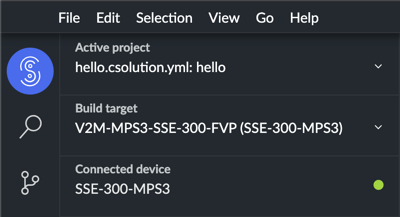 Select your target
- Use the build button to create a binary image:
 Build the project for your target
- The Output window shows the success of the operation:
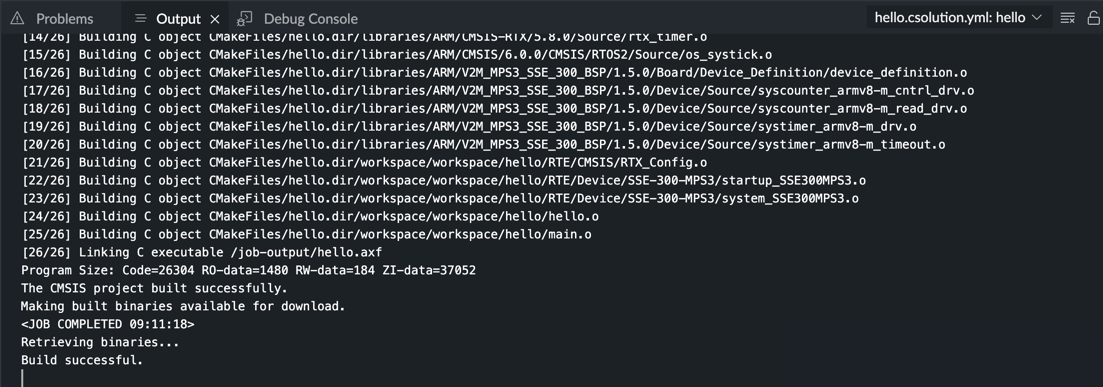 Output window logs operational success
Run the example project
- Use the play button to run the project on Arm Virtual Hardware in your browser:
 Run the project on your target
- The Task: Run Program window shows the success of the operation:
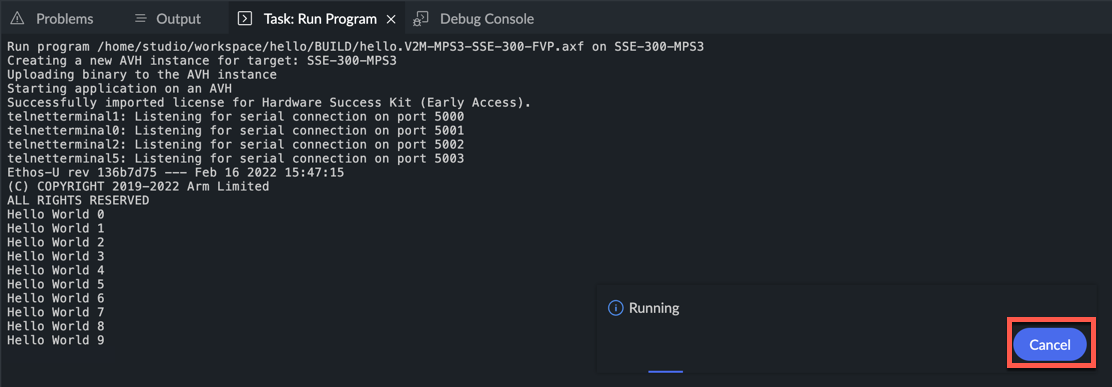 Output window logs operational success
To stop program execution, click the Cancel button.
Manage Software Components
If you want to review or change the software components that are used in the project, open the Manage Software Components view by clicking the button:
 Build the project for your target
The view opens and shows the currently selected software components:
 Manage Software Components View
Using the Show selected only toggle, you can switch between this short view and the full list of components. In the full list, enable or disable components as required.