Implement CI/CD with Windows on Arm host
Introduction
Setup GitHub Self-hosted Runner
Create and run simple workflow
Next Steps
Implement CI/CD with Windows on Arm host
You will learn how to setup a GitHub self-hosted runner on a Windows on Arm machine or cloud instance .
You will need a valid GitHub account to complete this Learning Path.
Create a new GitHub repository
You can create a new repository in GitHub to test a simple hello world command running on the Windows Arm VM using GitHub Actions for CI/CD.
In a browser, log in using your GitHub account. Select the
New Button
to create a new repository. Give the repository a name. Click Create Repository.
Prepare GitHub self-hosted runner
Runners are the machines that execute the jobs in the GitHub Actions workflow.
Select the Settings tab in your currently empty repository. On the left pane, select Actions->Runners.
On the Runners page, select the New self-hosted runner button. You will be presented with options to choose the Operating system and architecture for your runner. Select Windows and ARM64. The instructions to download and configure your Windows Arm runner are displayed (the exact commands will be unique to you).
Enable self-hosted runner
In your Windows on Arm machine, open a PowerShell window. Copy and paste each of the above commands. When prompted, it is OK to select default configuration options.
On the execution of the last command (./run.cmd) you will see output similar the below:
        √ Connected to GitHub

Current runner version: '2.303.0'
<timestamp>: Listening for Jobs
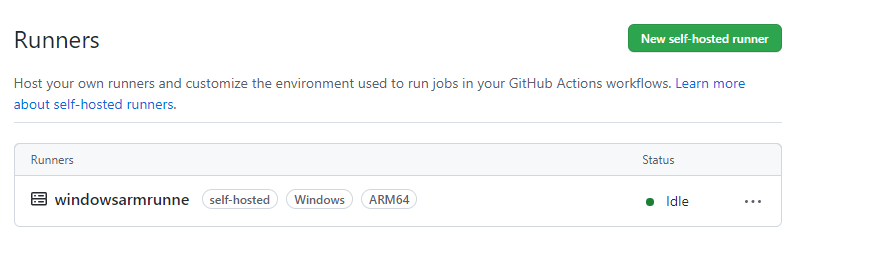
Return to the Actions->Runners page in your GitHub repository and you should now see your runner displayed similar to the below:
You are now ready to test a simple CI/CD GitHub Actions workflow on your Windows on Arm runner.