Build a Windows on Arm native application with .NET
Introduction
Build a native windows application using .NET 6 framework for Windows on Arm
Next Steps
Build a Windows on Arm native application with .NET
Before you begin
Any Windows on Arm computer which has the required tools installed can be used for this Learning Path.
Follow the links to install the required tools.
Install the .NET desktop development workload component with Visual Studio. You can do this either during the initial installation or modify your existing installation.
To modify your existing installation of Visual Studio:
Open the Windows Start Menu. Search for Visual Studio Installer and launch it.
Select
Modify.

- On the Workloads tab, click on the
.NET desktop developmentcheckbox and then selectModify.
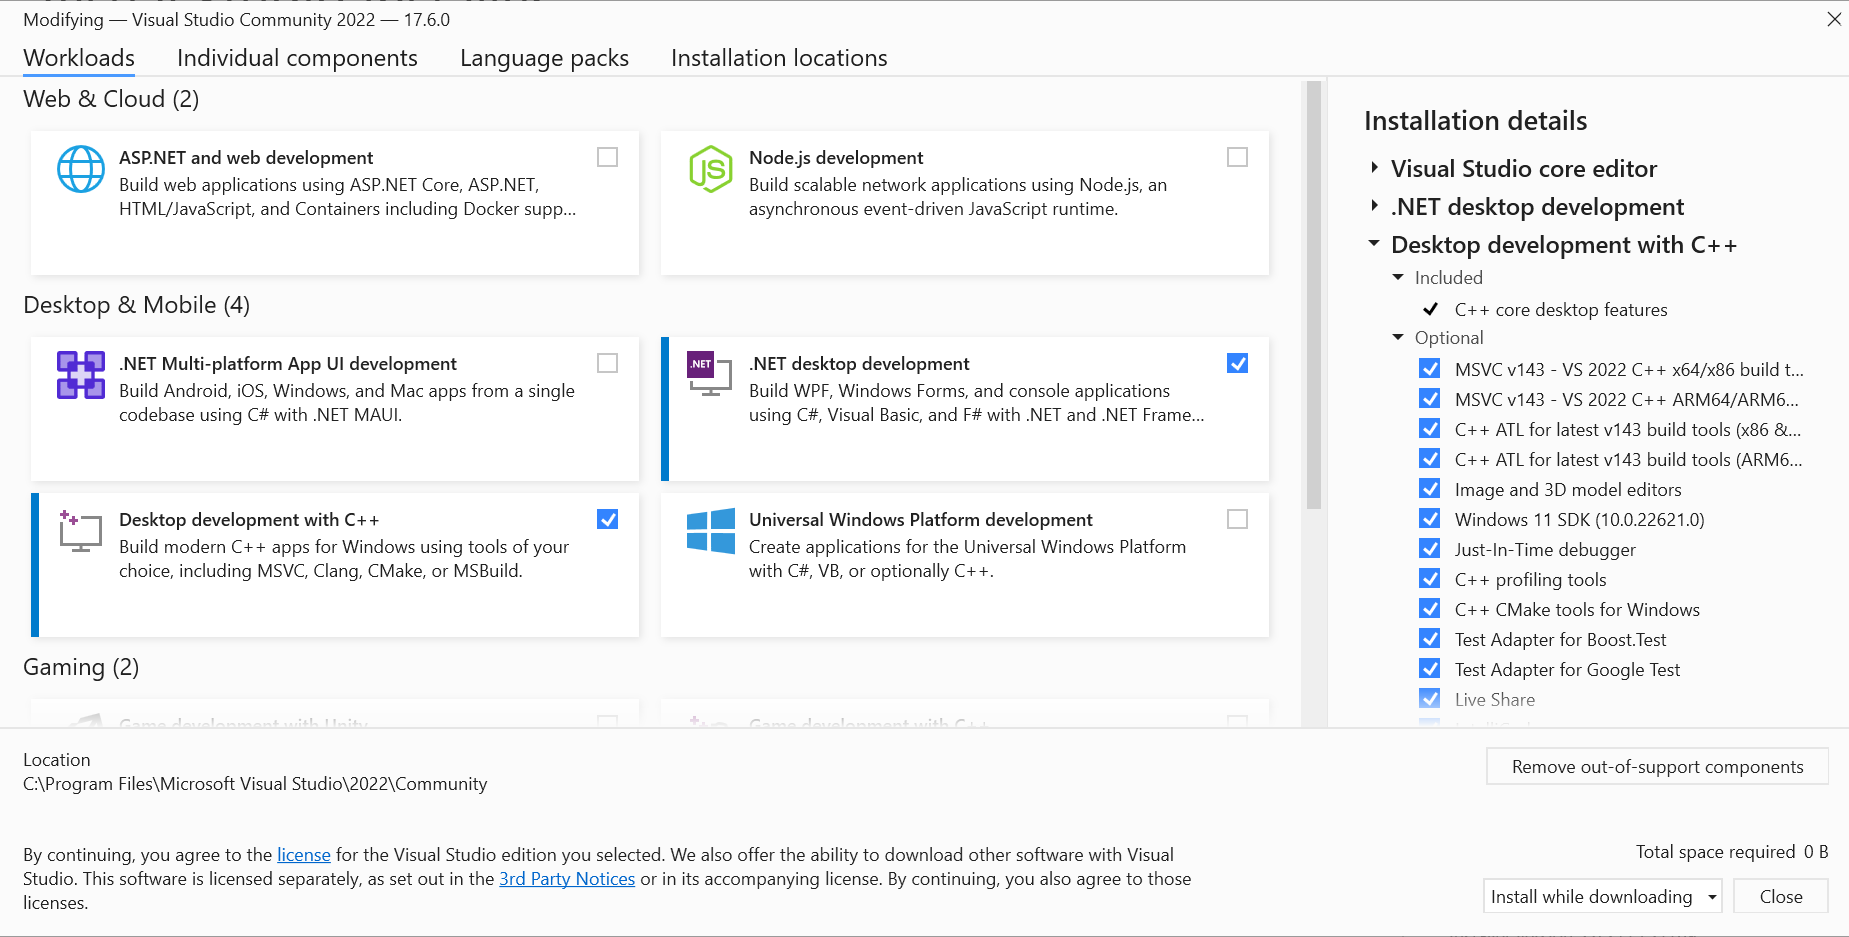
After the installation completes, close the installer.
Compile a WPF application natively on Windows on Arm with .NET 6 framework
This Learning Path uses a sample Windows Presentation Foundation (WPF) application that solves a well-known algorithmic problem: the Traveling Salesman Problem .
This sample application is chosen because it is CPU intensive, and makes use of graphics to test the capabilities of WPF in .NET 6.
The sample application source code is configured to build and compile using .NET 5. In this Learning Path, you will port the application to .NET 6 which includes support for WPF on Arm.
To compile and run this WPF application using .NET 6 on a Windows on Arm device, follow the steps outlined below:
Open
Visual Studioon your Windows on Arm computer.Select
Clone a repositoryfrom the Get Started options in Visual Studio as shown in the image below:

In the
Repository locationfield enterhttps://github.com/GVerelst/TravelingSalesmanEnter an appropriate
Pathwhere you would like to clone the repository on your machine. In this example, it isC:\TravelingSalesman. Then selectClone.

After the repository is cloned, 3 projects are displayed in the
Solution Explorerpane.Right click on the
TSP.WPFproject and selectProperties.In the
Generalsection, change theTarget frameworkfrom.NET 5.0to.NET 6.0as shown in the image:
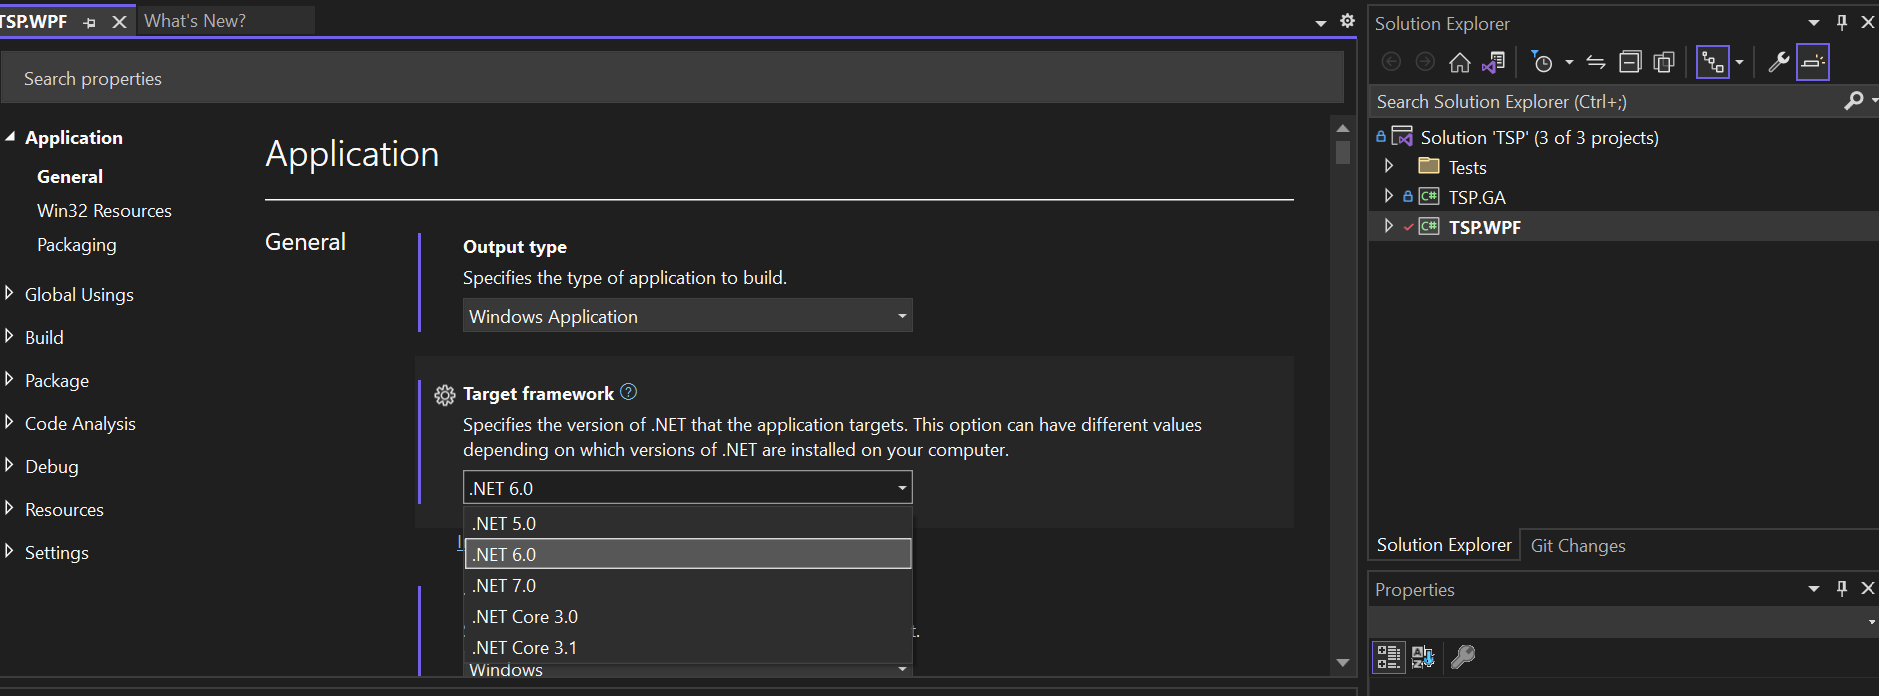
Save the changes to the project (Ctrl+S)
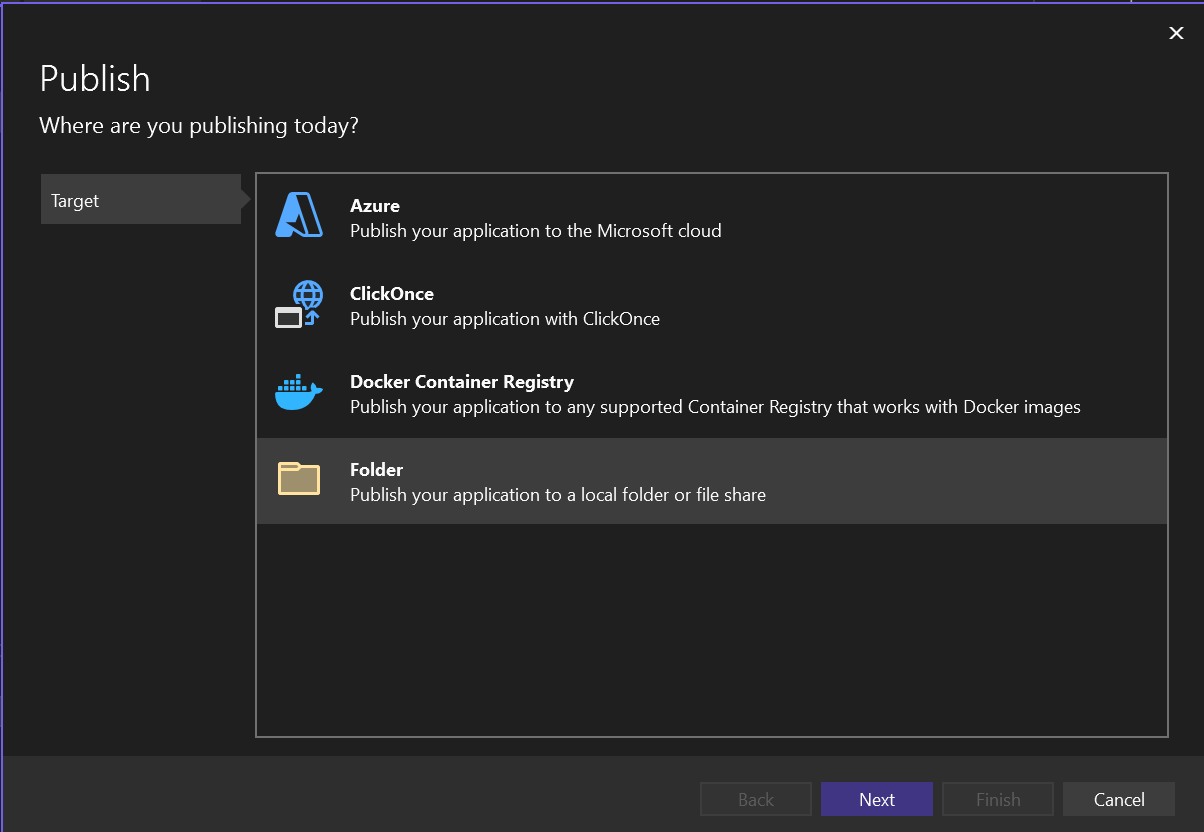
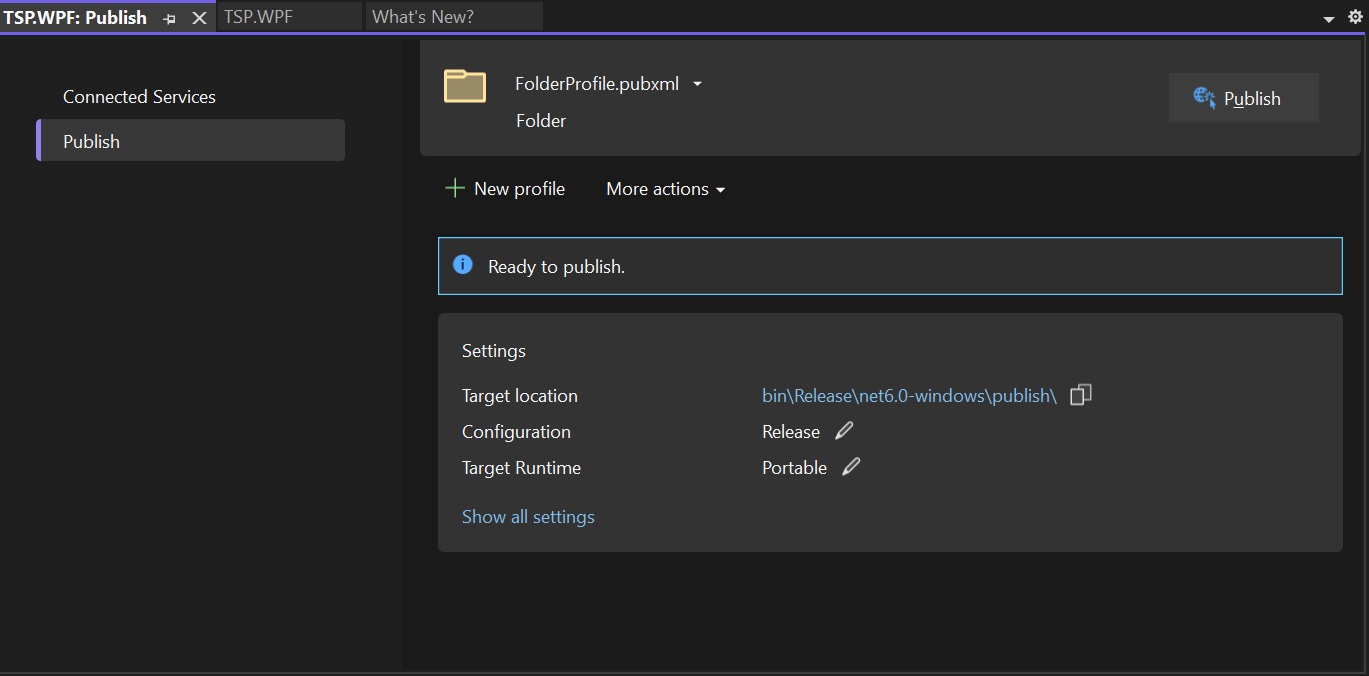
In Solution Explorer, right-click the
TSP.WPFproject and selectPublish. The Publish dialog appears.Under Target, click Folder then click Next, as shown in the following image:
- Under Specific target, click Folder then click Next, as shown in the following image:
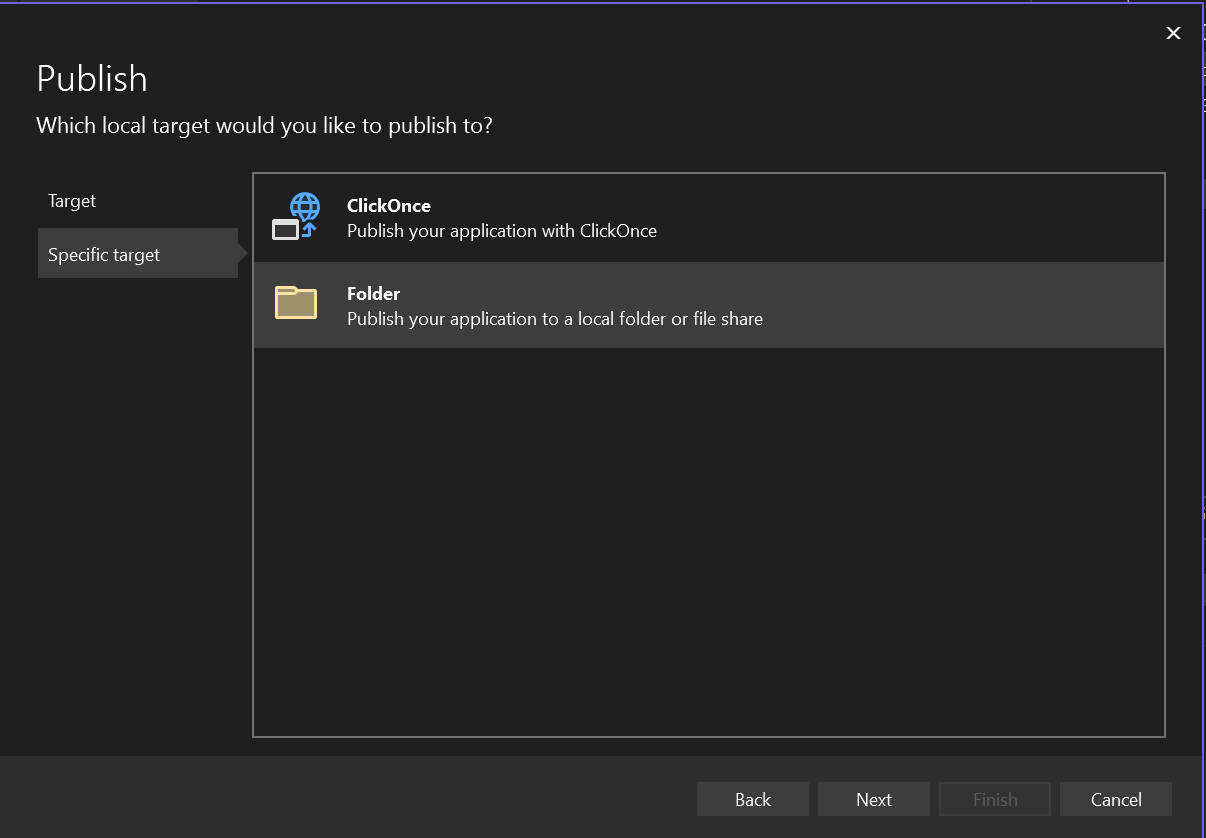
Select a location to store the generated binaries. You can leave the default folder selection as is and select
Finish.The initial publish profile is created. Select
Close.Click on
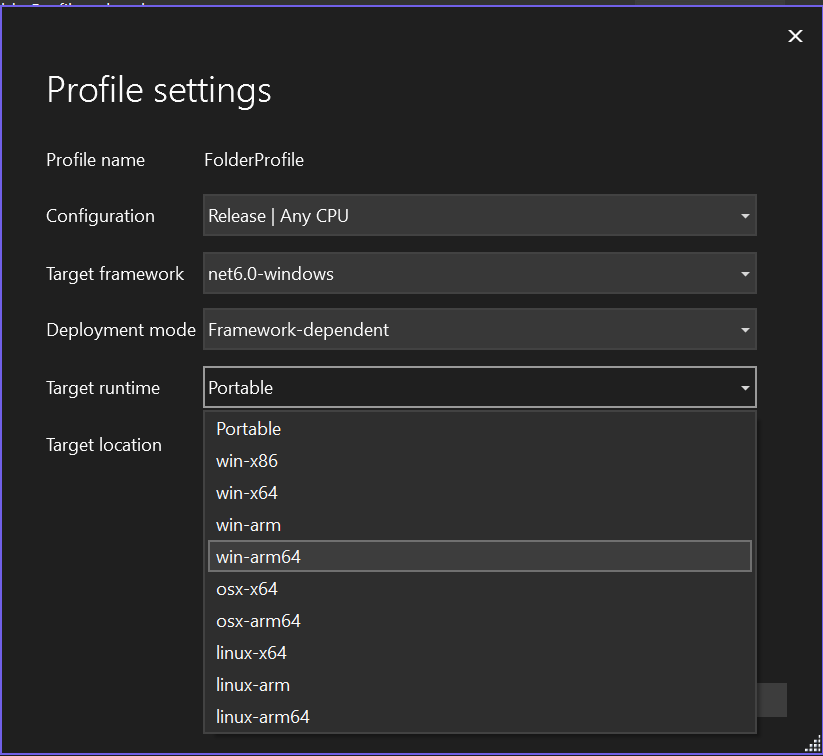
Show all settingsto display the Profile settings dialog.
- Change the
Target runtimefromPortabletowin-arm64and clickSave.
- Click Publish. Visual Studio compiles a version of the project that is native executable on Arm devices as shown in the image below:
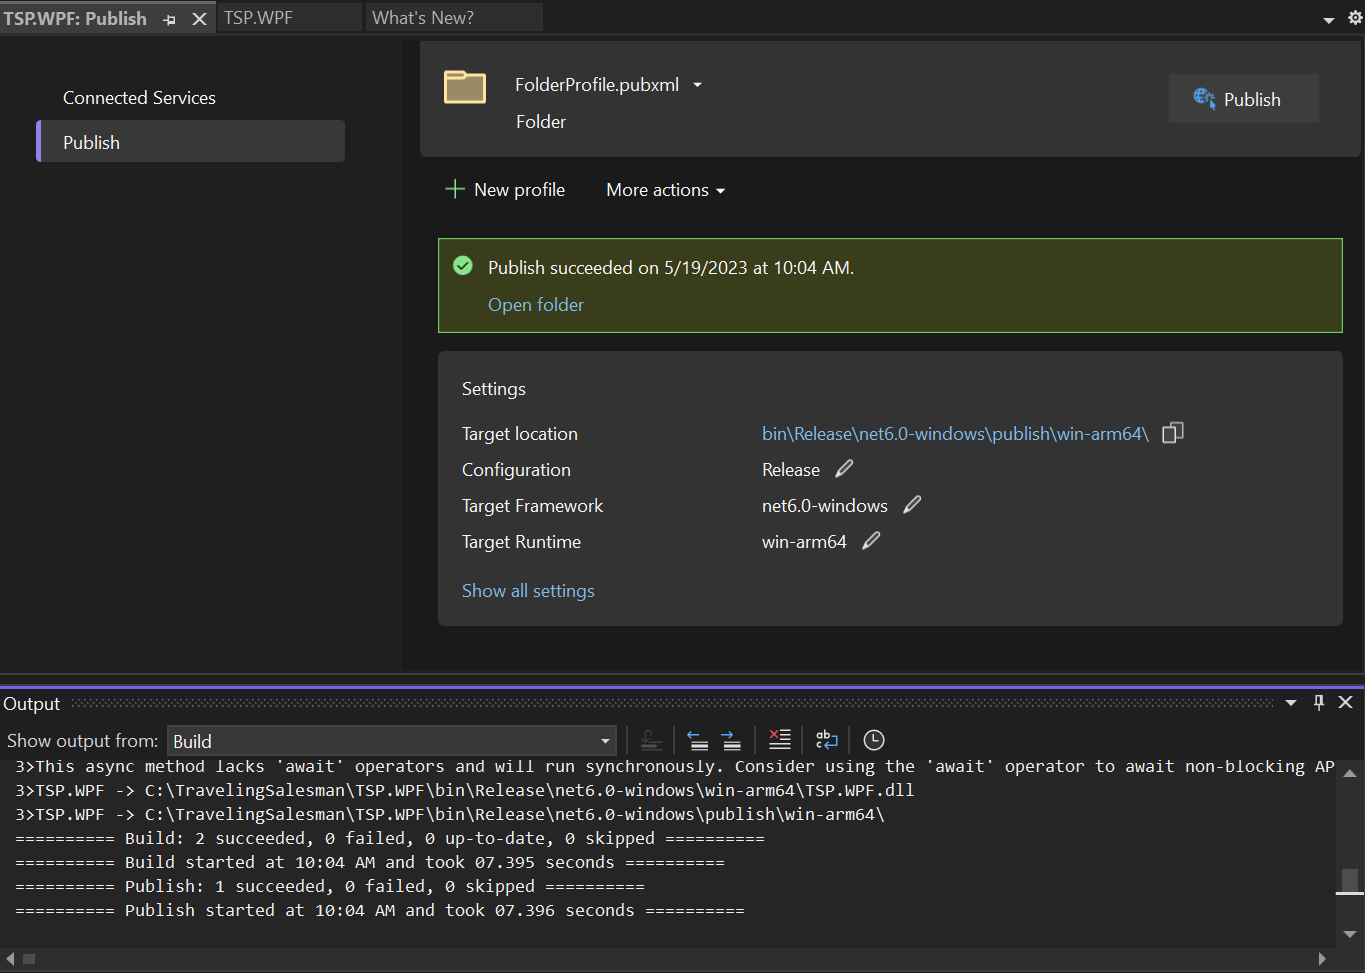
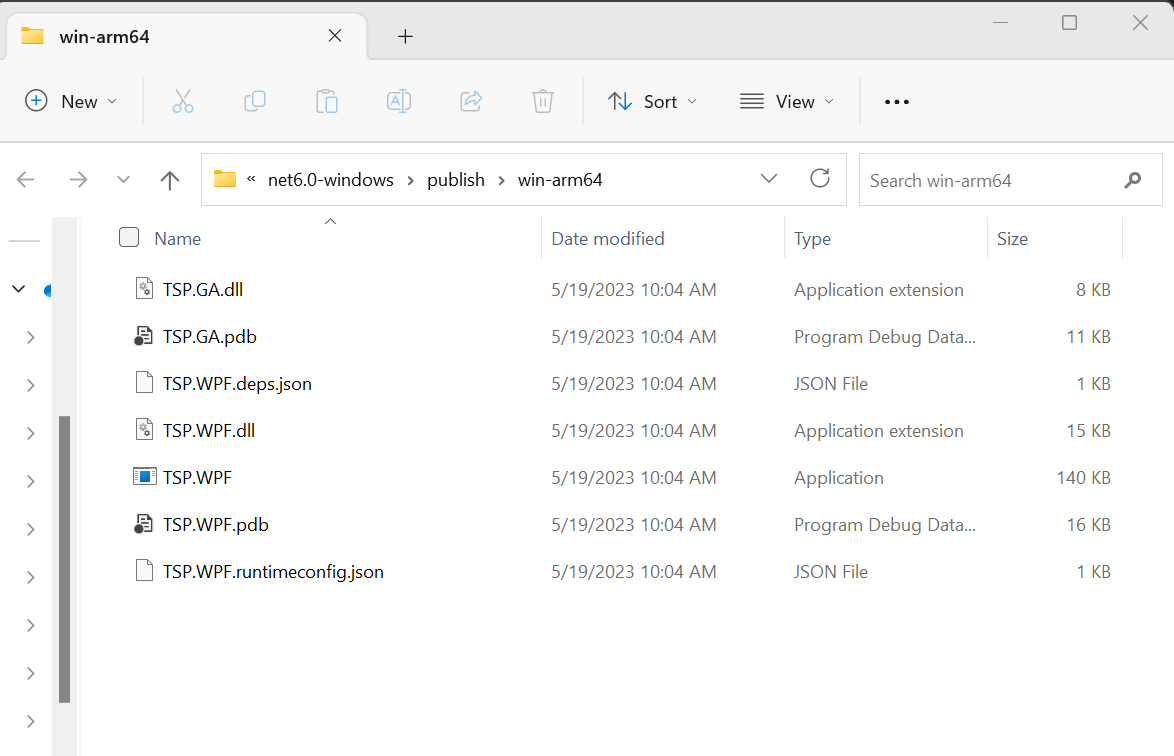
- You should see a message that Publish succeeded. Click on
Open Folderto view the generated binaries including theTSP.WPFapplication.
Run the WPF application on your Windows on Arm device
Now that you have built the sample application for Windows on Arm, you are ready to run the executable.
Double-click TSP.WPF to run the application. The application starts as shown:
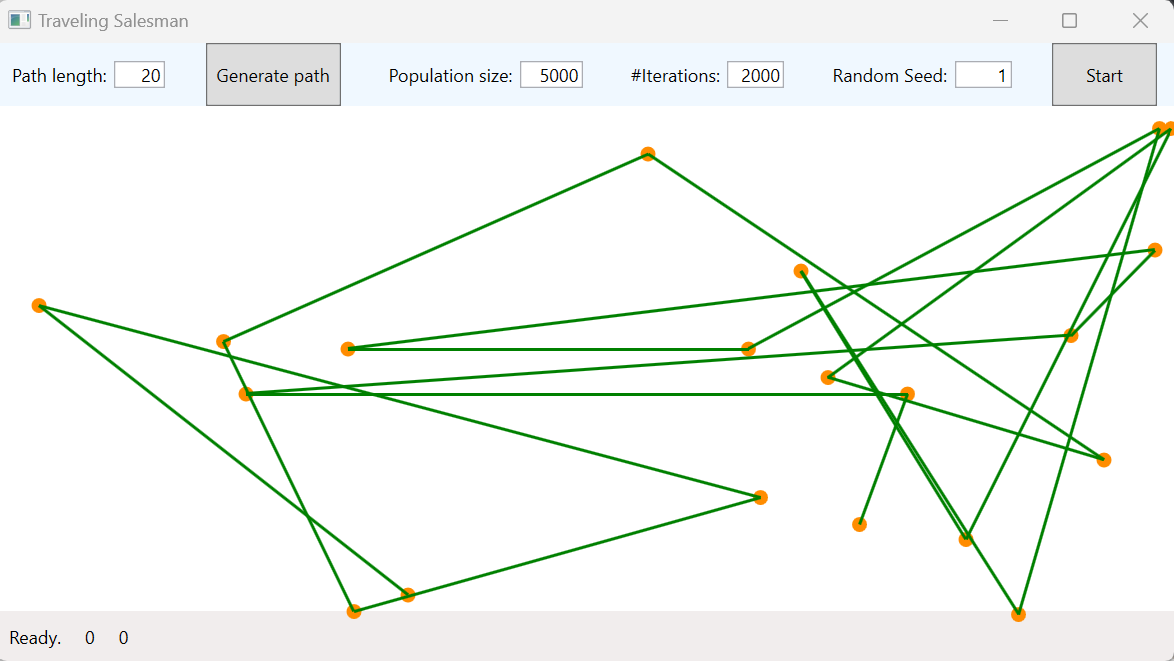
You can change the inputs on the application as needed. Click Generate Path followed by Start to see the application run.
You have successfully run a WPF application built with the .NET 6 framework on a Windows on Arm device.