Create IoT applications with Windows on Arm and AWS IoT Core
Introduction
AWS IoT Core
Connect the emulator to AWS IoT Core and stream data
Testing the data stream
Next Steps
Create IoT applications with Windows on Arm and AWS IoT Core
Objective
In this section, you connect the emulator to AWS IoT Core.
Connecting the emulator
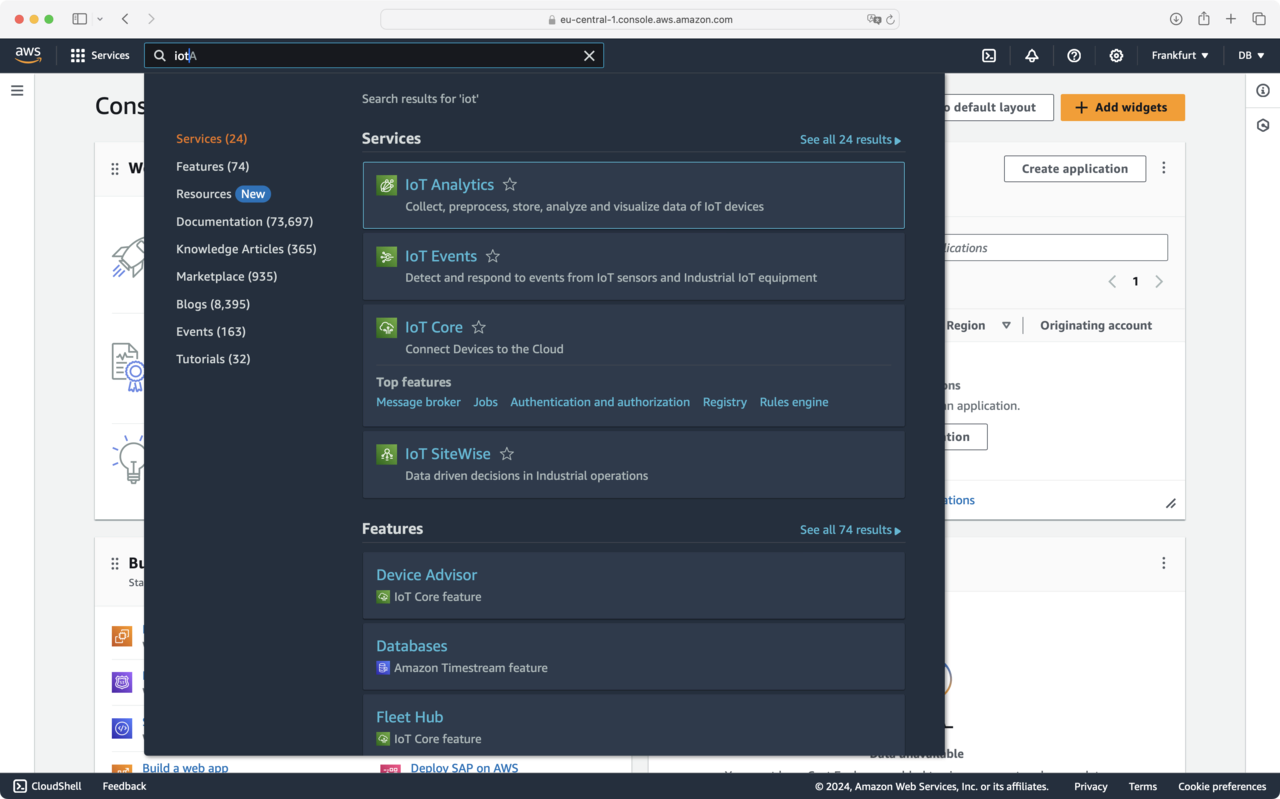
Log in to the AWS Console at https://aws.amazon.com , and then search for IoT. From the list that appears, select IoT Core:
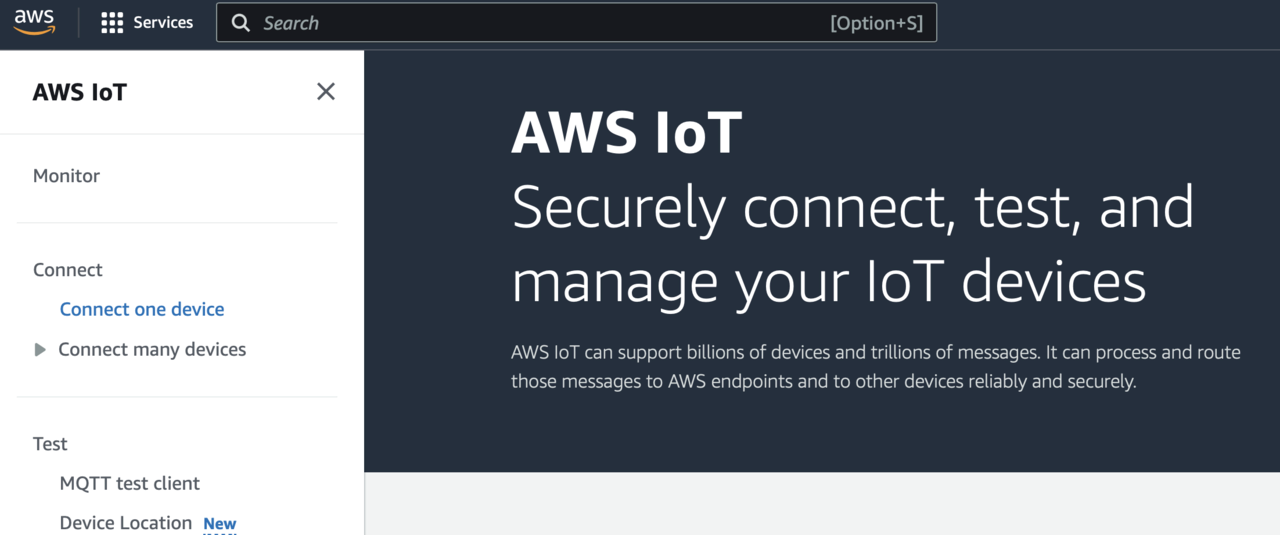
In the AWS IoT console, click Connect one device:
This will open the Connect one device wizard:
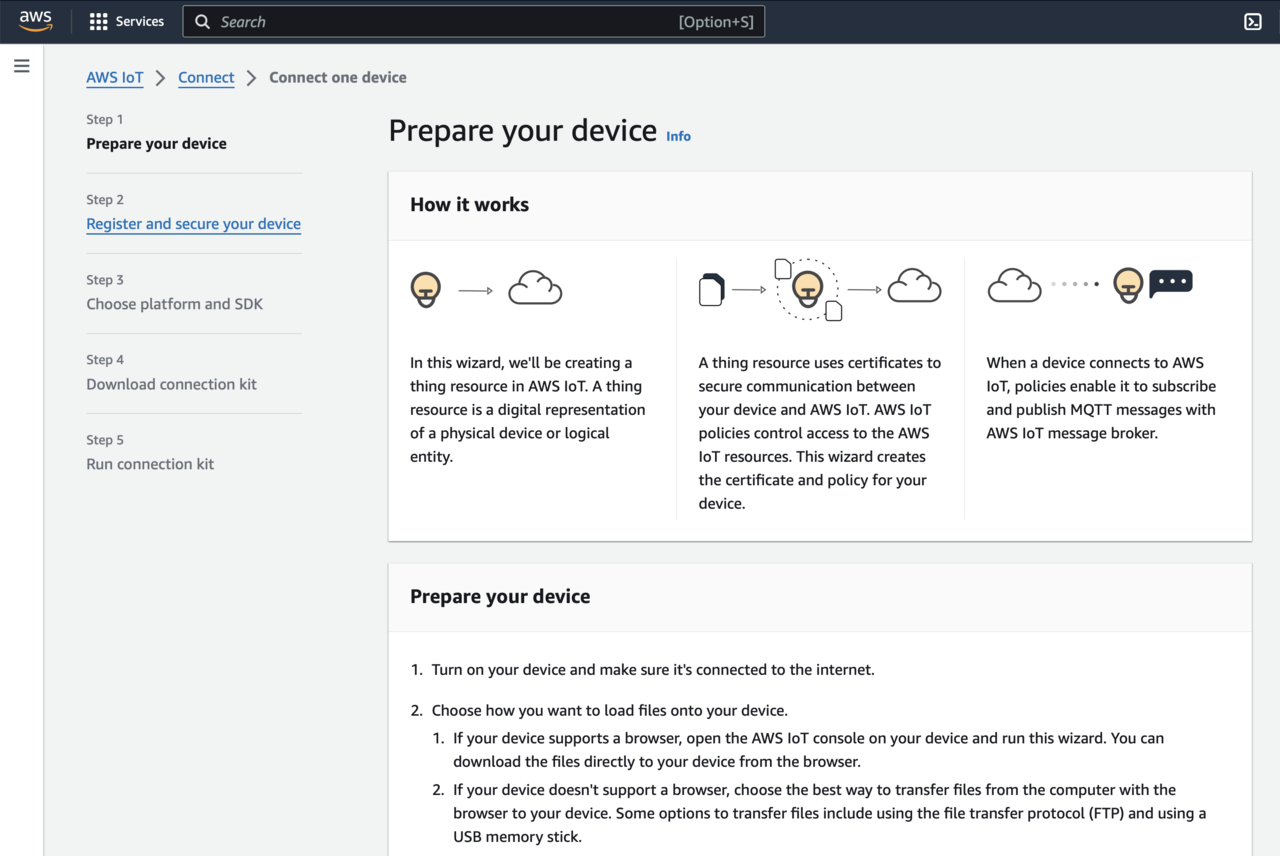
In the first step of this wizard, Register and secure your device, you can see the ping command, which you can use to ensure you can connect to AWS services.
The command looks like this:
ping a6t44uzbanvsz-ats.iot.eu-central-1.amazonaws.com
The actual domain depends on the AWS region you use. Open the terminal or command prompt and invoke this command. The command’s output looks like this:
ping a6t44uzbanvsz-ats.iot.eu-central-1.amazonaws.com
PING a6t44uzbanvsz-ats.iot.eu-central-1.amazonaws.com (3.73.237.68): 56 data bytes
64 bytes from 3.73.237.68: icmp_seq=0 ttl=240 time=18.906 ms
64 bytes from 3.73.237.68: icmp_seq=1 ttl=240 time=17.835 ms
64 bytes from 3.73.237.68: icmp_seq=2 ttl=240 time=21.945 ms
Note that the a6t44uzbanvsz-ats.iot.eu-central-1.amazonaws.com is your endpoint. This is where your emulator sends data to. Note this value, as you will need it later to update the application settings.
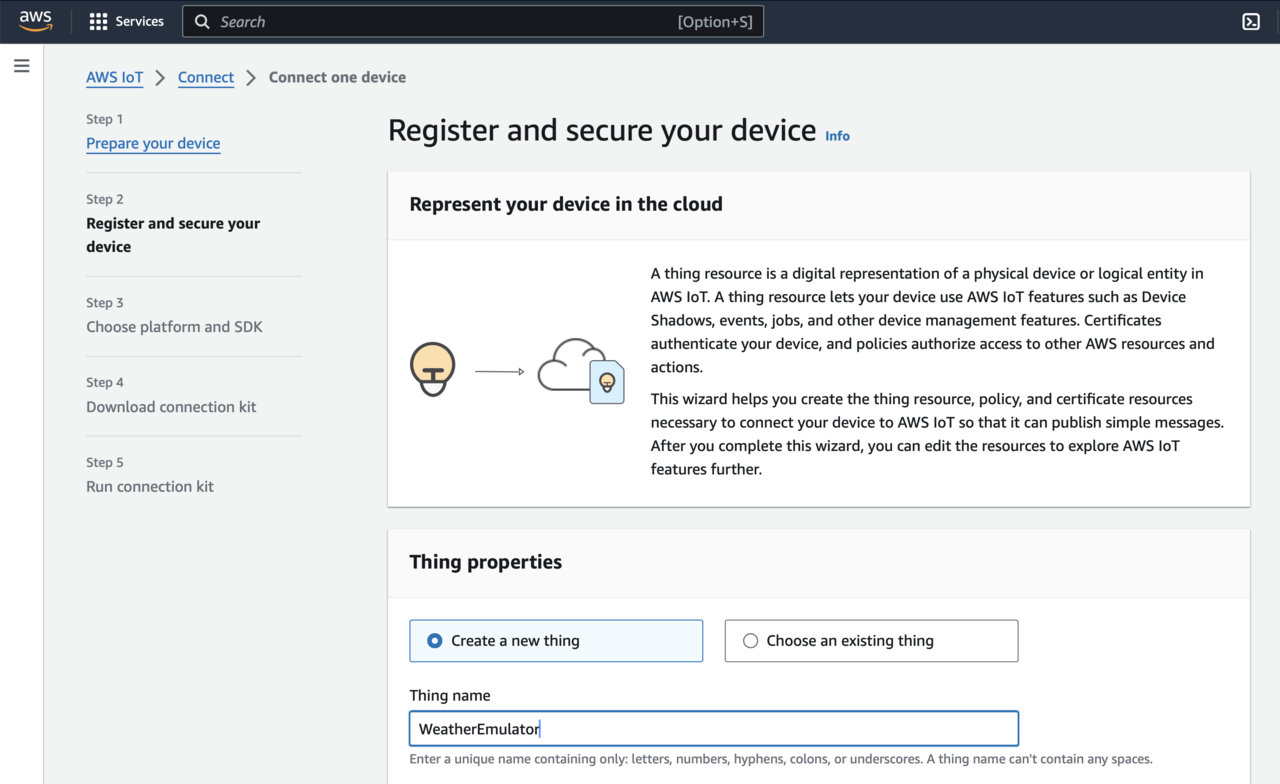
Click the Next button. This takes you to the Register and secure your device step, in which you type WeatherEmulator under the Thing name:
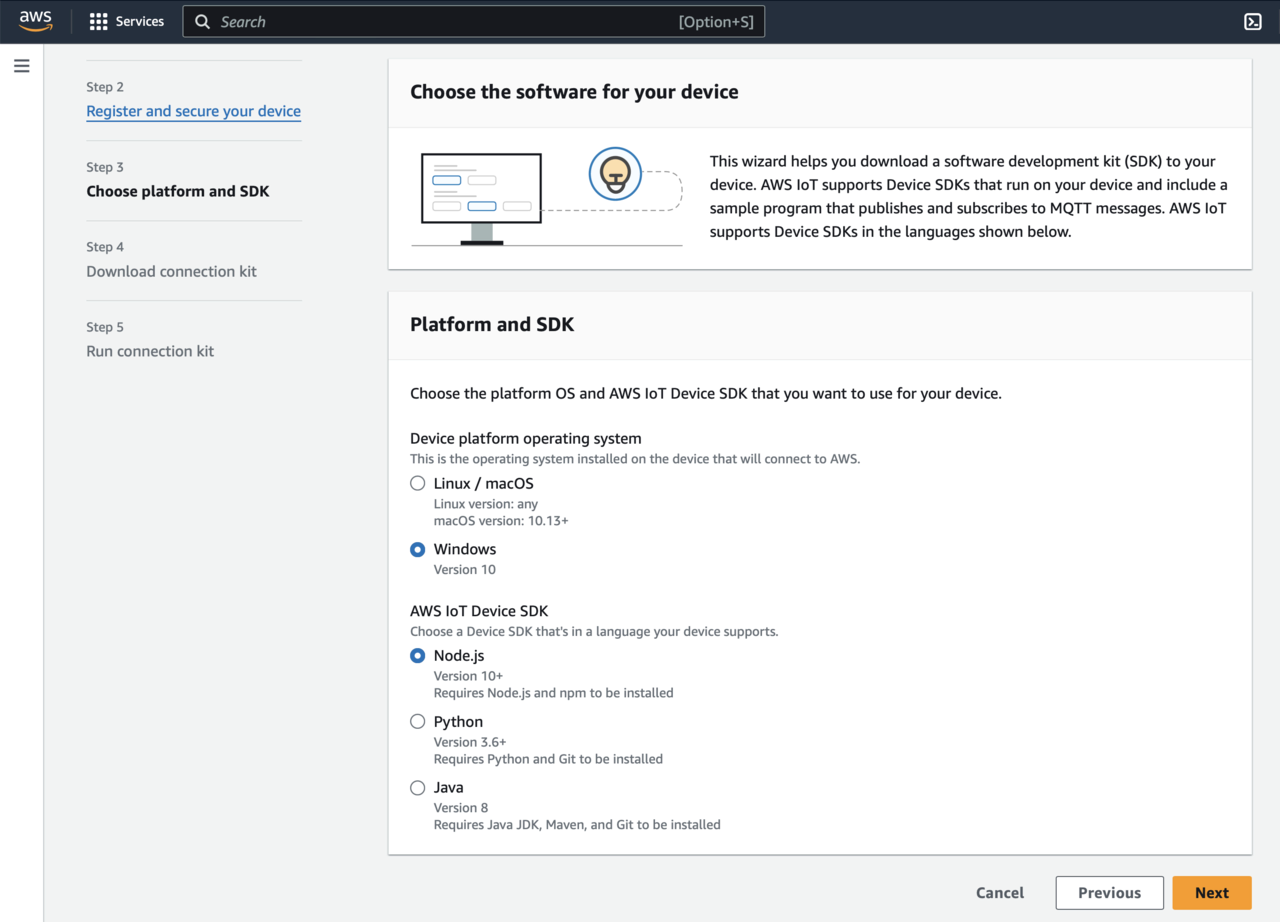
Then, click the Next button, which opens the Choose platform and SDK window, in which you select:
- Windows from the Device platform operating system.
- Node.js from the AWS IoT Device SDK.
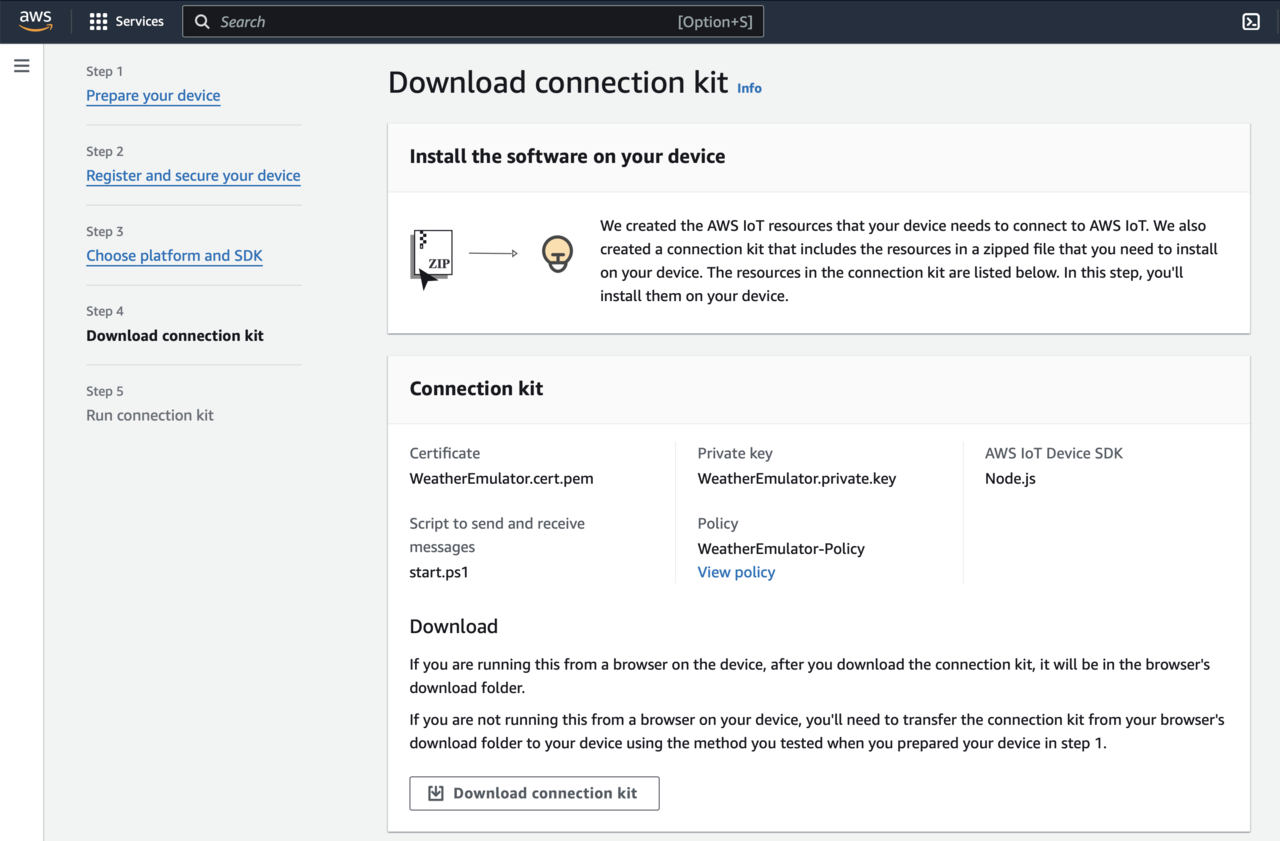
Afterwards, click the Next button, which takes you to the Download connection kit step, in which you click the Download connection kit button to get the zip with certificates and the sample code, which sends data to the AWS cloud:
After downloading the kit, click the Next button. This takes you to the Run connection kit, in which you click the Continue button. This takes you back to the AWS IoT screen.
Now, unzip the downloaded file. Save it to the folder certificates. Then navigate to the certificates folder, and type the following command to download the Amazon Root CA certificate:
Invoke-WebRequest -Uri https://www.amazontrust.com/repository/AmazonRootCA1.pem -OutFile AmazonRootCA1.pem
Open the common.js file and update the rootCertDir to point to your certificates folder. Then, update the host to match the host name you got during device creation. Here, that was a6t44uzbanvsz-ats.iot.eu-central-1.amazonaws.com:
const awsConnectionInfo = {
    keyPath: `${rootCertDir}WeatherEmulator.private.key`,
    certPath: `${rootCertDir}WeatherEmulator.cert.pem`,
    caPath: `${rootCertDir}AmazonRootCA1.pem`,
    host: 'a6t44uzbanvsz-ats.iot.eu-central-1.amazonaws.com',
    clientId: 'WeatherStationEmulator'
};
Make sure you save the file.
Configure the connection policy
Before you can connect the device to the AWS IoT Core, you need to configure the security policy, which was attached to the certificate you created along the device in AWS IoT Core. The default policy, however, only allows connections from the device with the clientId contained in either ‘sdk-java’, ‘basicPubSub’, or ‘sdk-nodejs-*’. In this case, however, the device identifier was set to WeatherStationEmulator (see common.js). Moreover, the default policy was configured such that it enables the device to publish and subscribe to the following topics: ‘sdk/test/java’, ‘sdk/test/python’, and ‘sdk/test/js’. Again, the application was configured to use different topics: ‘Emulators/Weather/SensorReadings’ to stream the sensor readings, and ‘Emulators/Weather/Control’ to control the device. So, we need to appropriately configure the security policy.
To update the policy, under the AWS IoT console, click Security -> Policies:
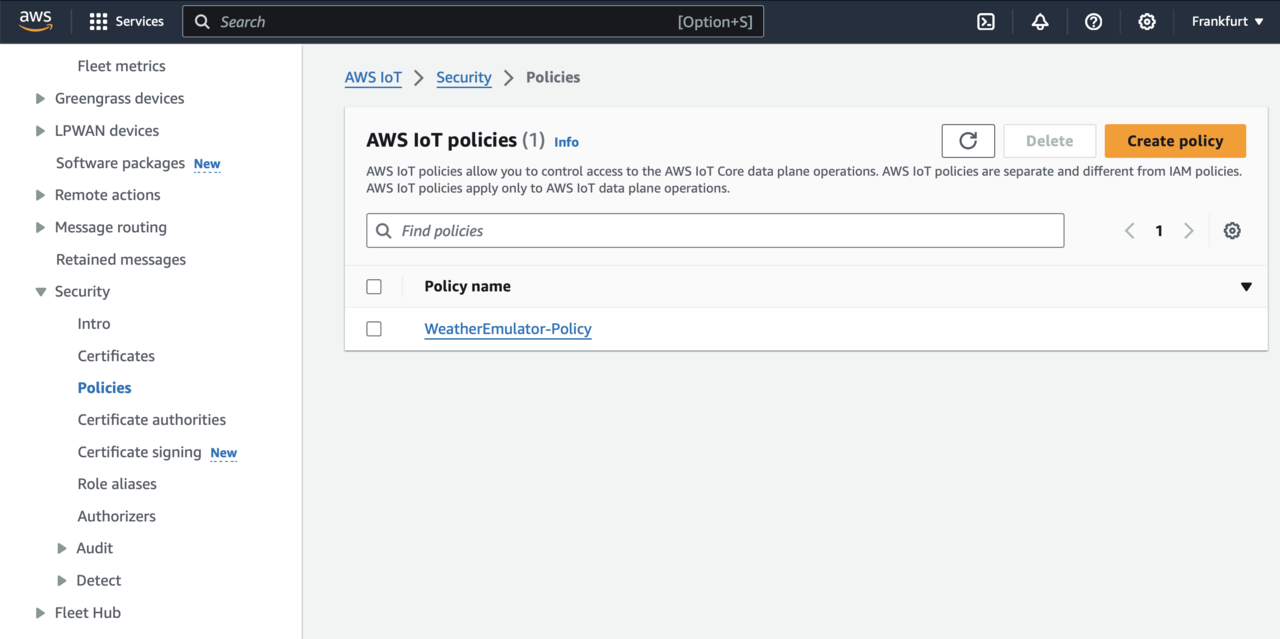
There should be one policy, WeatherEmulator-Policy. Click that policy. This opens another view, in which you can see the policy details. In that view, click Edit active version button, which opens the Edit policy view:
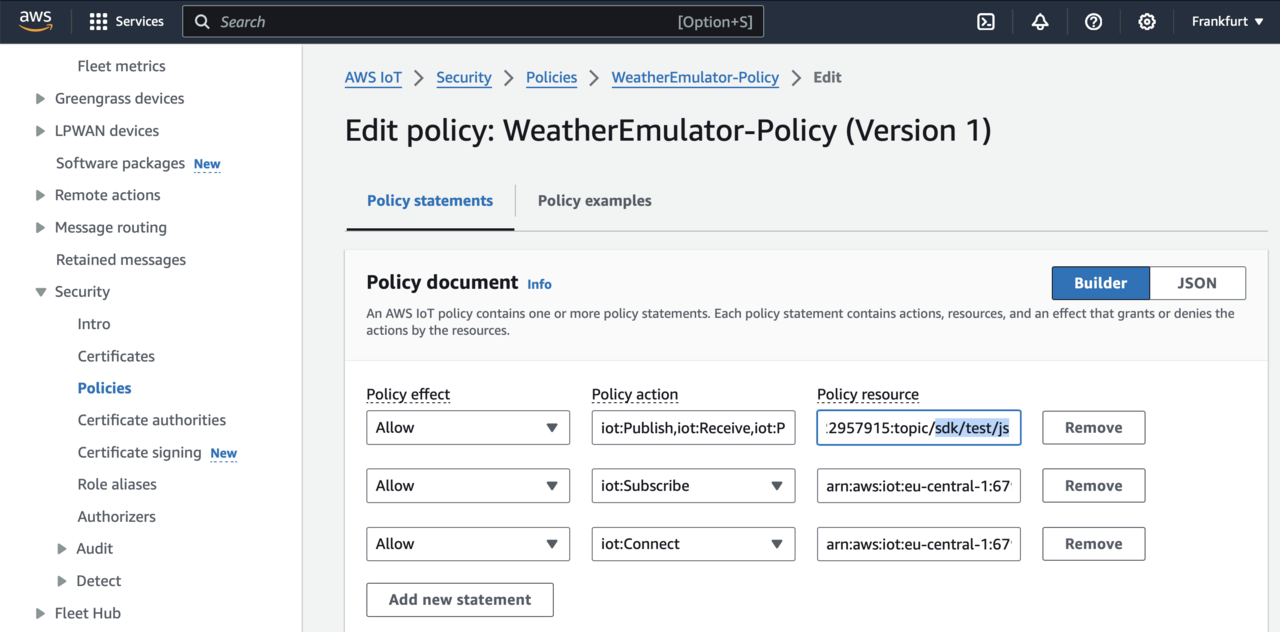
Modify the first entry (‘iot:Publish,iot:Receive,iot:PublishRetain’) such that you replace the ’topic/sdk/test/js’ with ’topic/’. This will enable the application to publish and receive messages from any topic. Similarly, modify the second entry, and replace ’topicfilter/sdk/test/js’ with ’topicfilter/’.
Finally, modify the third entry, in which you replace ‘client/sdk-nodejs-’ with ‘client/’. Then, check Set the edited version as the active version for this policy, and click the Save as new version button.
Running the application
You can now run the application. To do so, open the terminal or the command prompt, change the working directory to AWS.WeatherStation, and then type:
npm install
This installs the dependencies. Then you launch the application by typing:
npm start
The output of the application looks as follows:
        PS C:\Users\db\AWS.WeatherStation> npm start
Debugger attached.

> aws.weatherstation@1.0.0 start
> node app.js

Debugger attached.
Connected to AWS IoT
{"deviceId":"WeatherStationEmulator","timestamp":"2024-04-25T08:10:28.413Z","temperature":"32.75","humidity":"52","pressure":"1014.4"}
{"deviceId":"WeatherStationEmulator","timestamp":"2024-04-25T08:10:29.420Z","temperature":"28.33","humidity":"52","pressure":"1039.3"}
{"deviceId":"WeatherStationEmulator","timestamp":"2024-04-25T08:10:30.424Z","temperature":"24.64","humidity":"58","pressure":"1033.8"}
The device is sending data to the AWS IoT Core.
Summary
You have successfully connected the weather station emulator to AWS IoT Core. In the next step, you ensure that the data is successfully retrieved on the AWS side.