Fine-tune SmolVLA for an SO-101 pick-and-place task on an NVIDIA DGX Spark
Introduction
Understand the SmolVLA fine-tuning workflow
Install LeRobot and prepare a Python environment
Connect the SO-101 and cameras
Calibrate and teleoperate the SO-101
Record and validate a pick-and-place dataset
Fine-tune SmolVLA with the recorded SO-101 demonstrations
Evaluate the fine-tuned SmolVLA model
Next Steps
Fine-tune SmolVLA for an SO-101 pick-and-place task on an NVIDIA DGX Spark
Introduction
Understand the SmolVLA fine-tuning workflow
Install LeRobot and prepare a Python environment
Connect the SO-101 and cameras
Calibrate and teleoperate the SO-101
Record and validate a pick-and-place dataset
Fine-tune SmolVLA with the recorded SO-101 demonstrations
Evaluate the fine-tuned SmolVLA model
Next Steps
Calibrate the leader and follower
Continue in the terminal where you set ROBOT_PORT, LEADER_PORT, GRIPPER_CAMERA_ID, and WORKSPACE_CAMERA_ID. If you opened a new terminal or reconnected a USB device, repeat discovery and export the current device paths before calibration.
Calibration maps each joint’s encoder readings to its usable motion range so LeRobot can reproduce the leader’s movements on the follower consistently. Start each arm with its joints near the middle of their usable ranges, then move each requested joint slowly through its safe range. Support the arm and stop before reaching a mechanical limit.
LeRobot 0.6.0 asks you to sweep shoulder pan, shoulder lift, elbow flex, wrist flex, and gripper. It assigns the complete encoder range to wrist_roll, so that joint isn’t included in the recorded sweep.
Calibrate the leader first:
lerobot-calibrate \
  --teleop.type=so101_leader \
  --teleop.port="$LEADER_PORT" \
  --teleop.id=smolvla_leader
Place the leader in its middle-range pose before pressing Enter. Each joint should have room to move in both directions. The following image shows the starting pose used in this setup.
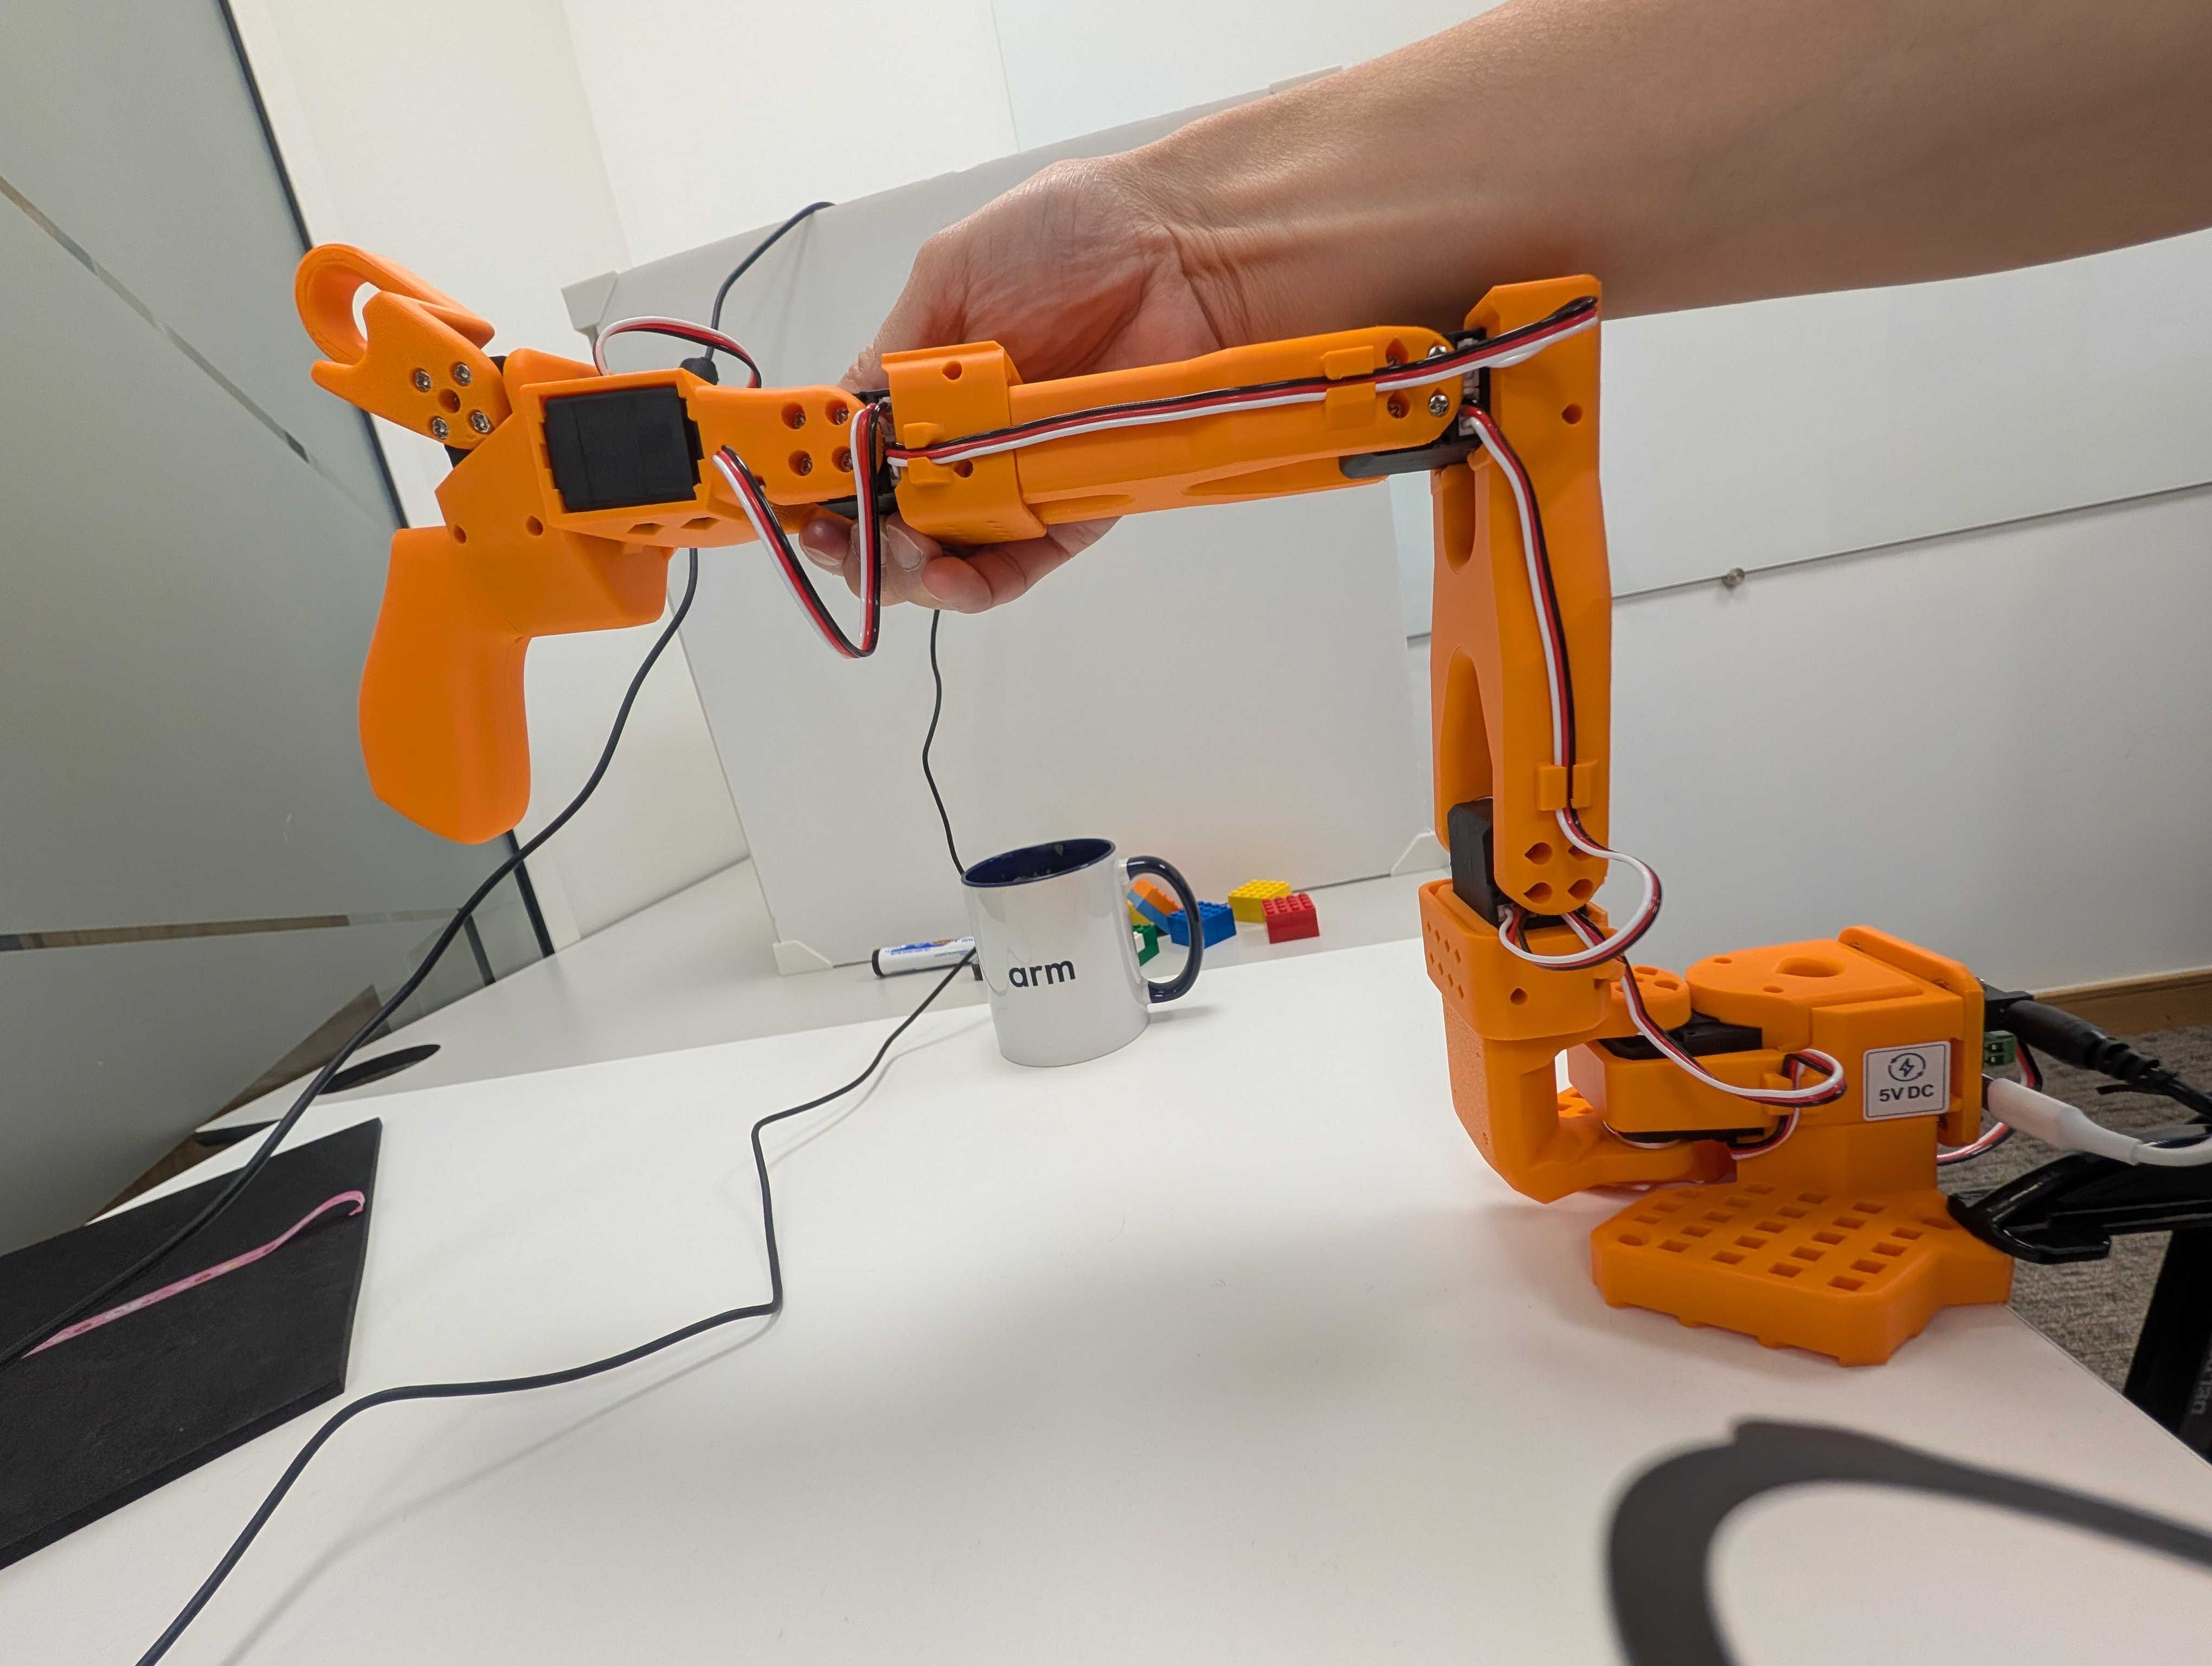 Leader calibration starting pose
After pressing the Enter key, support the leader and move each requested joint through its full safe range. The following animation is sped up to show the complete sequence. Perform the movements slowly on your own hardware.
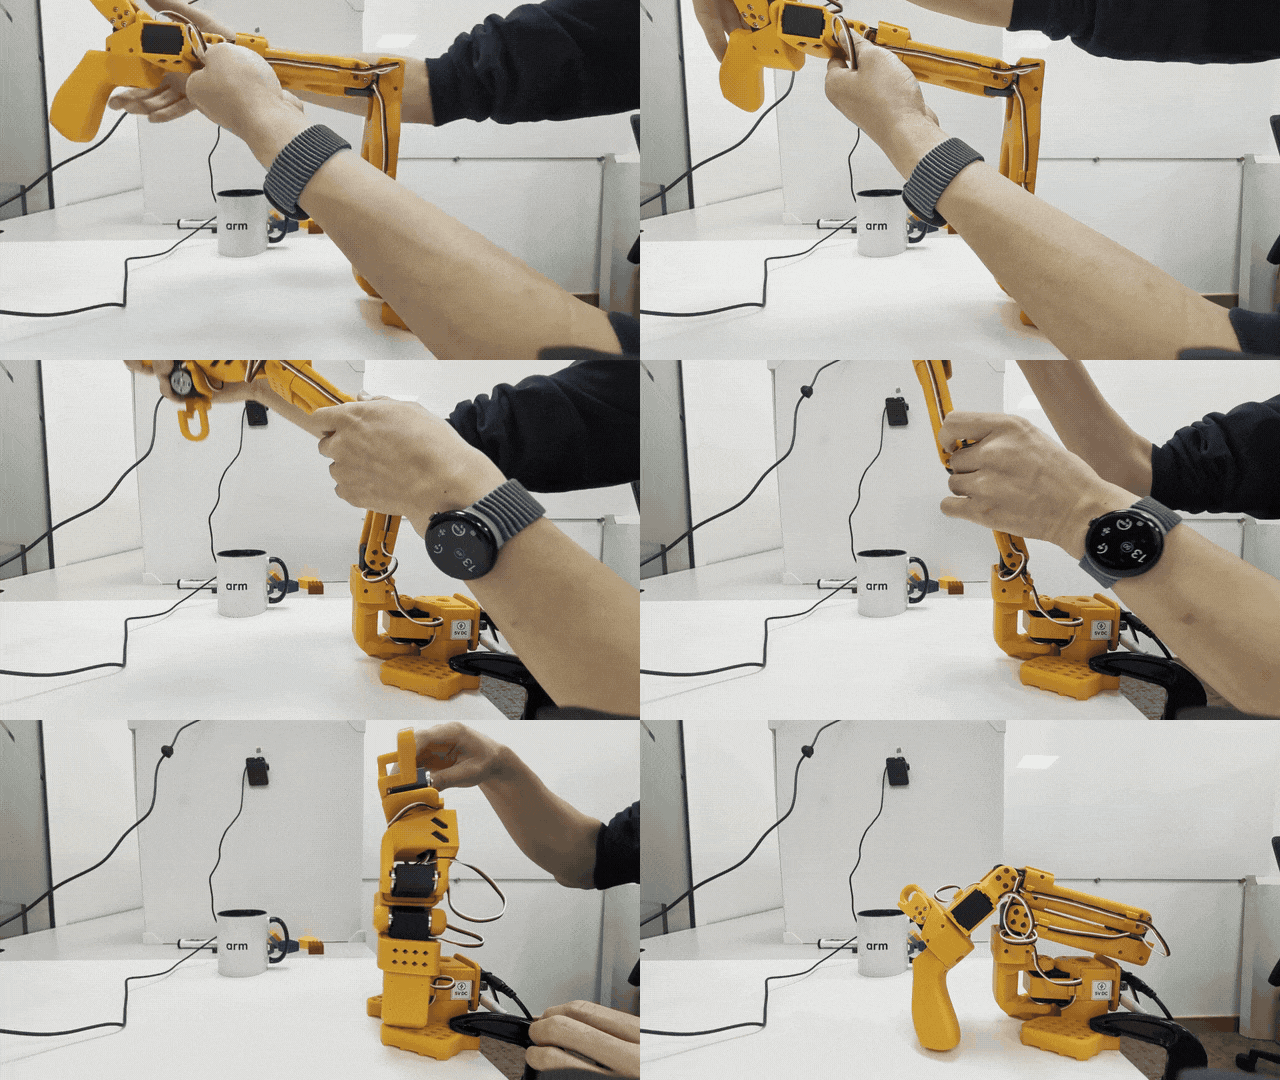 Leader joint-range calibration
Calibrate the follower with the same process:
lerobot-calibrate \
  --robot.type=so101_follower \
  --robot.port="$ROBOT_PORT" \
  --robot.id=smolvla_follower
Place the follower in the middle-range pose shown in the following image. Then, press the Enter key and perform the same safe joint sweep used for the leader.
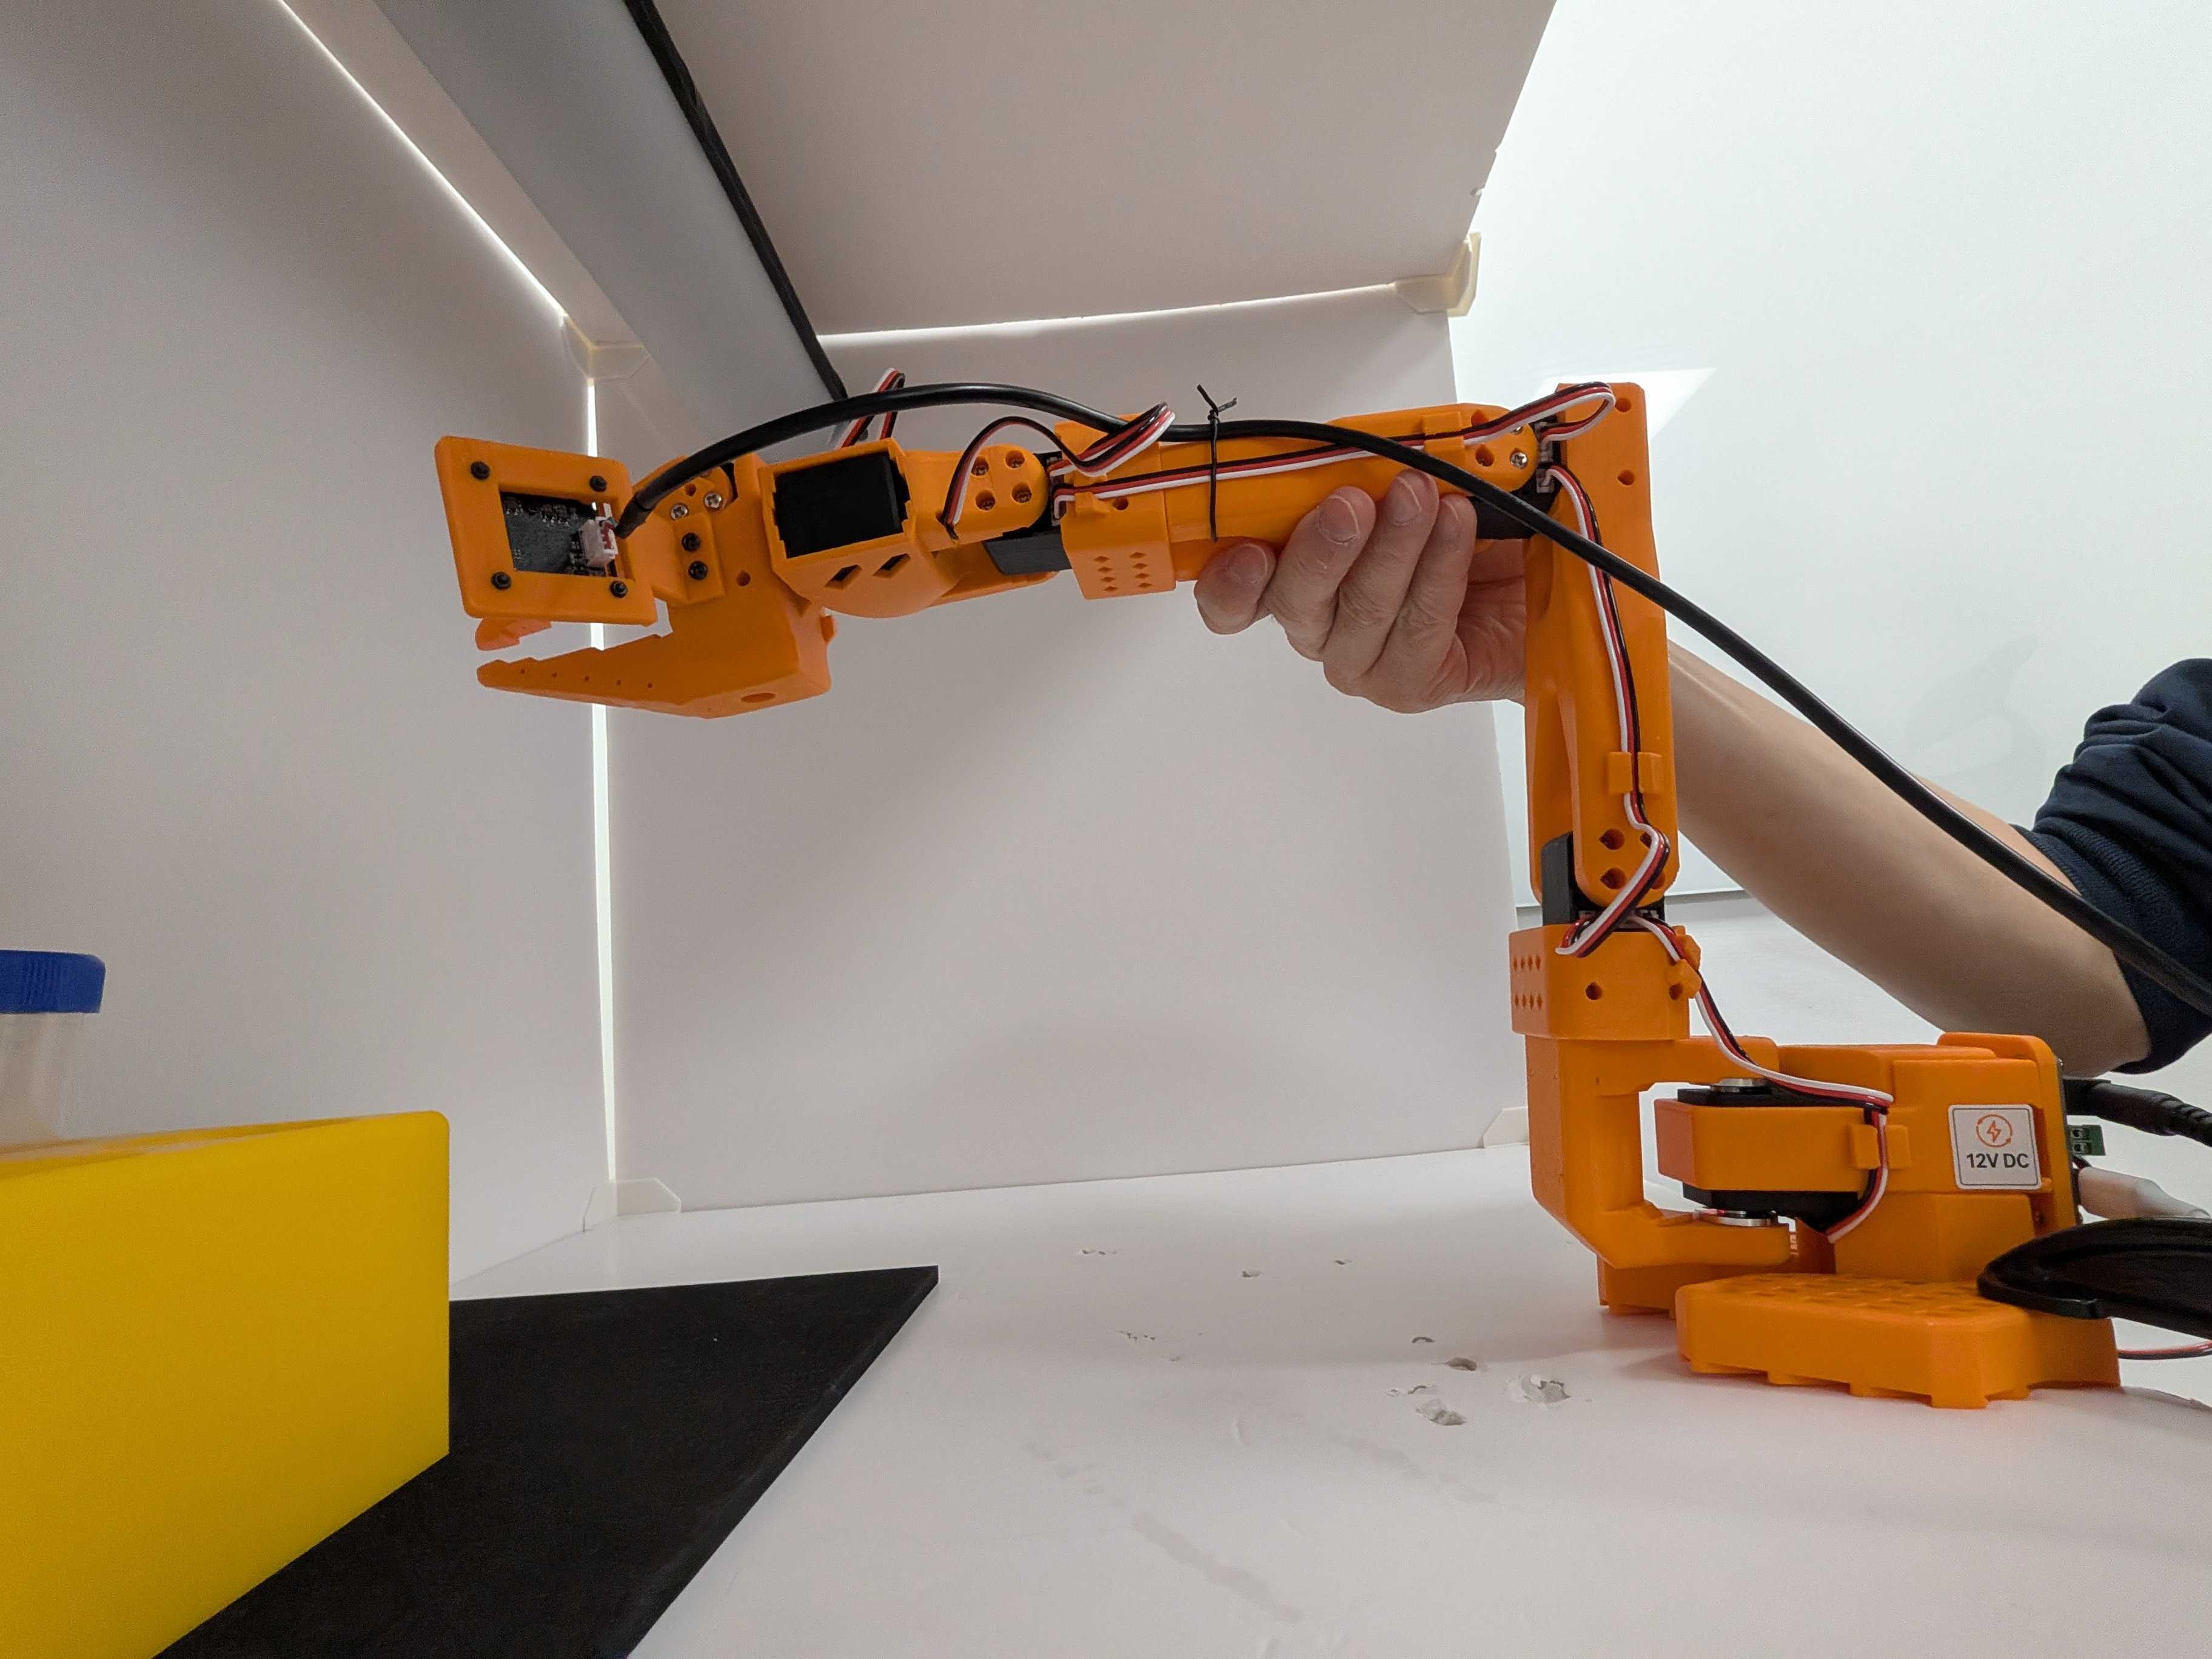 Follower calibration starting pose
If LeRobot finds an existing calibration, follow the prompt to reuse it or press the c key to recalibrate. The key applies to the calibration prompt and isn’t a dataset recording control.
Verify teleoperation
Teleoperation uses the leader arm to control the follower in real time.
Store the camera configuration in ROBOT_CAMERAS so you can reuse the same OpenCV settings during teleoperation, data recording, and model evaluation.
Start with the profiles reported by camera discovery:
export ROBOT_CAMERAS="{gripper_cam: {type: opencv, index_or_path: $GRIPPER_CAMERA_ID, width: 640, height: 480, fps: 30}, workspace_cam: {type: opencv, index_or_path: $WORKSPACE_CAMERA_ID, width: 640, height: 480, fps: 30}}"
: "${ROBOT_CAMERAS:?Set ROBOT_CAMERAS before teleoperation}"
Place both arms in similar stable poses and clear the follower workspace.
Run a 60-second test with that configuration:
lerobot-teleoperate \
  --robot.type=so101_follower \
  --robot.port="$ROBOT_PORT" \
  --robot.id=smolvla_follower \
  --robot.cameras="$ROBOT_CAMERAS" \
  --teleop.type=so101_leader \
  --teleop.port="$LEADER_PORT" \
  --teleop.id=smolvla_leader \
  --fps=30 \
  --teleop_time_s=60 \
  --display_data=false
Some USB cameras need an explicit resolution, fourcc encoding, or backend. If the default configuration fails, replace ROBOT_CAMERAS with settings supported by both cameras. For example, the following configuration uses YUYV for the gripper camera and MJPG for the workspace camera:
export ROBOT_CAMERAS="{gripper_cam: {type: opencv, index_or_path: $GRIPPER_CAMERA_ID, width: 640, height: 480, fps: 30, fourcc: YUYV, backend: V4L2}, workspace_cam: {type: opencv, index_or_path: $WORKSPACE_CAMERA_ID, width: 1280, height: 720, fps: 30, fourcc: MJPG, backend: V4L2}}"
Run the complete lerobot-teleoperate command again after changing the value. When both streams work, keep the exact ROBOT_CAMERAS configuration for recording and evaluation. Returning to the generic profiles later can cause the same OpenCV error or change the images supplied to the model.
Move one joint at a time at first. Confirm that the follower mirrors each movement correctly and that its gripper opens and closes. Stop the test if the follower moves unexpectedly.
The animation shows the follower mirroring the leader’s arm pose and gripper movement.
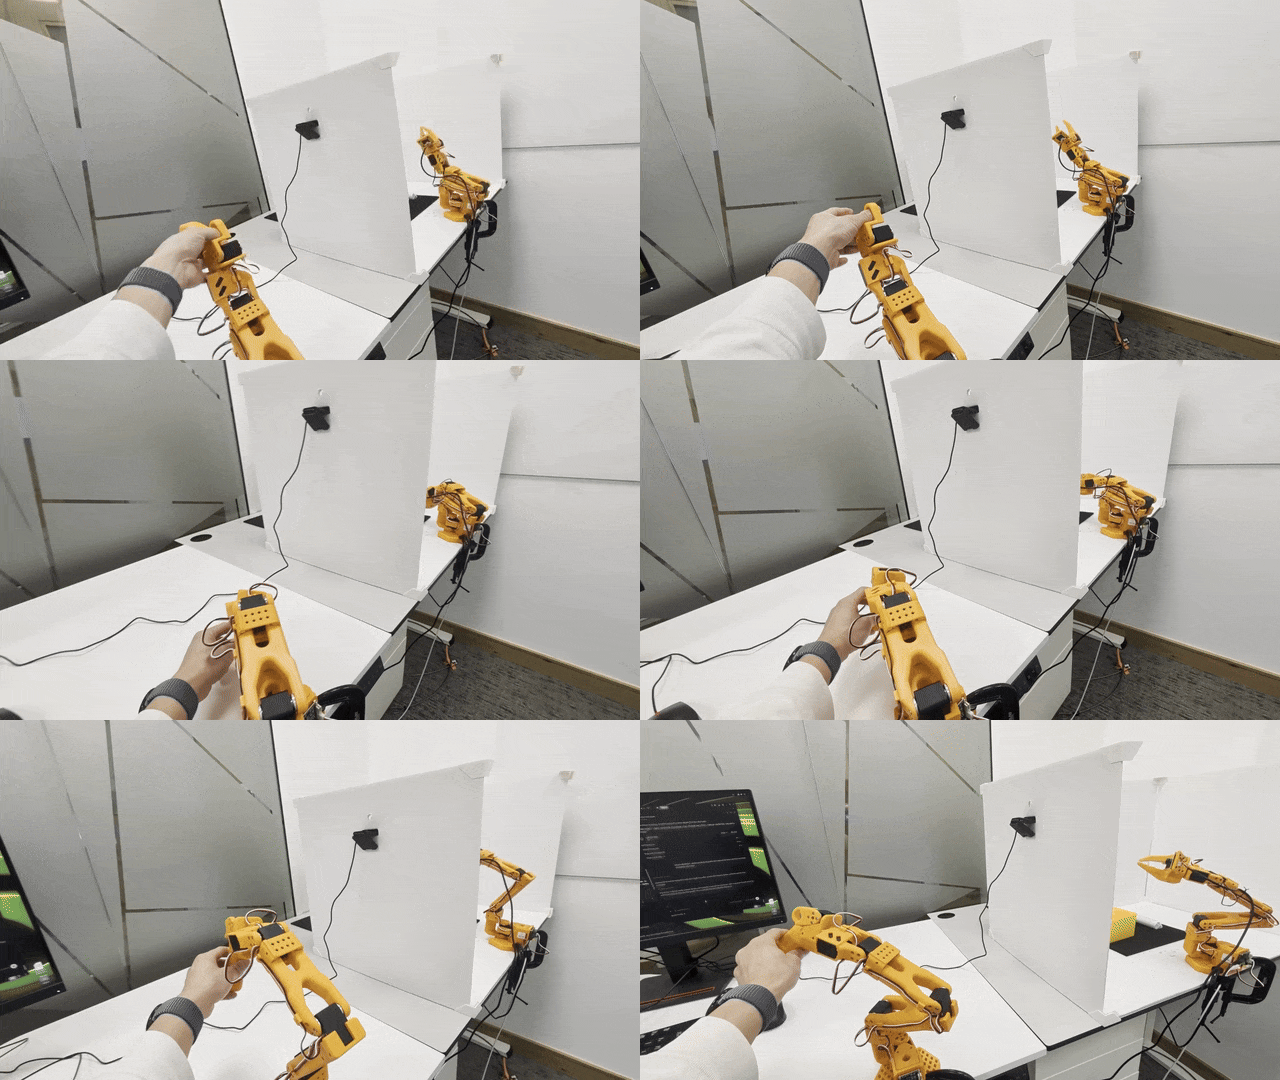 Leader-to-follower teleoperation
What you’ve accomplished and what’s next
You’ve now calibrated both arms and confirmed that the follower mirrors the leader during teleoperation.
Next, record the pick-and-place demonstrations.