Install Ubuntu on ChromeOS Crostini as an LXC container
Introduction
Create an Ubuntu 24.04 container on ChromeOS
Integrate ChromeOS with Linux containers
Enable desktop applications
Manage Linux containers with additional commands
Next Steps
Install Ubuntu on ChromeOS Crostini as an LXC container
Overview
The Lenovo Chromebook Plus 14 is powered by the Arm-based MediaTek Kompanio Ultra processor. It provides a powerful and energy-efficient platform for Linux development, with strong compatibility for containerized environments and ChromeOS Linux (Crostini). This makes it an excellent choice for coding, testing, and running modern development workflows on the go.
This Learning Path walks you through setting up an Ubuntu 24.04 container on your Arm-based Chromebook using ChromeOS’s built-in Linux development environment. You’ll learn how to create and manage containers, install essential development tools, and integrate your Ubuntu environment with ChromeOS features like file sharing and GUI application support. By the end, you’ll have a flexible and powerful Arm Linux development environment.
Access the ChromeOS terminal
The first step to creating an Ubuntu container on ChromeOS is to open the ChromeOS shell.
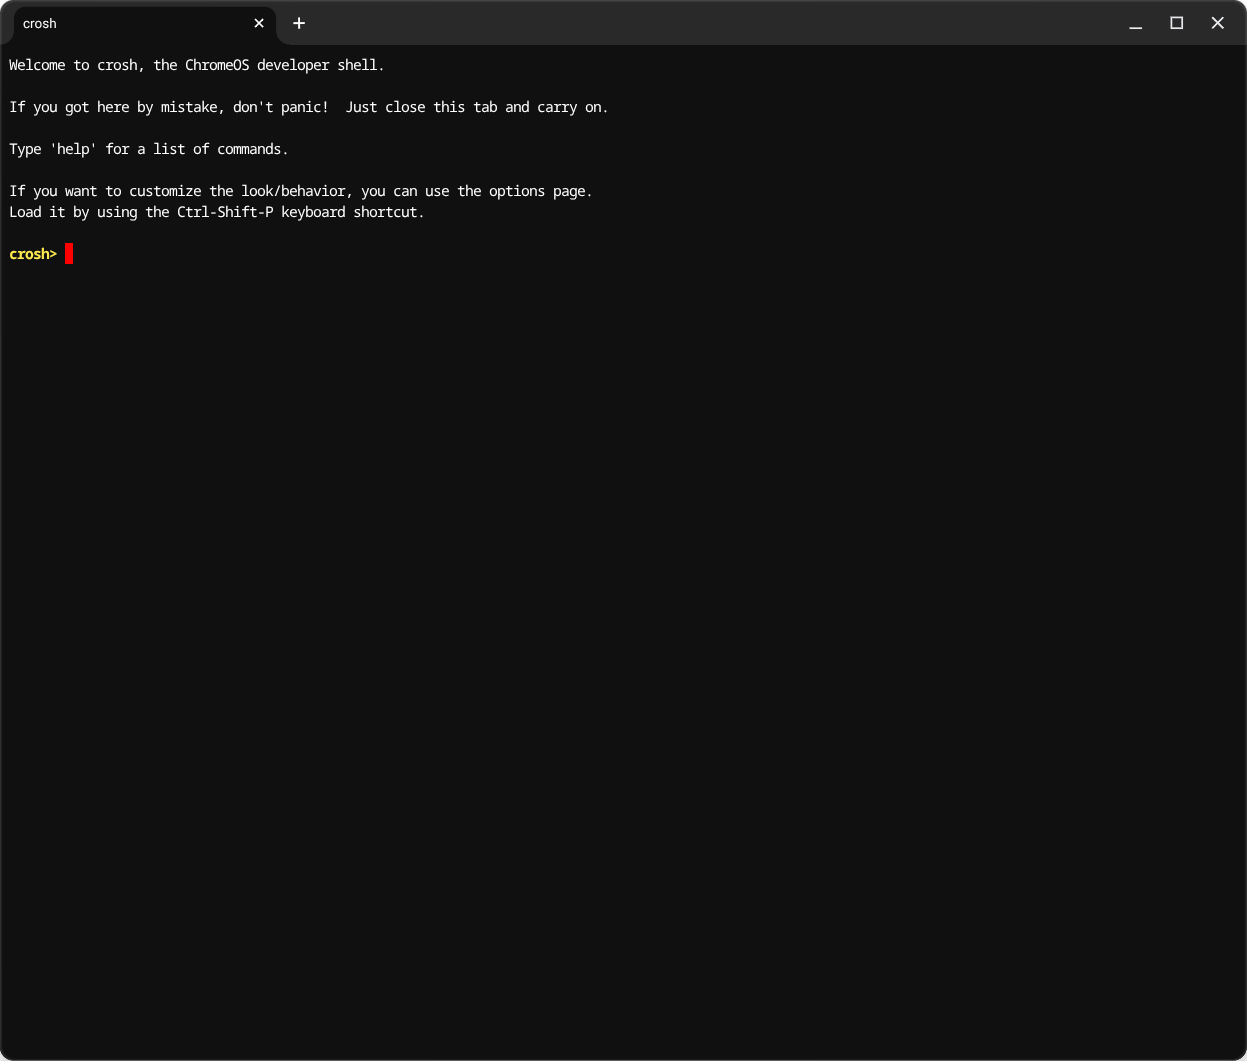
Open the Chrome browser and press Ctrl + Alt + T to open crosh, the ChromeOS shell.
 ChromeOS shell
Run the command below to start the Termina shell:
vsh termina
You are now in the Termina environment where you can manage containers.
The lxc command is used to manage containers on ChromeOS.
List the running containers:
lxc list
If you have the default Debian container running, the output looks like:
        +---------+---------+-----------------------+------+-----------+-----------+
|  NAME   |  STATE  |         IPV4          | IPV6 |   TYPE    | SNAPSHOTS |
+---------+---------+-----------------------+------+-----------+-----------+
| penguin | RUNNING | 100.115.92.204 (eth0) |      | CONTAINER | 0         |
+---------+---------+-----------------------+------+-----------+-----------+
The name of the Debian container is penguin. When you enable the Linux subsystem on ChromeOS, the Debian container is created automatically, but you can create additional containers with different Linux distributions and different names.
Create an Ubuntu 24.04 container
This command creates and starts a new Ubuntu 24.04 container named u1:
lxc launch ubuntu:24.04 u1
Expected output:
        Creating u1
Starting u1
Check the status of the new container and confirm the status is RUNNING:
lxc list
Now there are two containers running:
        +---------+---------+-----------------------+------+-----------+-----------+
|  NAME   |  STATE  |         IPV4          | IPV6 |   TYPE    | SNAPSHOTS |
+---------+---------+-----------------------+------+-----------+-----------+
| penguin | RUNNING | 100.115.92.204 (eth0) |      | CONTAINER | 0         |
+---------+---------+-----------------------+------+-----------+-----------+
| u1      | RUNNING | 100.115.92.206 (eth0) |      | CONTAINER | 0         |
+---------+---------+-----------------------+------+-----------+-----------+
Open a shell in the Ubuntu container:
lxc exec u1 -- bash
Set up Ubuntu for development
Once inside the Ubuntu container, perform initial setup tasks.
Update package lists and upgrade installed packages:
apt update && apt upgrade -y
Install essential packages for development and system management.
You can select your favorite software packages, these are examples.
apt install -y net-tools gcc
Creating a non-root user is a crucial security best practice and ensures that applications don’t have unnecessary administrative privileges. The username ubuntu is already available, but you can create another user.
The following commands use user1 as the username. Replace it with your own choice in subsequent steps.
Create a new user account (skip if you want to use the ubuntu user):
adduser user1
Add the new user to the sudo group to grant administrative privileges. Skip if you want to use the ubuntu user.
usermod -aG sudo user1
Switch to your new user account to continue the setup.
su - user1
If you didn’t create a new user, switch to the default ubuntu user:
su - ubuntu
Next steps
Continue to learn how to integrate the new Ubuntu container with ChromeOS features like file sharing.