Deploy firmware on hybrid edge systems using containers
Introduction
Motivation
Hybrid container runtime
AVH device setup
Deploy firmware container using `containerd`
Deploy SMARTER Demo using K3s
Building the hybrid-runtime and container image (optional)
Next Steps
Deploy firmware on hybrid edge systems using containers
Setup i.MX 8M Plus model
AVH offers a 30-day free trial to use.
- Create an account in Arm Virtual Hardware
- Once logged in, you should see a similar screen as shown in the image below. Click on Create device:
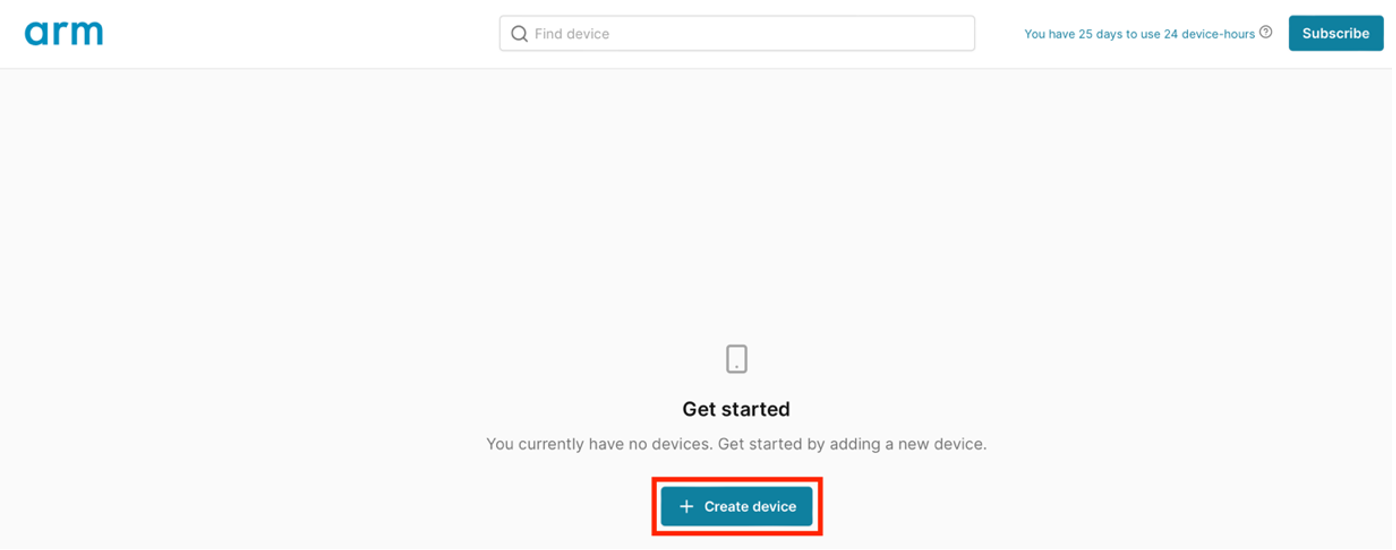 Figure 1. Create device
- Next, click on Default Project:
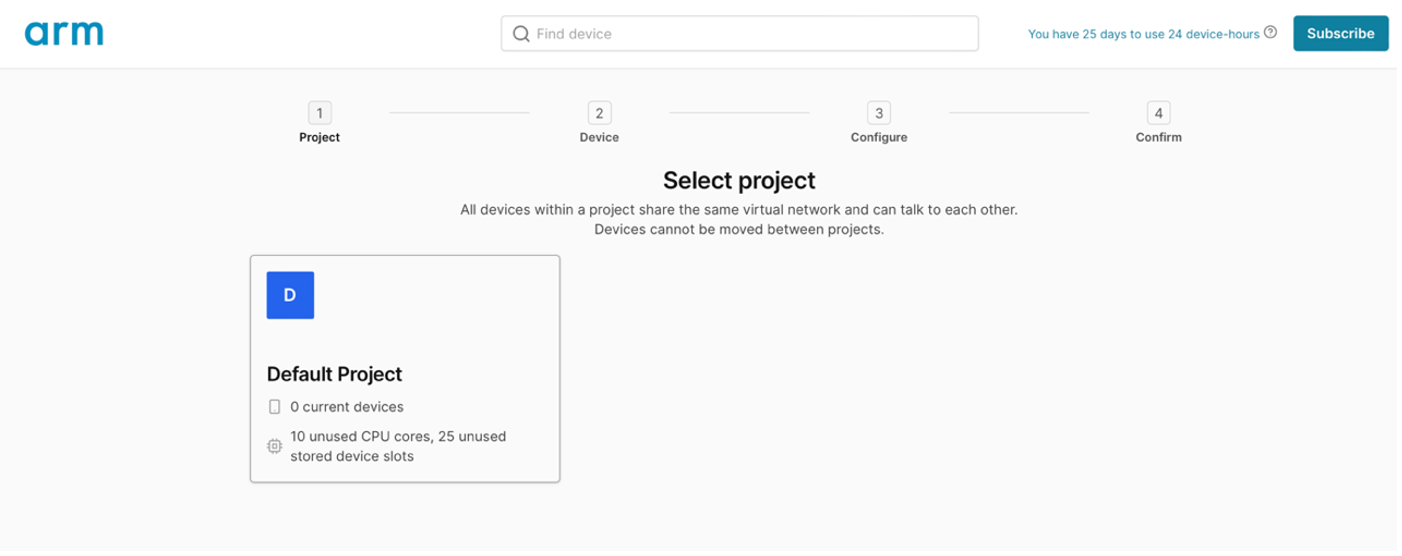 Figure 2. Select project
- Select the i.MX 8M Plus device. The platform runs four Cortex-A53 processors:
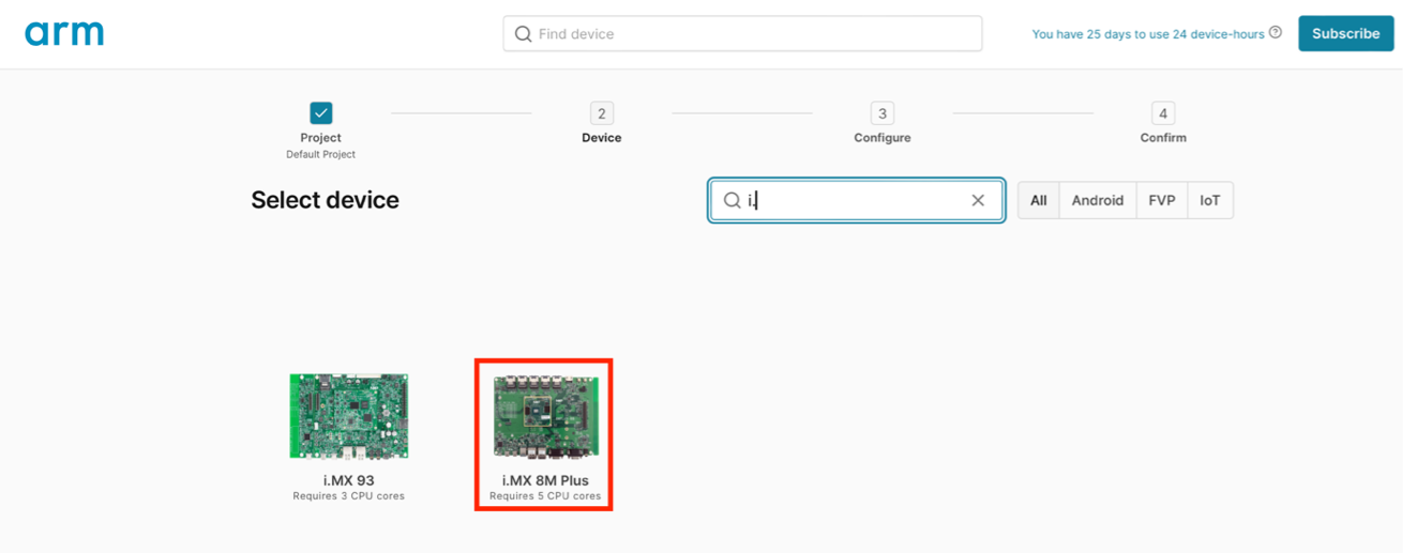 Figure 3. Select device
- Select the Yocto Linux (full) (2.2.1) image and click Select:
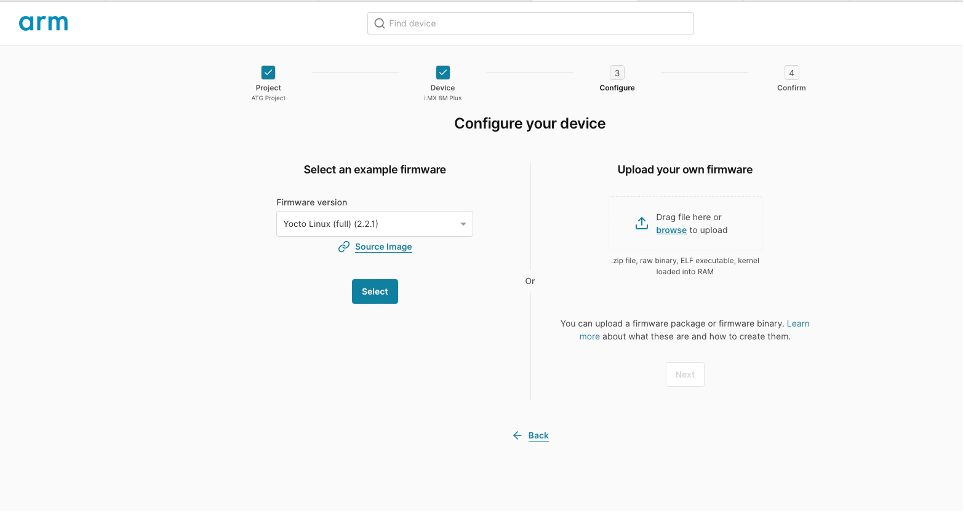 Figure 4. Select the Yocto Linux (full) (2.2.1) image
- Click on Create device (note that this could take few minutes):
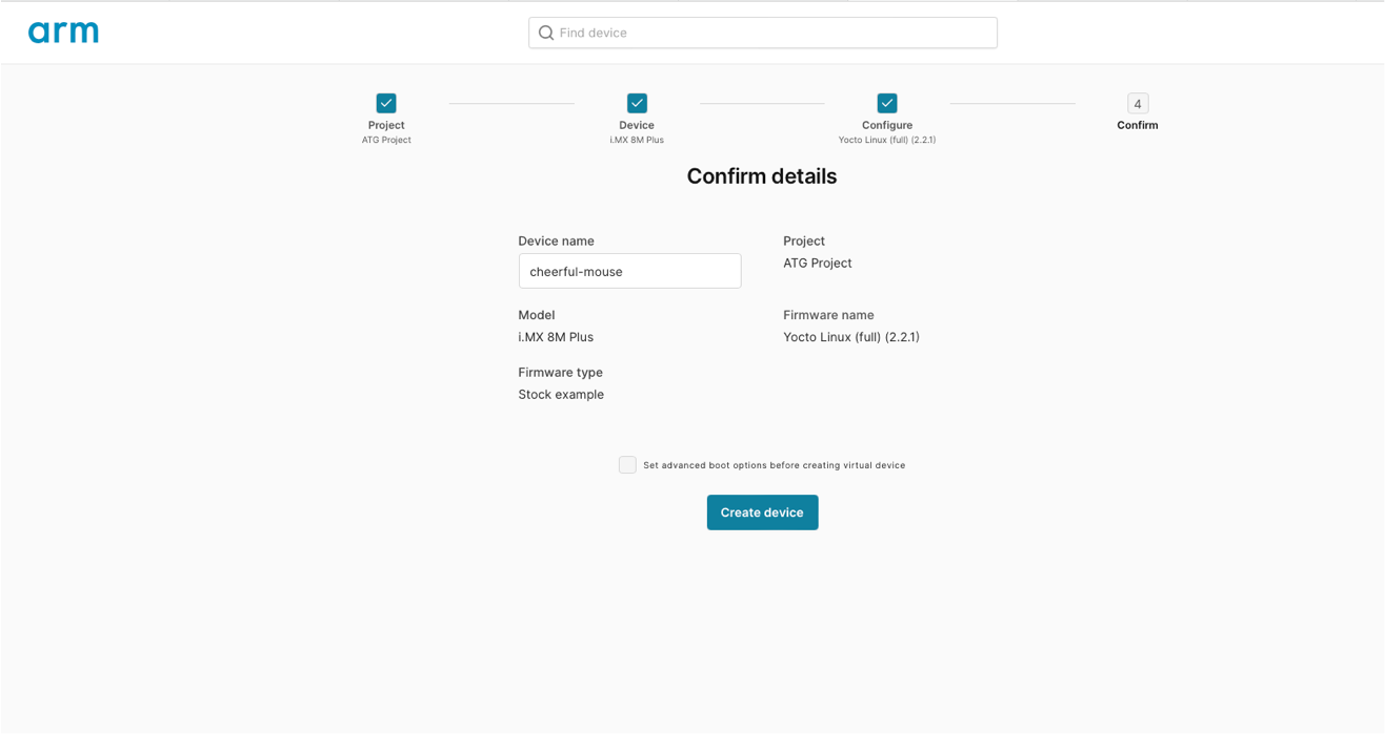 Figure 5. Confirm create device
A console to Linux running on the Cortex-A should appear. Use “root” to login.
Find the IP address for the board model by running the following command (this will be needed to access the device using SSH):
ip addr
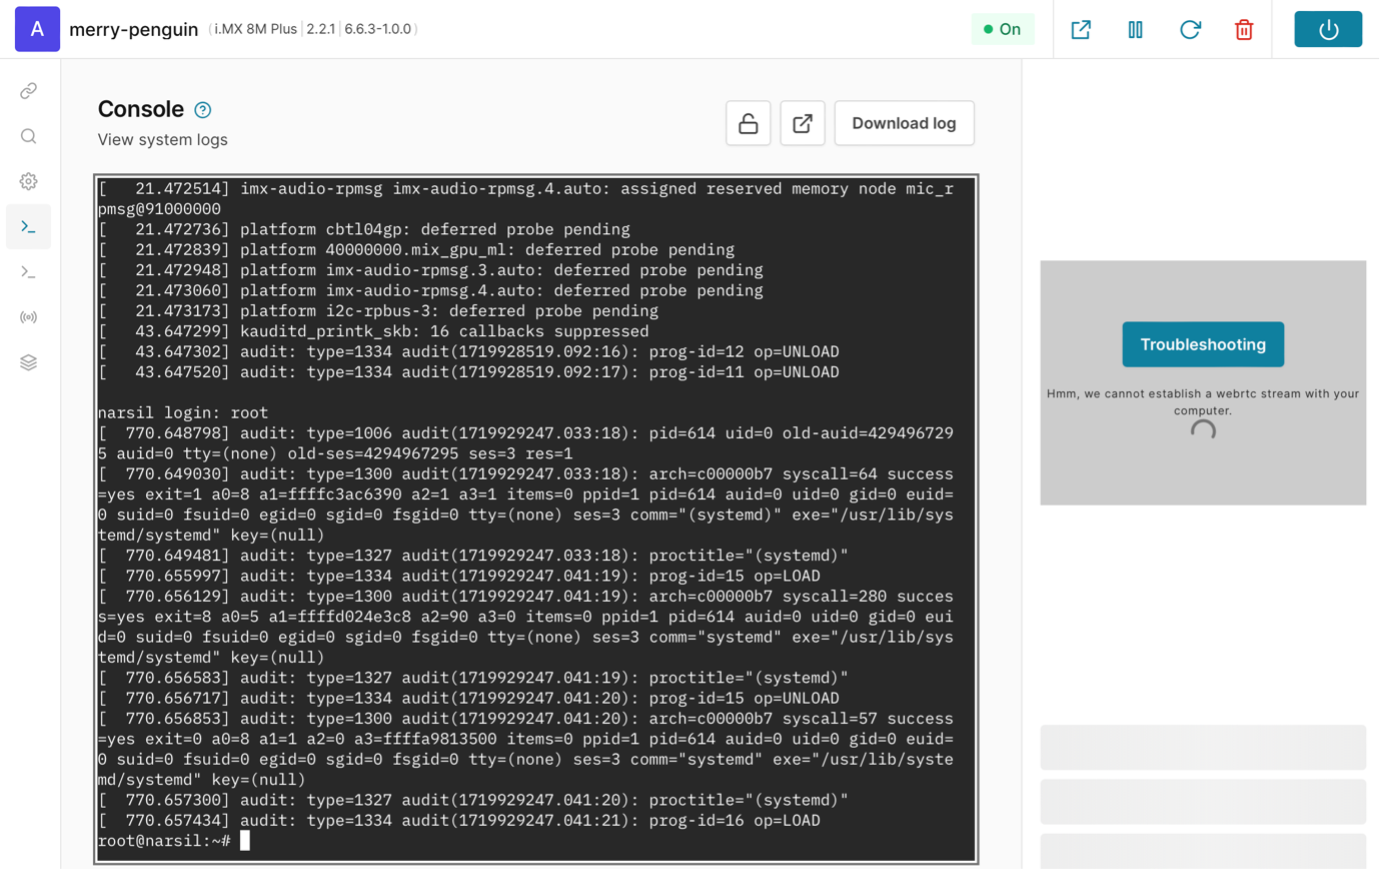 Figure 6. A running model
The GUI on the right side may not work. You can safely ignore the error you see in the picture above and continue with the learning path.
Useful AVH tips
The Connect pane shows the different ways that you can connect to the simulated board. The IP address specified should be the same as that visible in the output of the ip addr command.
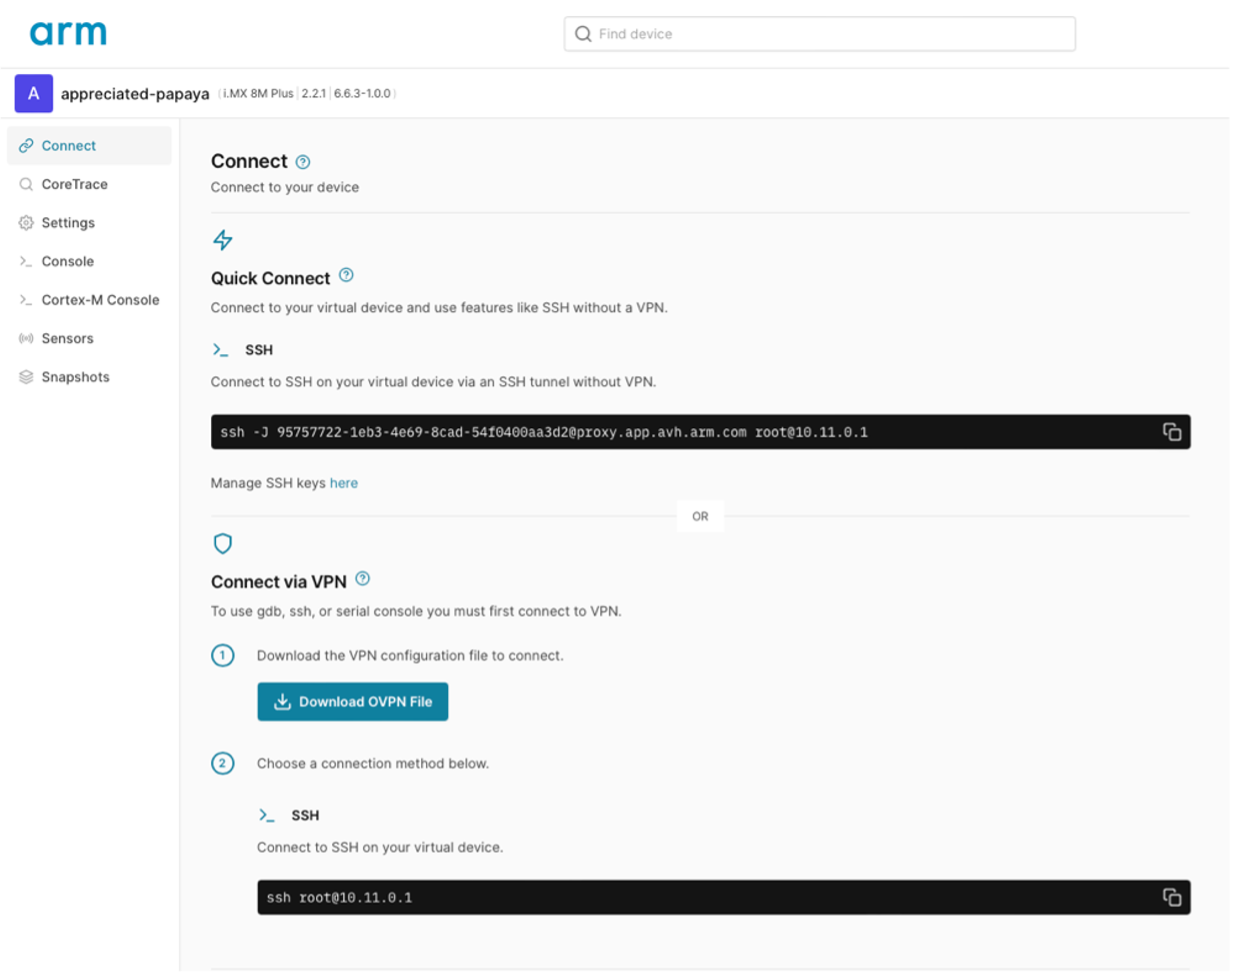 Figure 7. AVH connect interface
Quick Connect lets you connect SSH to the AVH model without having to use a VPN configuration. Similarly, you can replace ssh for scp to copy files from and to the virtual device. In order to use Quick Connect, it is necessary to add your public key via the Manage SSH keys here link.
 Figure 8. Generate SSH key
To generate an SSH key, you can run the following command on your machine:
ssh-keygen -t ed25519
Download the pre-built hybrid-runtime
Once your AVH model is set up, you can download the pre-built hybrid-runtime. This GitHub package contains the runtime and some necessary scripts:
wget https://github.com/smarter-project/hybrid-runtime/releases/download/v1.5/hybrid.tar.gz
Extract the files to /usr/local/bin using:
tar -C /usr/local/bin/ -xvf hybrid.tar.gz
If you want to build the hybrid-runtime on your own, instructions can be found in the section of this learning path called Building the hybrid-runtime and container image .
Download Firmware container image
For this learning path, there is also a pre-built lightweight Docker container image available on GitHub. You can use it for the i.MX8M-PLUS-EVK board. The container image contains a simple FreeRTOS hello-world application built using the NXP SDK.
You can pull the pre-built image onto the AVH model by running the following command:
ctr image pull ghcr.io/smarter-project/hybrid-runtime/hello_world_imx8mp:latest
Make sure the container image was pulled successfully. An image with the name ghcr.io/smarter-project/hybrid-runtime/hello_world_imx8mp:latest should appear as an output to the following:
ctr image ls