Generate human faces with a diffusion model on an Alif Ensemble E8
Introduction
Understand the pico-faces workflow
Set up the development tools and DevKit
Export the pico-faces model for Ethos-U85
Prepare the DevKit for debugging
Generate and validate faces on the DevKit
Next Steps
Generate human faces with a diffusion model on an Alif Ensemble E8
Open the application console
Keep SW4 set to UART4. In Visual Studio Code (VS Code), open Serial Monitor on the serial port exposed through PRG USB and use the following settings:
- Baud rate:
115200 - Data bits:
8 - Parity:
None - Stop bits:
1
If the port was open before you changed SW4, close and reopen it.
Build and debug the application
To build and debug the application:
- In the CMSIS view, confirm that
DevKit-E8is active. - Select Build, then select Debug. Keil Studio starts the J-Link GDB server over Serial Wire Debug (SWD) and loads the application into magnetoresistive random-access memory (MRAM).
- The debugger stops at
main. Press F5 to continue.
The firmware initializes the display and NPU, loads the two ExecuTorch methods, and generates a repeatable boot image. The output is similar to:
        Ethos-U version info:
    Arch:       v2.0.0
    MACs/cc:    256
ExecuTorch pico-faces (m3_long_cfg, a16w8/a8w8)
Methods:
  dit_step  2 input(s), 1 output(s)
  decode    1 input(s), 1 output(s)
Generating: seed 3, 4 steps, class 1, w 4.0
Image: 128x128x3, CRC32 <export-dependent-value>
Test_result: PASS
The LCD displays the 128 x 128 result scaled to 384 x 384 pixels in the center of the screen. The Cyclic Redundancy Check (CRC) depends on the host-side export, so use Test_result: PASS and the displayed image as the functional checks.
Confirm NPU execution
Inspect the two performance lines printed after generation. They report NPU cycles, NPU active time, multiply-accumulate array activity, and AXI reads for dit_step and decode. These counters come from the Ethos-U performance monitoring unit and confirm that both methods executed on the NPU.
The following is a reference DevKit run of the source project:
| Setting | Reference value |
|---|---|
| Processor | Cortex-M55 high-performance core at 400 MHz |
| NPU | Ethos-U85 with 256 MACs per cycle |
| Model | m3_long_cfg, a16w8 DiT and a8w8 decoder |
| Sample | Seed 3, four steps, class 1, guidance 4.0 |
| Execution model | Bare-metal, single core; thread count and CPU affinity don’t apply |
| Observed time | About 78 ms total: about 68 ms for eight dit_step calls and 3 ms for decode |
These instructions were verified on a Mac using the following versions:
| Software or component | Version |
|---|---|
| CMSIS Solution extension | 1.72.0 |
| Alif SETOOLS | 1.112.00 DEV |
| SEGGER J-Link Software | 9.36 |
Treat the timing as a reference measurement rather than a pass threshold. Tool versions, the exported program, and board conditions can change the result.
Generate more faces
Use the SW2 joystick after the boot image appears:
- Press toward the left to generate one face with the next seed.
- Press toward the right to start continuous generation. Press in the same direction again to stop.
Each completed joystick generation updates the LCD and prints the following to the console:
- Image number
- Seed
- Class
- Guidance
- Total time
The boot demo prints a CRC. Joystick log lines don’t include one.
To check standalone boot, end the debug session and press RESET (SW1) while the application is idle. The boot image and Test_result: PASS should return.
Stop continuous generation and wait for the current image to finish before restarting a debug session or resetting the board. Resetting through the debugger during active NPU inference can produce a transient inference error and affect the timing sample.
View an example result
The following image shows a generated face displayed on the DevKit LCD:
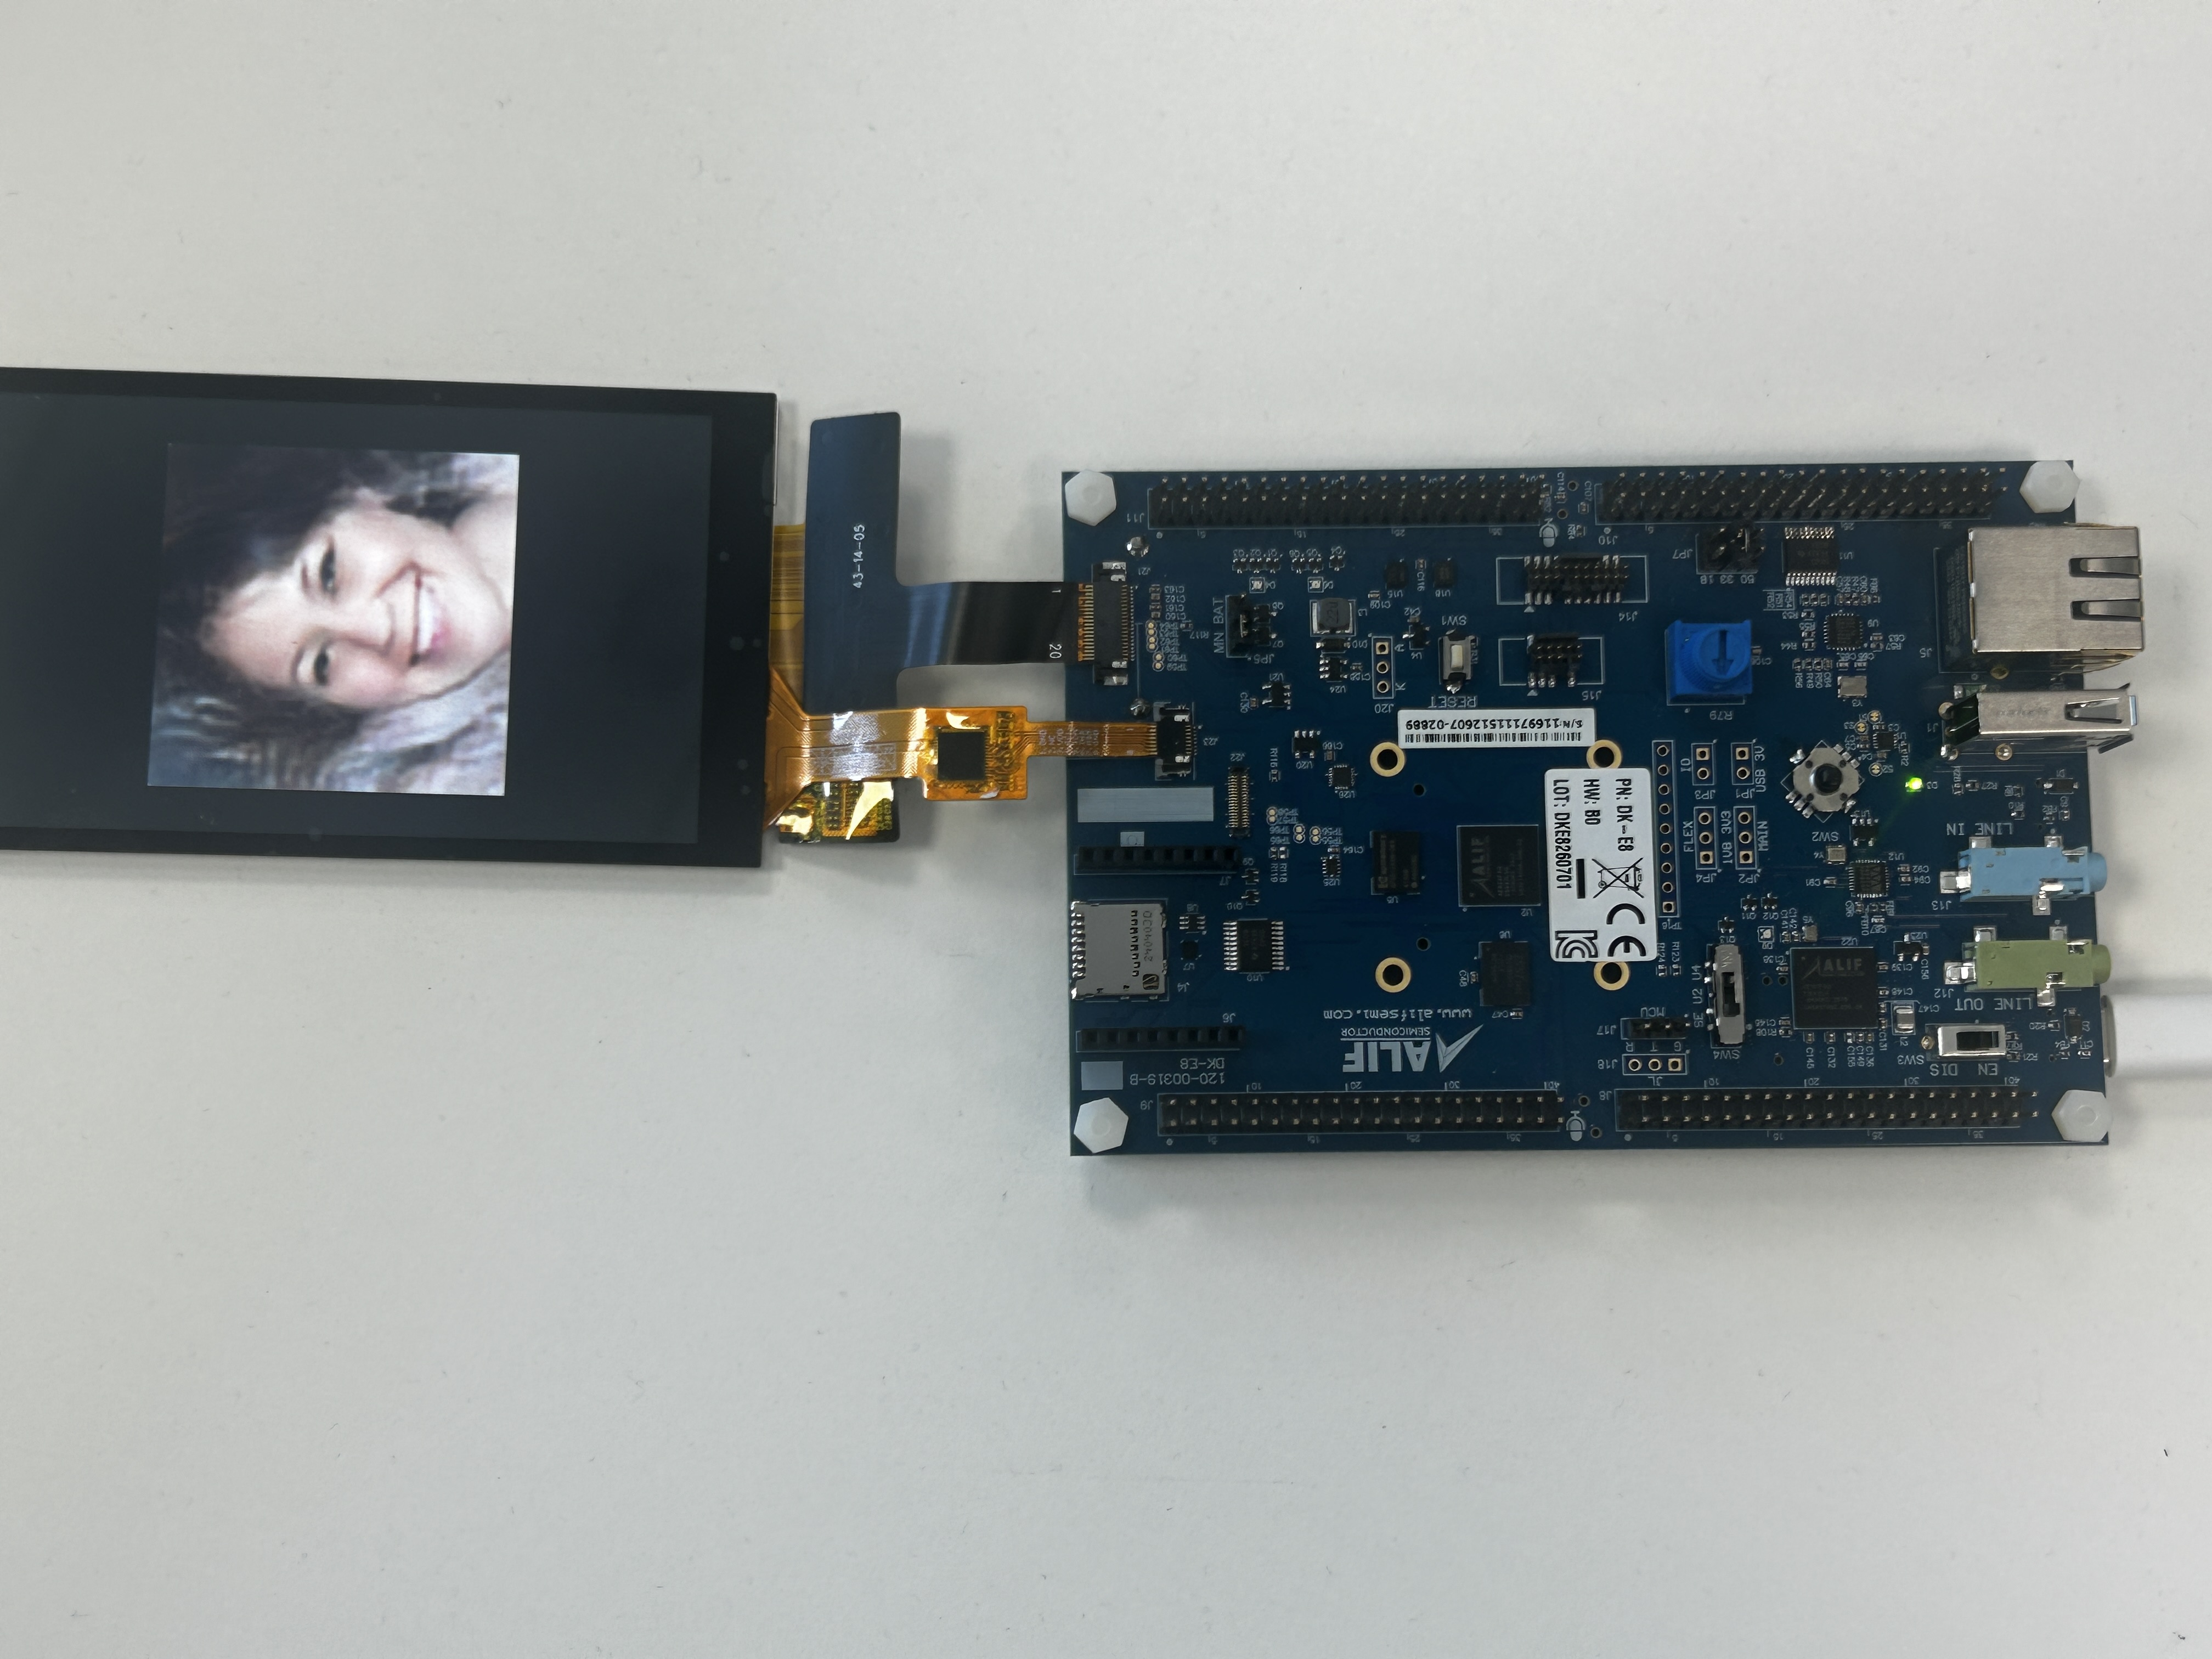 Generated face displayed on the Alif Ensemble E8 DevKit
Troubleshoot common problems
Use the following checks if the application doesn’t reach the pass marker:
| Symptom | Check |
|---|---|
J-Link connects but execution doesn’t stop at main | Set SW4 to SEUART and repeat the debug-stub steps from Prepare the DevKit for debugging . |
| Debug remains at Connecting | Confirm that the target uses SWD, not JTAG, then power-cycle the board. |
| UART has no application output | Set SW4 to UART4, then close and reopen Serial Monitor. |
app-write-mram receives no response | Set SW4 to SEUART, close programs using the port, and press reset while the tool waits. |
The build can’t find ai_layer/model_pte.c | Run Setup Python virtual environment, followed by Create AI layer. |
| The Python setup task rejects your Python version | Install uv, check uv --version in the VS Code terminal, then run Setup Python virtual environment (uv) with Python 3.12. |
SETOOLS reports a missing utils directory | Run the command from the extracted SETOOLS directory rather than your home directory. |
(Optional) Use the Corstone-320 FVP
The same CMSIS solution also includes the SSE-320-U85 target for the Corstone-320 Fixed Virtual Platform (FVP). On Linux and Windows, the managed tools environment supplies the native FVP. Before selecting Run or Debug, select SSE-320-U85 in Manage Solution, select Apply, and recreate the AI layer.
On macOS, the project runs the FVP in Docker. To use the FVP, follow these additional steps:
These optional steps follow the FVP instructions for the pinned example and are separate from the physical DevKit validation.
Install Docker Desktop for Mac and keep it running.
In
cmsis-executorch.csolution.yml, find thedebuggerentry under thetarget-setof theSSE-320-U85target. Replace itsmodelvalue with the Docker wrapper for the project:model: "${workspaceFolder}/.vscode/fvp.sh"Select
SSE-320-U85in Manage Solution and select Apply. After the extension generates the debug configuration, open a terminal in theCMSIS-Executorchdirectory and copy the macOS configuration:cp .vscode/launch.json.mac .vscode/launch.jsonRecreate the AI layer, build, and select Run or Debug. The first invocation builds the Docker image and downloads the simulator, so it takes longer than subsequent runs.
The FVP writes the raw image to out/fvp_image.bin. To return to the board, select DevKit-E8, select Apply, and recreate its AI layer before building again.
What you’ve accomplished
You’ve exported a generative model through ExecuTorch, loaded it on the Alif Ensemble E8 DevKit, and generated faces with both neural-network methods delegated to Ethos-U85. You also validated the run through the LCD, pass marker, and hardware performance counters.
You can extend the Learning Path workflow to deploy other Generative AI models on a microcontroller with Arm Ethos-U85 acceleration.