Windows Performance Analyzer (WPA) plugin
About this Install Guide
| Reading time: | 15 min |
| Last updated: | 22 Jun 2026 |
| Reading time: |
| 15 min |
| Last updated: |
| 22 Jun 2026 |
This guide shows you how to install and use the tool with the most common configuration. For advanced options and complete reference information, see the official documentation. Some install guides also include optional next steps to help you explore related workflows or integrations.
The Windows Performance Analyzer (WPA) plugin connects WindowsPerf to the Windows Performance Analyzer. Windows Perf is a lightweight performance profiling tool inspired by Linux Perf and designed for Windows on Arm.
Windows Performance Analyzer provides developers with diagnostics and performance tuning. It generates data tables and graphs of Event Tracing for Windows (ETW) events, which are recorded in one of three ways:
- By using Windows Performance Recorder (WPR).
- By using Xperf.
- Through an assessment that is run in the Assessment Platform.
WPA can open Event Trace Log (ETL) files, which you can use for analysis.
The WPA plugin is built using the Microsoft Performance Toolkit SDK , which is a collection of tools to create and extend performance analysis applications. The plugin parses JSON output from Windows Perf so that it can be visualized in WPA.
Features of the WPA plugin
The WindowsPerf GUI extension includes the following features that are designed to streamline the user experience.
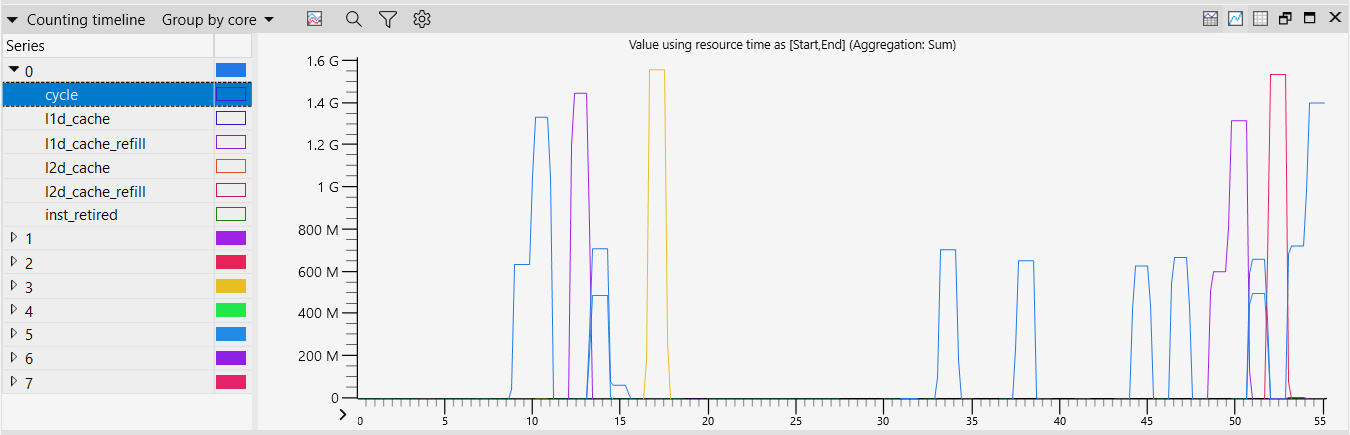
Timeline view
The timeline view visualizes the wperf stat timeline data plotted by event group:
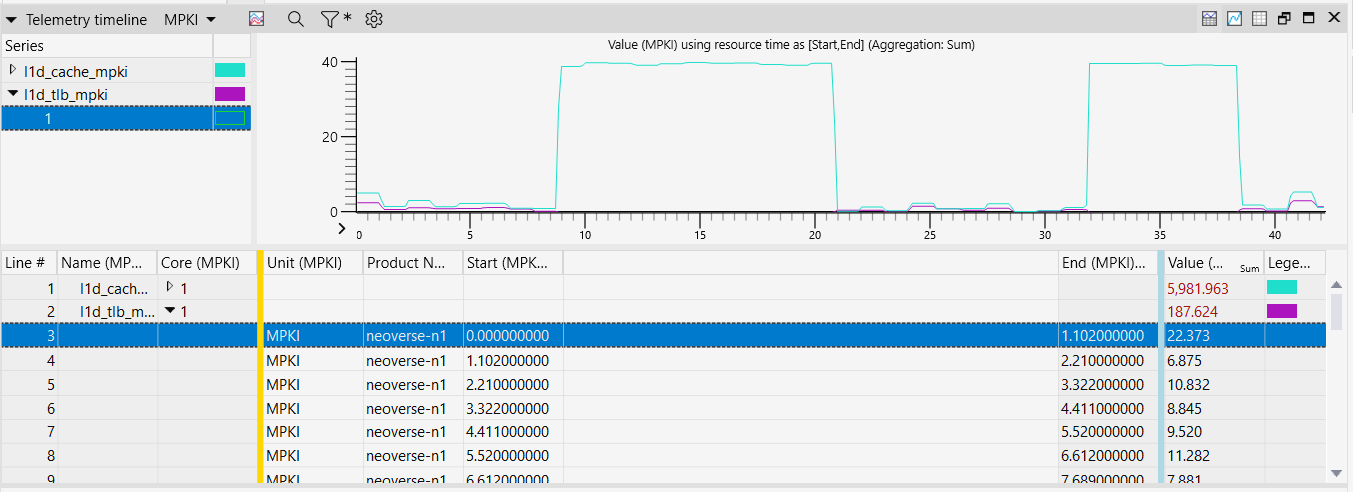
Telemetry view
The telemetry view displays telemetry events grouped by unit:
Install the WPA plugin
Before installing the plugin, you need to install WPA.
Install WPA
For Windows on Arm devices, you can install WPA from the Microsoft Store.
Open the Microsoft Store and search for “windows performance analyzer”.
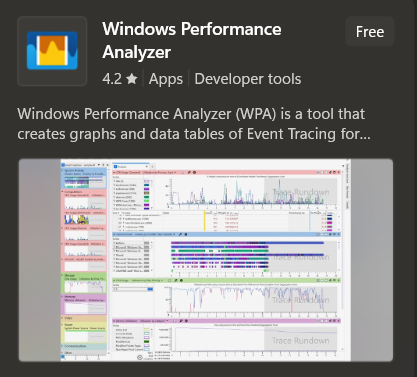
Hover over the card, and you will see that the Free button becomes a Get button. Click the Get button to start the installation.
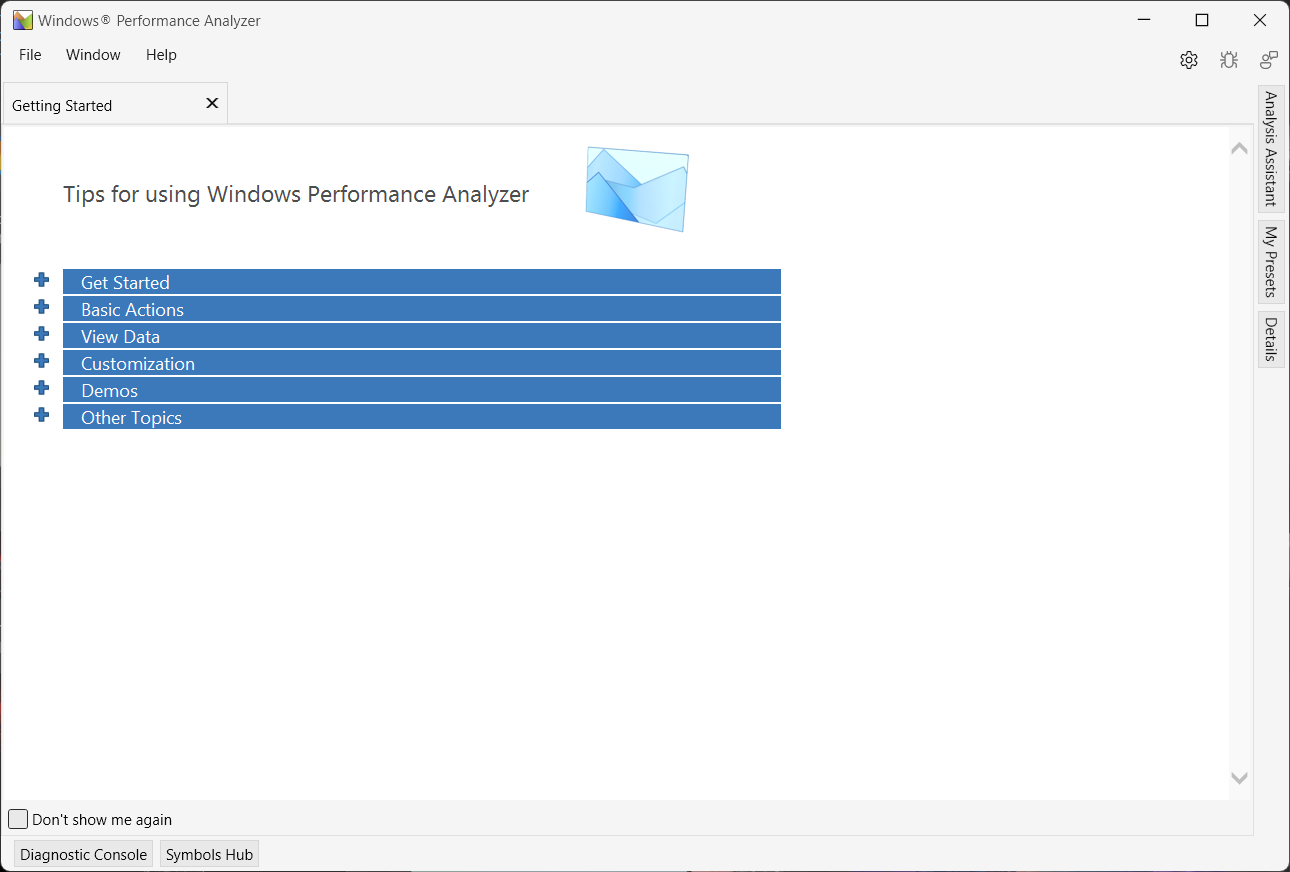
Wait for WPA to be installed, and then launch it from the Windows menu.
The WPA plugin requires WPA version 11.0.7.2 or higher. You can check the version by clicking Help > About Windows Performance Analyzer.
Close Windows Performance Analyzer.
Install the WPA plugin
You are now ready to install the WPA plugin, which is a single .dll file.
Download the .zip file from the
Windows Perf WPA plugin releases page
.
Alternatively, you can download the .zip file from a command prompt:
The following commands use Windows Perf WPA Plugin version 2.0.0. The same commands work with other versions. Replace the file used in these steps with the file for your version of choice. To find the latest version, see Windows Perf WPA Plugin releases .
mkdir wpa-plugin
cd wpa-plugin
curl -L -O https://gitlab.com/api/v4/projects/50944937/packages/generic/wperf-wpa-plugin/2.0.0/wpa-plugin-2.0.0.zip
Extract the .dll file from the downloaded .zip file.
tar -xmf wpa-plugin-2.0.0.zip
The file WPAPlugin.dll is now in your wpa-plugin directory.
There are three ways that you can use the WPAPlugin.dll file:
Option 1: Start WPA from the command line and pass the plugin directory location using a flag.
Use the -addsearchdir flag to tell wpa where to find plugins.
For example, if you downloaded the .dll in your Downloads directory, you can run wpa:
wpa -addsearchdir %USERPROFILE%\Downloads\wpa-plugin-1.0.3
Option 2: Set an environment variable.
Set the WPA_ADDITIONAL_SEARCH_DIRECTORIES environment variable to the location of the .dll file.
Option 3: Copy the DLL to the CustomDataSources directory next to the WPA executable.
The default location is:
C:\\Program Files (x86)\Windows Kits\10\Windows Performance Toolkit\CustomDataSources
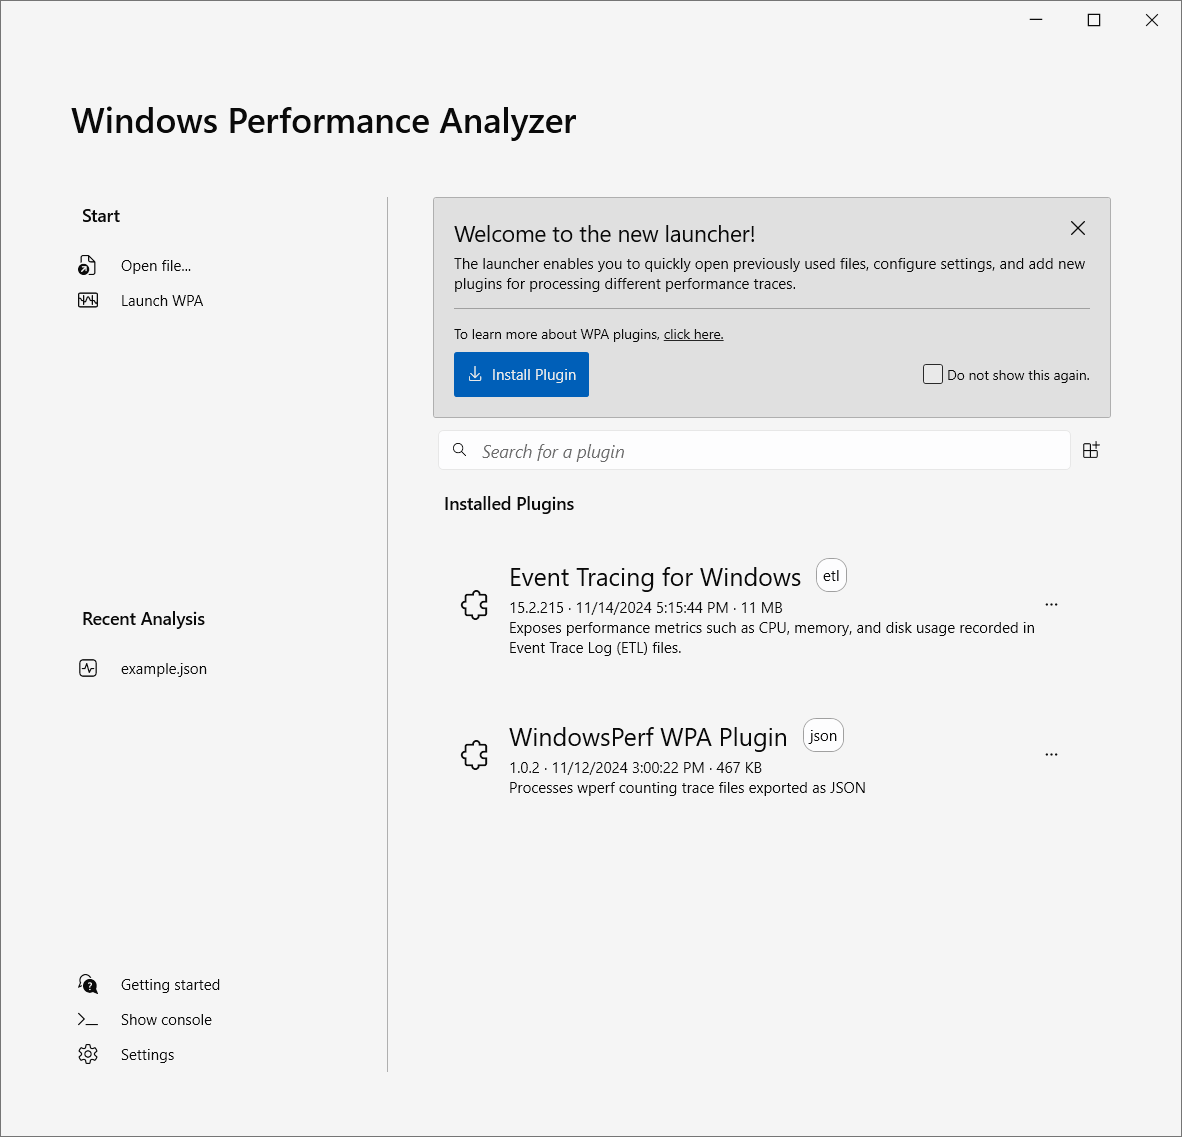
Verify that the WPA plugin is installed
To verify the plugin is loaded, launch WPA. The plugin should appear on the Installed Plugins list.
Run the WPA plugin from the command line
To open a JSON file directly from the command line, use the -i flag to specify the file path to open.
For example, to open timeline_long.json in your downloads directory, run:
wpa -addsearchdir %USERPROFILE%\Downloads\wpa-plugin-1.0.3 -i %USERPROFILE%\Downloads\timeline_long.json
You’re now ready to use the WPA plugin.
Uninstall the WPA plugin
To uninstall the plugin, delete the WPAPlugin.dll file.
Give Feedback
How would you rate this tool quick-install guide?
What is the primary reason for your feedback ?
Thank you! We're grateful for your feedback.
- Have more feedback? Log an issue on GitHub.
- Want to collaborate? Join our Discord server.